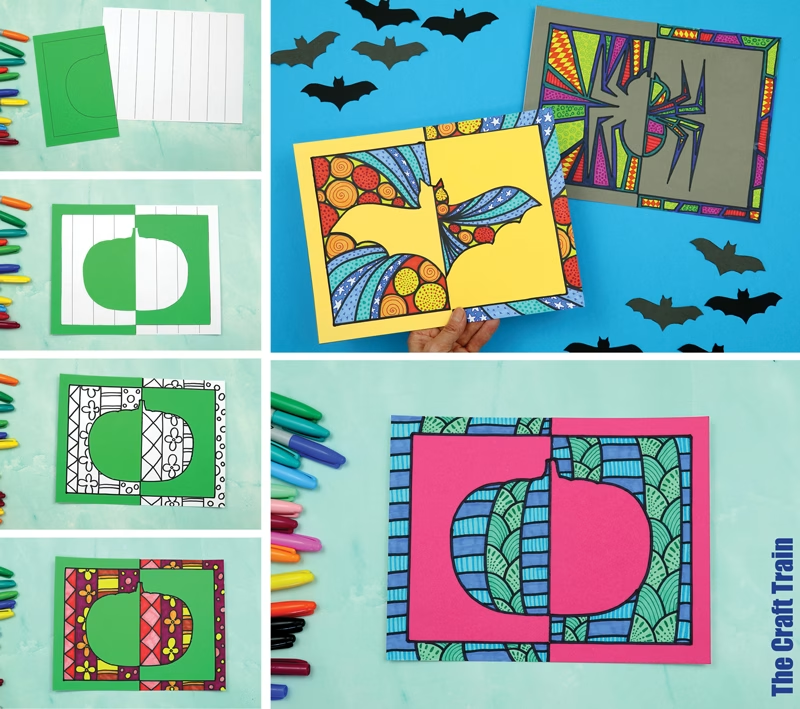
Kids are going to love exploring positive/negative space with pattern art using our Leaf Positive Negative Art template.
This is a great STEM art project for Autumn or Fall and makes a beautiful seasonal art display. See a list at the end of this post for more Positive Negative art projects.
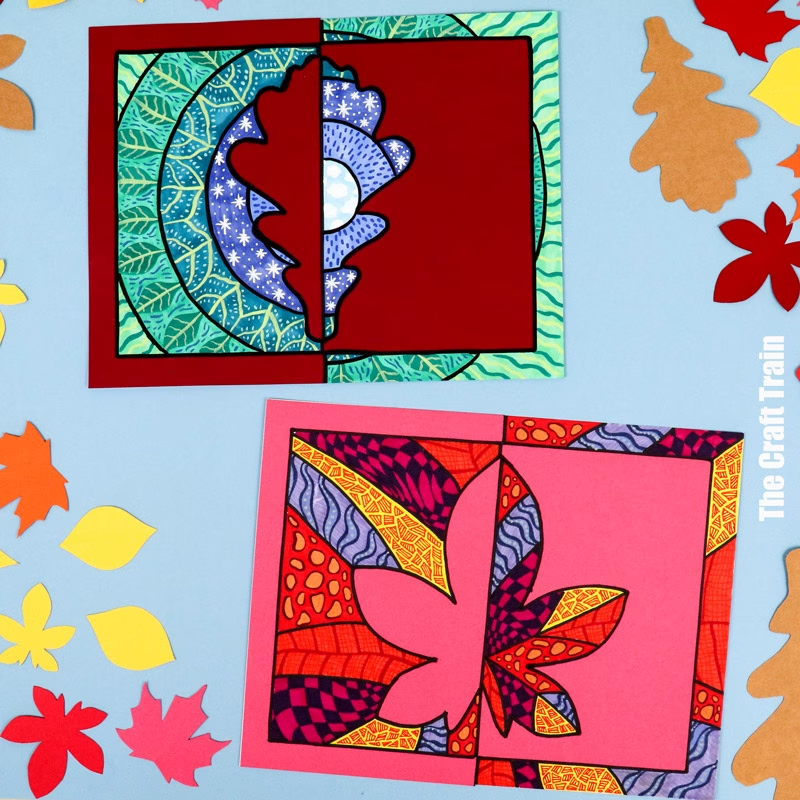
How pretty is Autumn, with all the colourful deciduous leaves? When you look closely at the leaves, you see beautiful textures, lines, and patterns within each one.
This art project encourages kids to explore line art, space, colour and more. Use the naturally occurring patterns in leaves as inspiration.
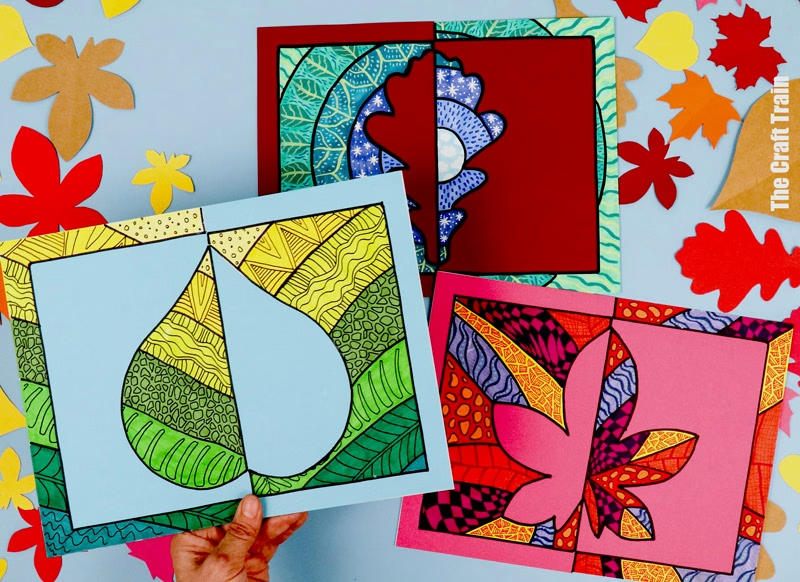
We have a set of optional background grids to make patterning easier, similar to the grids we used in our Halloween Positive Negative Art.
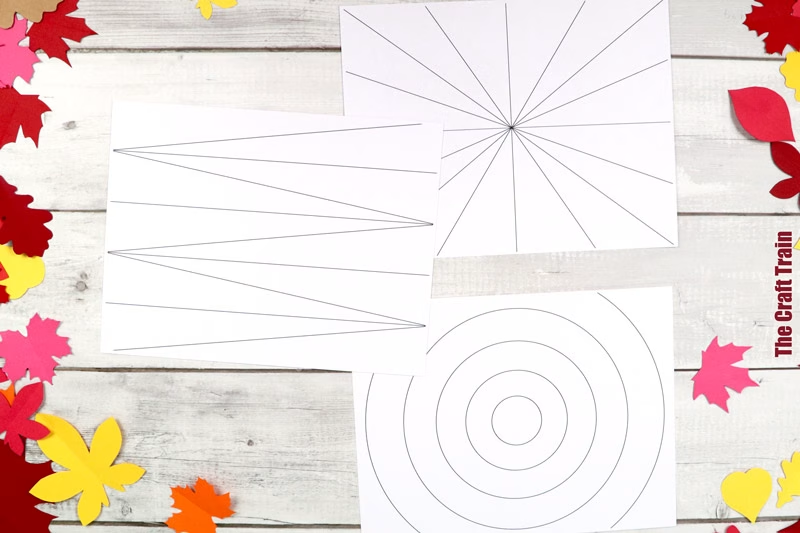
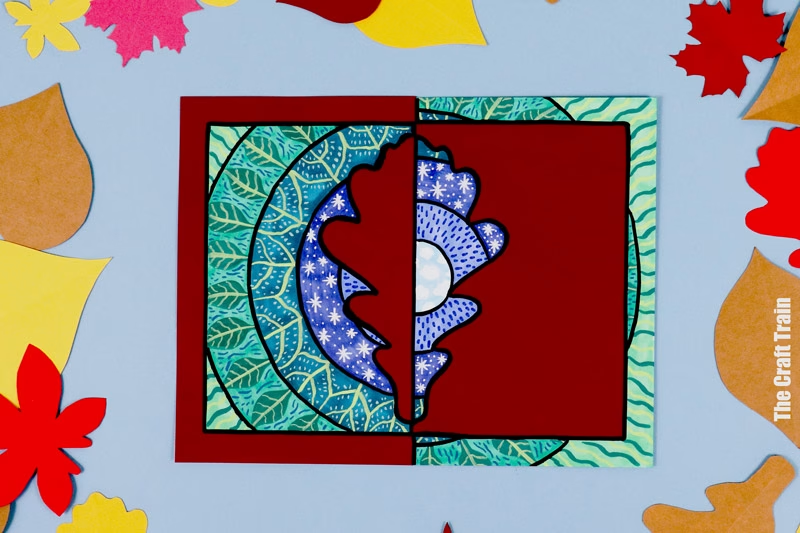
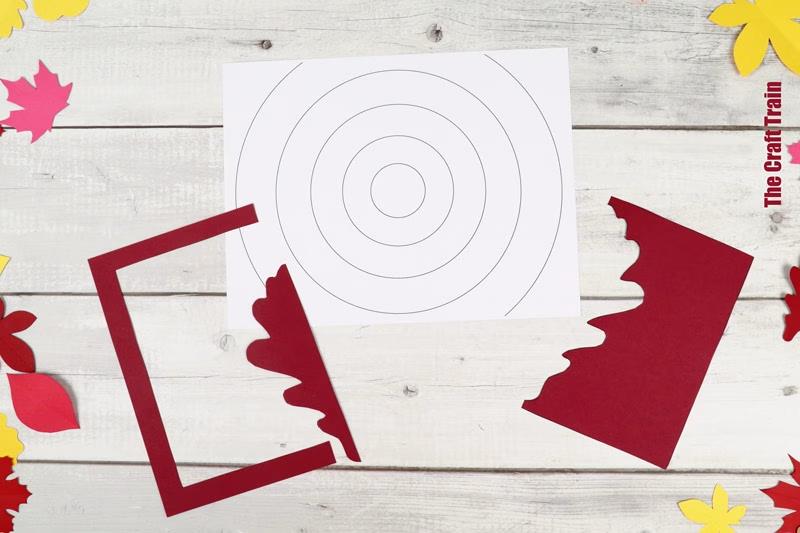
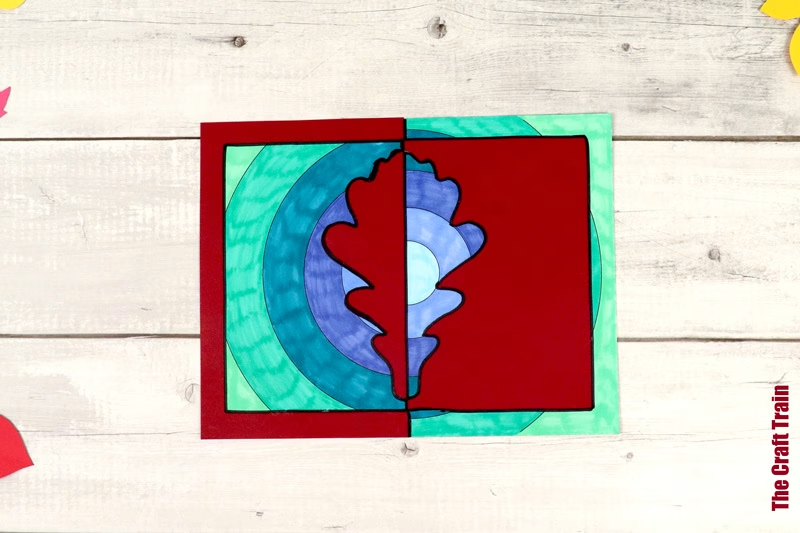
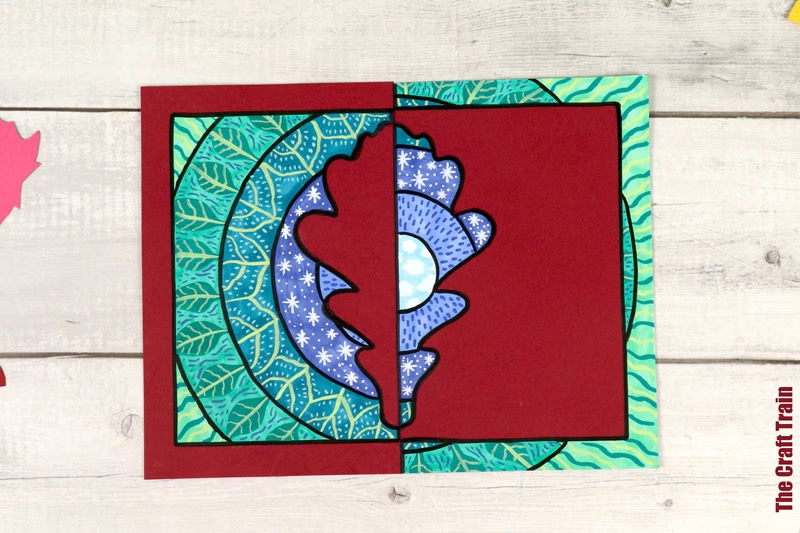
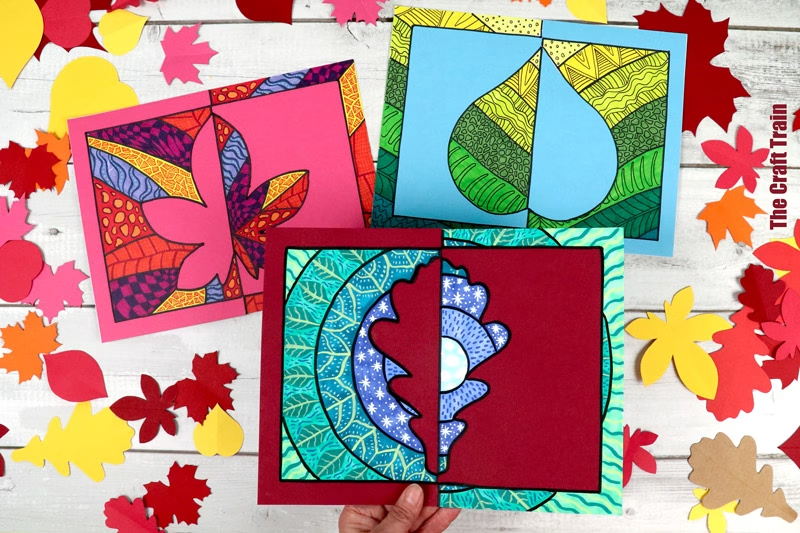
These can be used as a base to glue the shapes and draw your doodle art designs on. The Oak Leaf template below has used the circular grid.
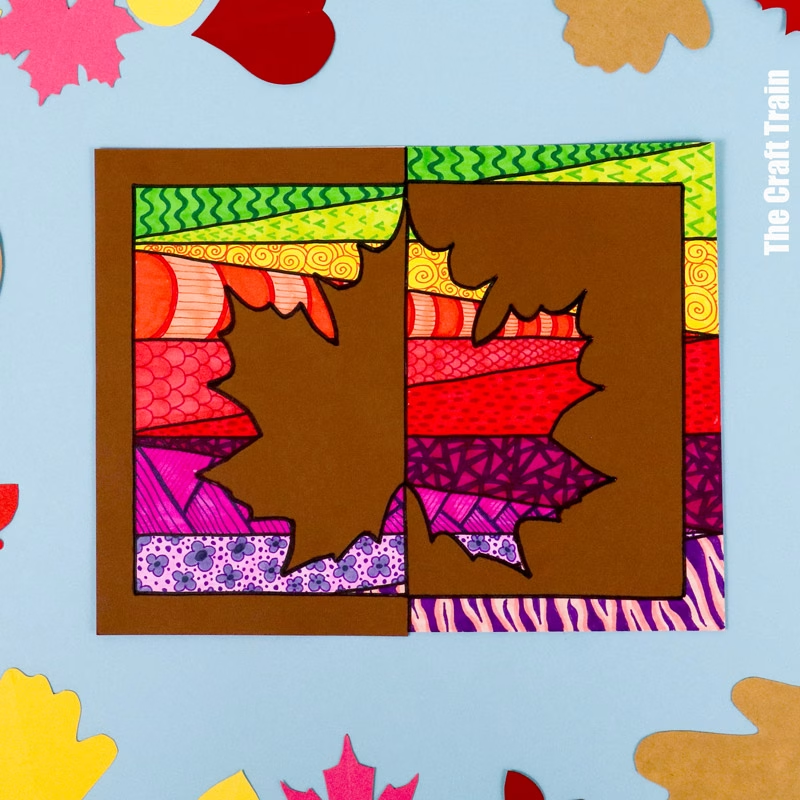
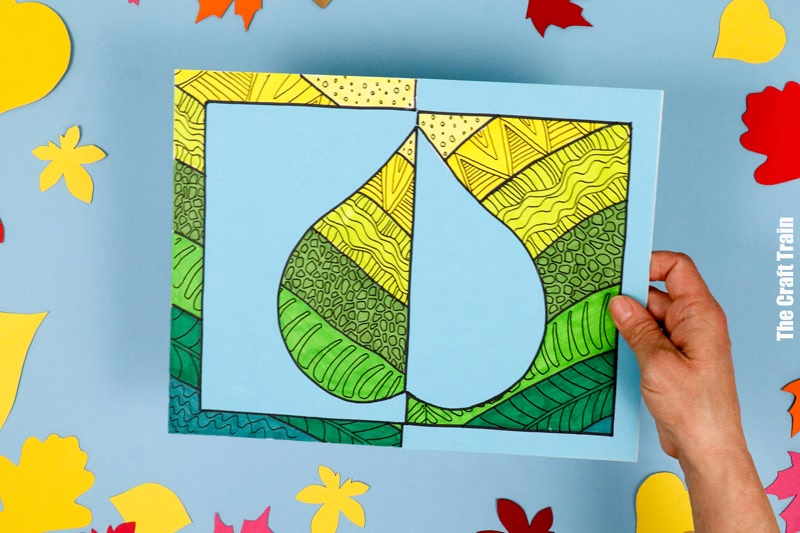
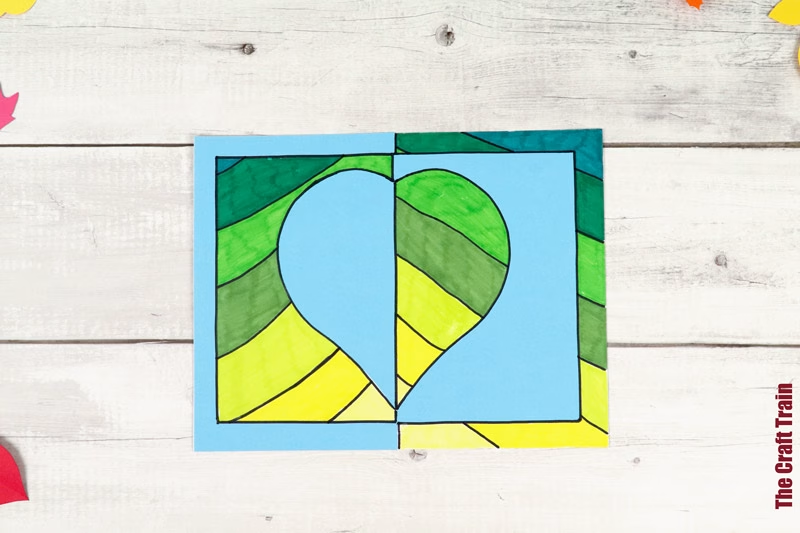
Alternatively, draw your own lines to fill with designs, as I’ve done in the example pictured below.
While this project works great for Fall and Autumn, you could also use it for an all-season nature-themed craft too. For a generic season version, print your leaves to shades of green or trace the shapes onto black.
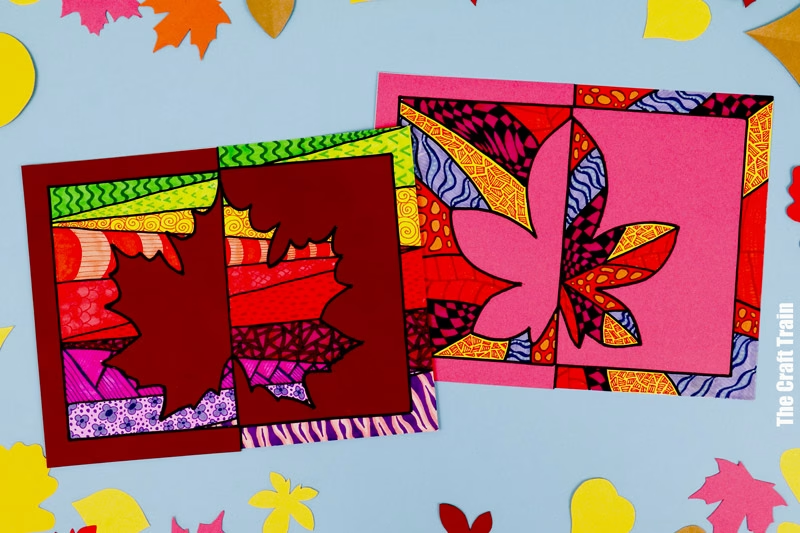
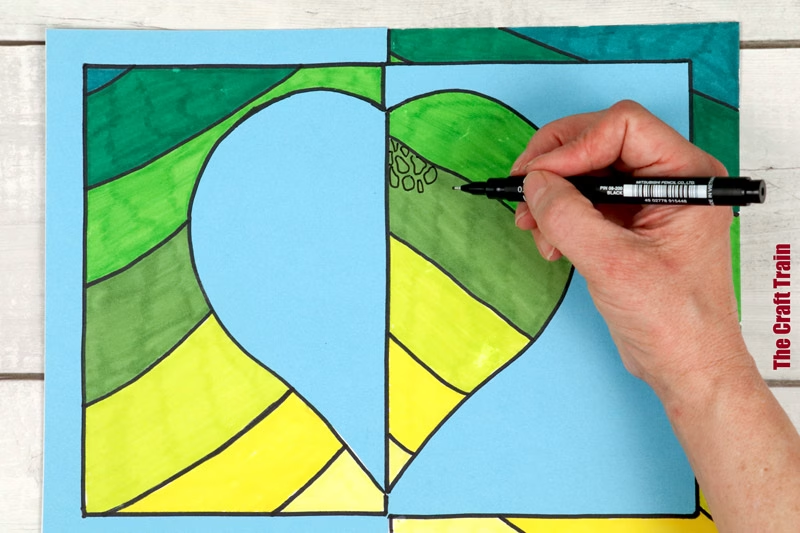
For materials, I’ve used Sharpie markers, plus fineliners and paint pens for the patterning.
You can get away with ordinary kids’ washable markers, or even single-colour black marker doodling if you prefer.
It’s up to you!
Are you ready to get patterning?
How to make Leaf Positive Negative Art
You will need
- Card stock in white – one sheet per artwork
- Card stock in a colour of your choice – one sheet for every two artworks
- Markers for doodling. You can use permanent “sharpie” markers or regular kids washable markers. Optionally, add fine-tipped pens for more detailed patterns or paint markers for light colours over dark
- Scissors
- Glue stick
- The Positive Negative Leaf Art template, available in our printables store and also on ETSY
How To
Print the paper leaf you wish to use to coloured card stock.
Cut the page in half along the midline. If working with a group, give half a page to each student. If working alone, discard the other half.
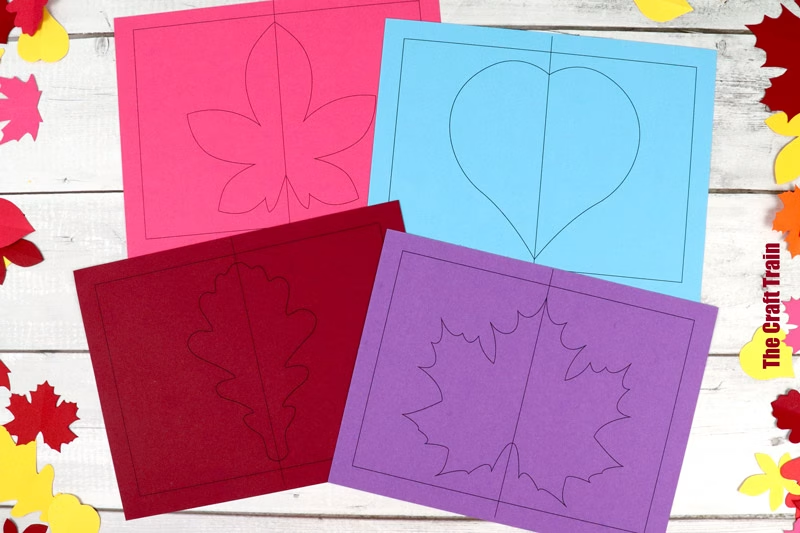
If using the predesigned line art pattern-starters, print these to white.
Cut the leaf design out along the marked lines.
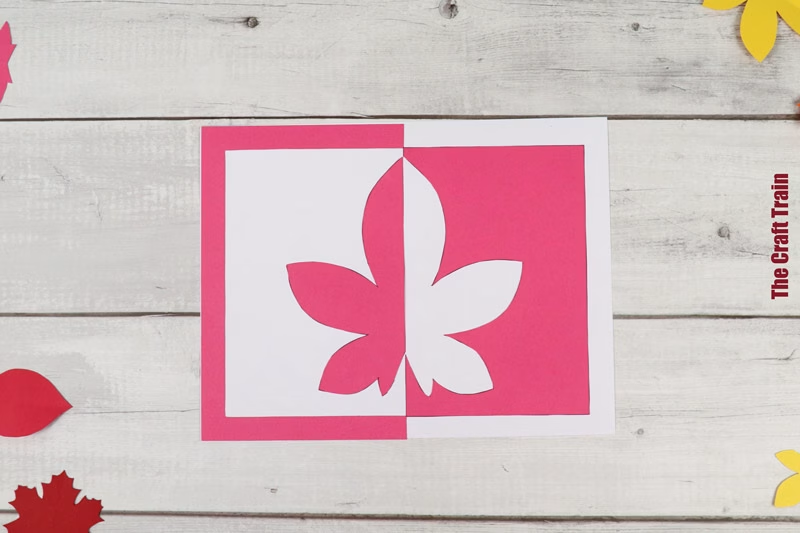
Glue the shapes on in a positive/negative pattern as pictured.
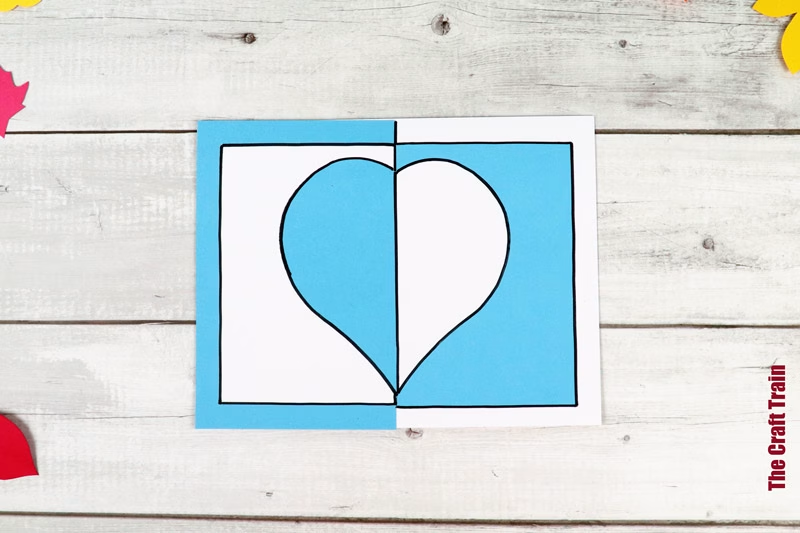
Use a black marker to outline the design pieces. If using a pre-lined page, use the existing layout as the base of your pattern art and decorate each section with doodle art. If starting with a blank page, design your own pattern from scratch.
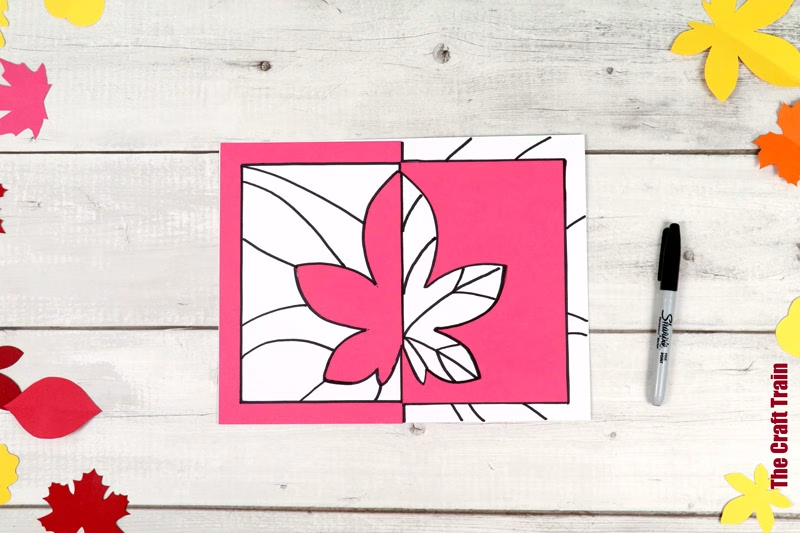
Colour and add detail to the pattern. Optionally, add fine details using fine-tipped markers.
More Positive Negative Doodle Art Projects
See all our doodle art projects here.