

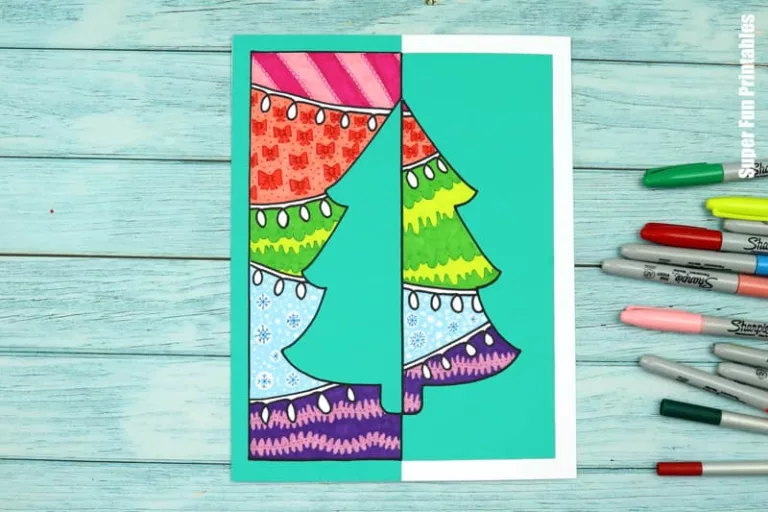
Create beautiful Christmas positive-negative art with patterning. This is a creative and adaptable Christmas art activity for kids and adults.

We love pattern art! And what better theme to doodle to than Christmas?
When I created the example artwork for this project I was frazzled from all the extra holiday demands. The ‘zen’ of this activity was exactly what I needed to de-stress.
Mindfulness is one of the many benefits of patterning, and why another name for doodle art is “zentangling”.
Positive-negative pattern art is also a fun way to explore symmetry and kids can get the opportunity to add their own creative flair.
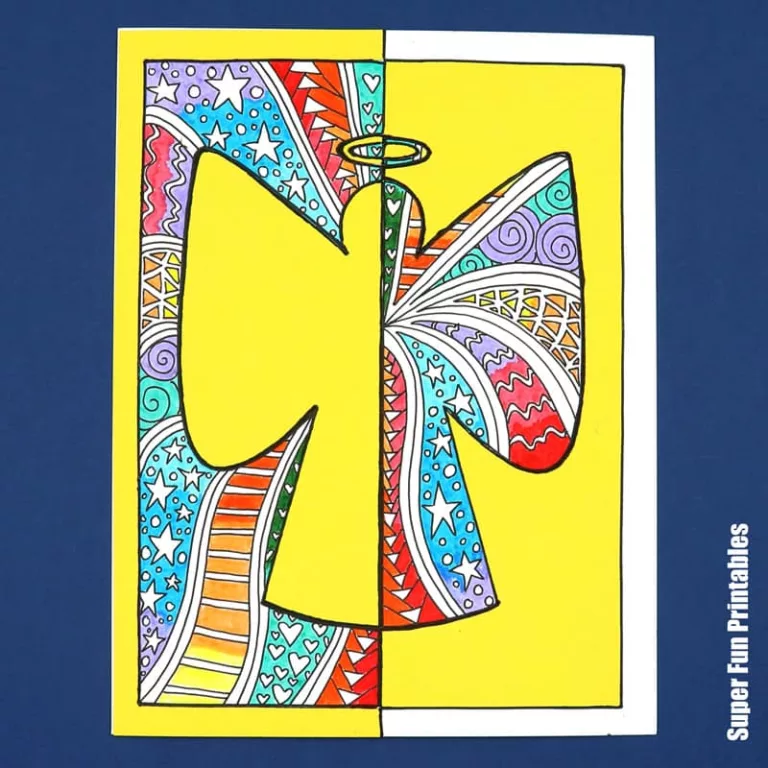
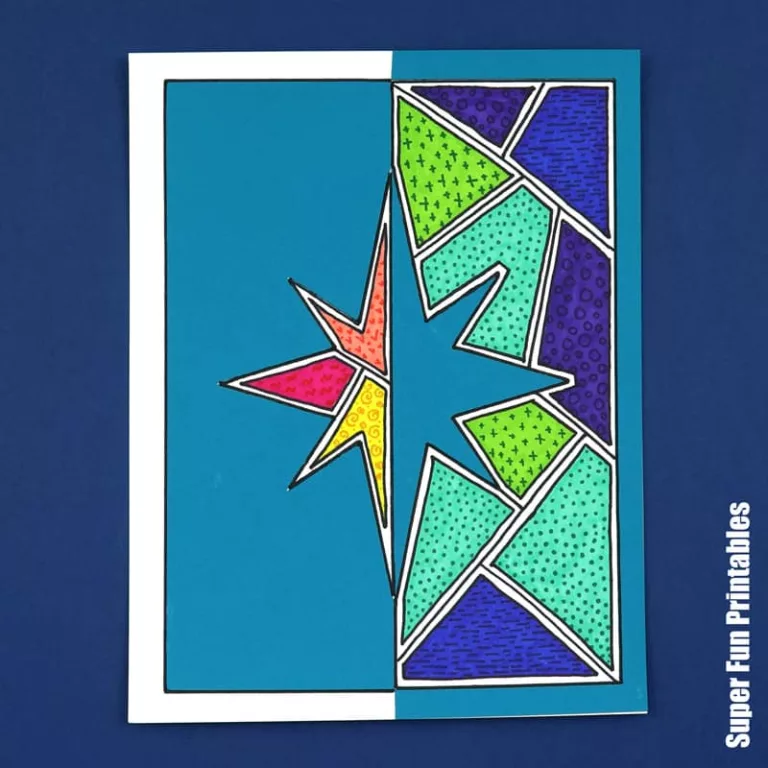
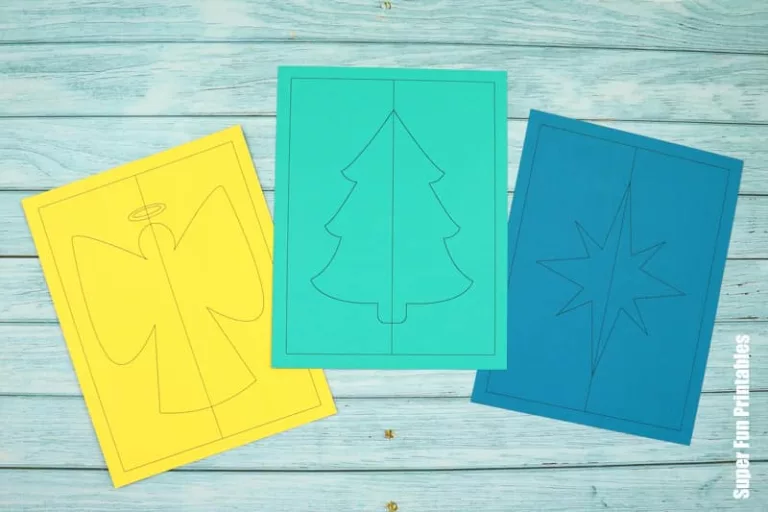
This set includes three designs: an angel, a Christmas tree and a star.
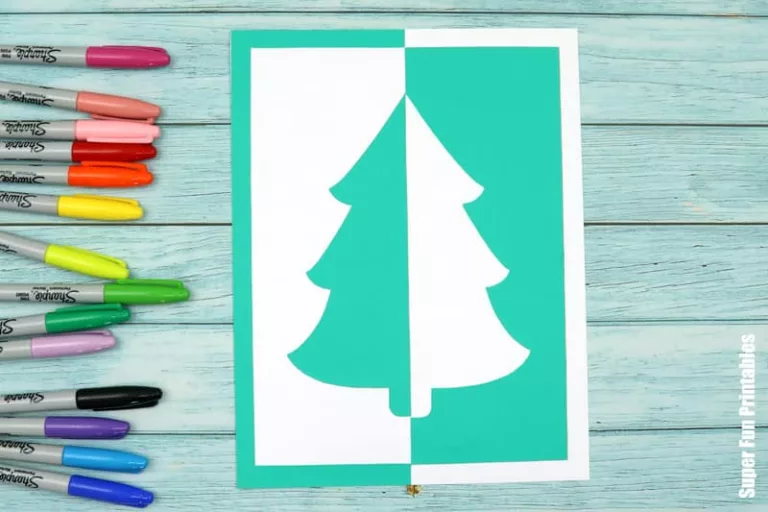
I’ve used a combination of sharpie markers and fine liners. This is one way to adapt the activity for teens and adults so they can create more interesting patterns. For younger kids, ordinary markers or sharpie markers is enough.
Age suggestion is 8 and up because of the patience and fine motor skills required to stick with a doodle art project.
Card stock is recommended but paper will also work. If you use permanent markers for the patterning, be aware they will go through thin paper and stain the surface below.
If working with a group of kids, you can use one shape template for every two students and cut them in half. For extra pattern inspiration, we have a free printable doodle art swatch sheet you can download.
Are you ready to get started?
How to make Christmas Positive Negative Art
You will need:
- Card stock in white for the background
- Construction paper or card stock in a colour of your choice to print your Christmas shapes on
- Markers for doodling. You can use permanent or regular kids washable markers, plus optional fine-tipped pens for more detailed patterns
- Scissors
- Glue stick
- The Christmas Positive Negative Art template, available from our printables store and TPT store
How to:
Print the design you wish to create to coloured card stock.
Cut the shapes out.

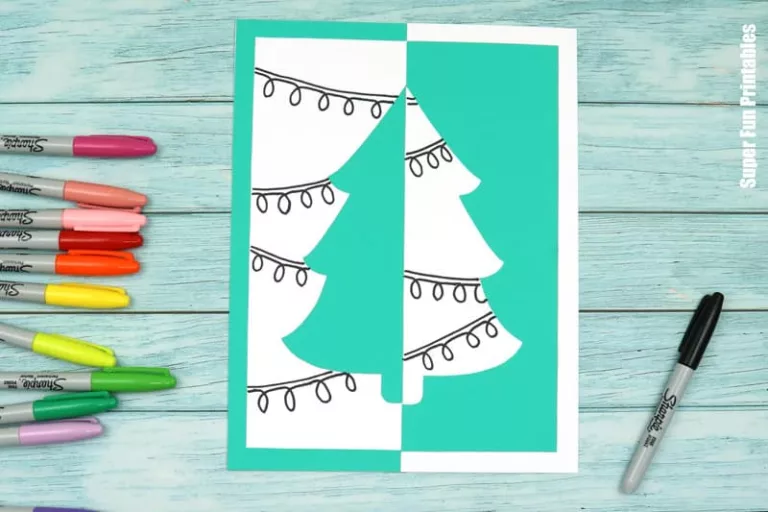
Glue one background half onto a sheet of backing card stock, leaving a white border around the edge (approximately 10mm/0.39”).
On the opposite half of the backing sheet, glue the opposing shape half and border edge so the positive and negative spaces align as shown in the example. If you’re using one template per two students, you’ll need to flip the shape half over.
Use a black marker to draw your pattern. Keep the pattern matching on both sides for best effect.
Colour and add detail to the pattern. Optionally, older kids might like to add finer details using fine-tipped markers.

Now hang it up to decorate for Christmas!
Get More Pattern Art Templates for Less
This template is one of 6 fun and festive projects in our Christmas Pattern Art Value Pack, available from our printables store and TPT store.

More Christmas Art Projects for kids
- These stuffed paper baubles are a fun DIY gift idea
- Create stunning handprint silhouette art using watercolour and salt
- We also have 3D Christmas tree doodle art


