Create colourful Halloween Positive Negative Art while learning about positive and negative space. Kids (and adults) also get to practise the mindful activity of patterning with this project.
This is a fun seasonal art activity featuring three Halloween-inspired designs and an optional printable pattern starter to make the doodle art segmentation easier.
Pattern art is something I can’t get enough of. And by that, I mean that when I design a new project, I create numerous versions and examples of it because it’s so much fun!
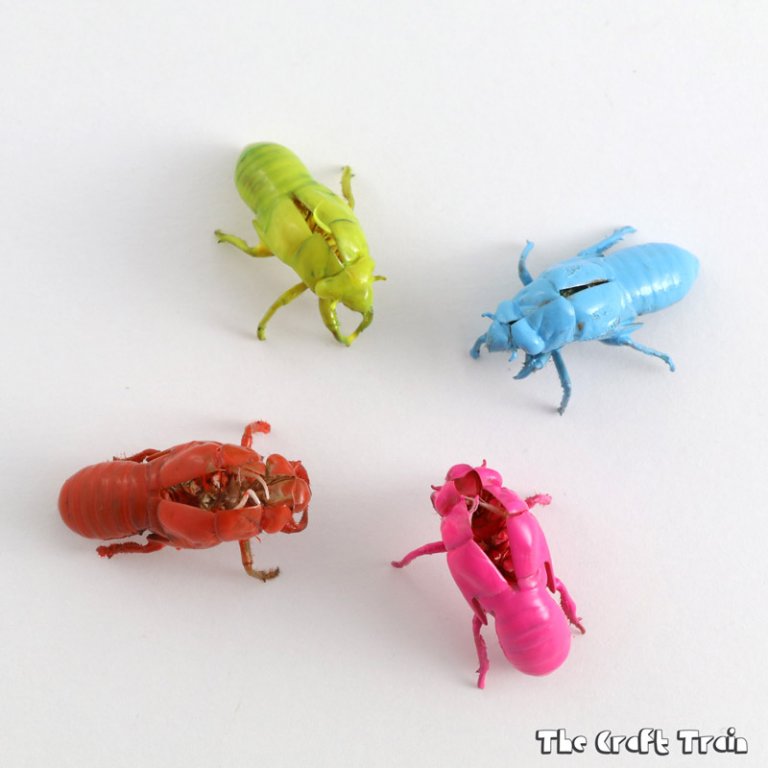
In the past, we’ve shared positive negative art for Christmas, Spring, Valentine’s Day, Apple Season and (my favourite), Insects.
So you could say we’ve had time to perfect the system and technique used to make positive negative patterning easier.
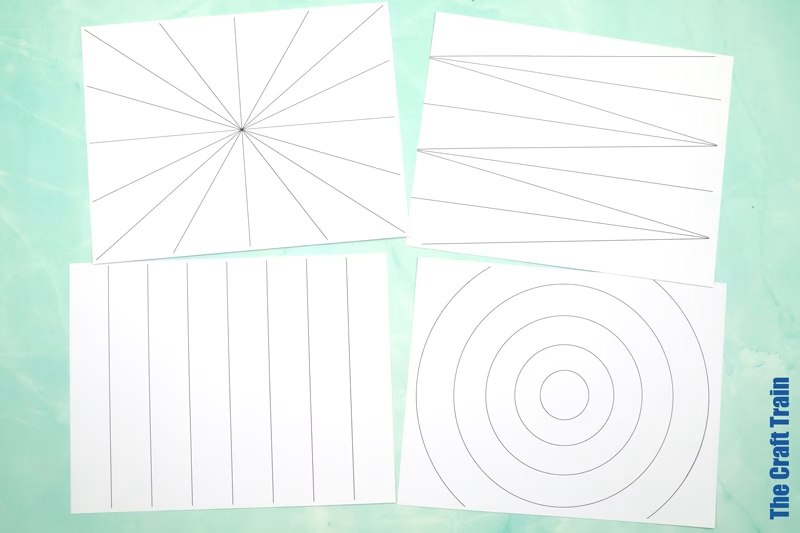
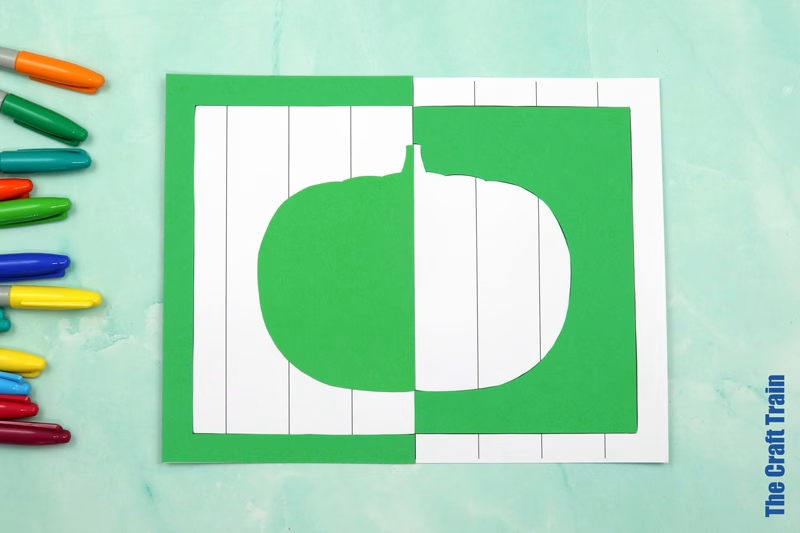
With this Halloween version, I’ve added some background printable line art pattern starters to make creating a pattern that flows evenly across both pages easier. This results in a more rigid design, but it also simplifies the project, which may help if you’re working with younger kids.
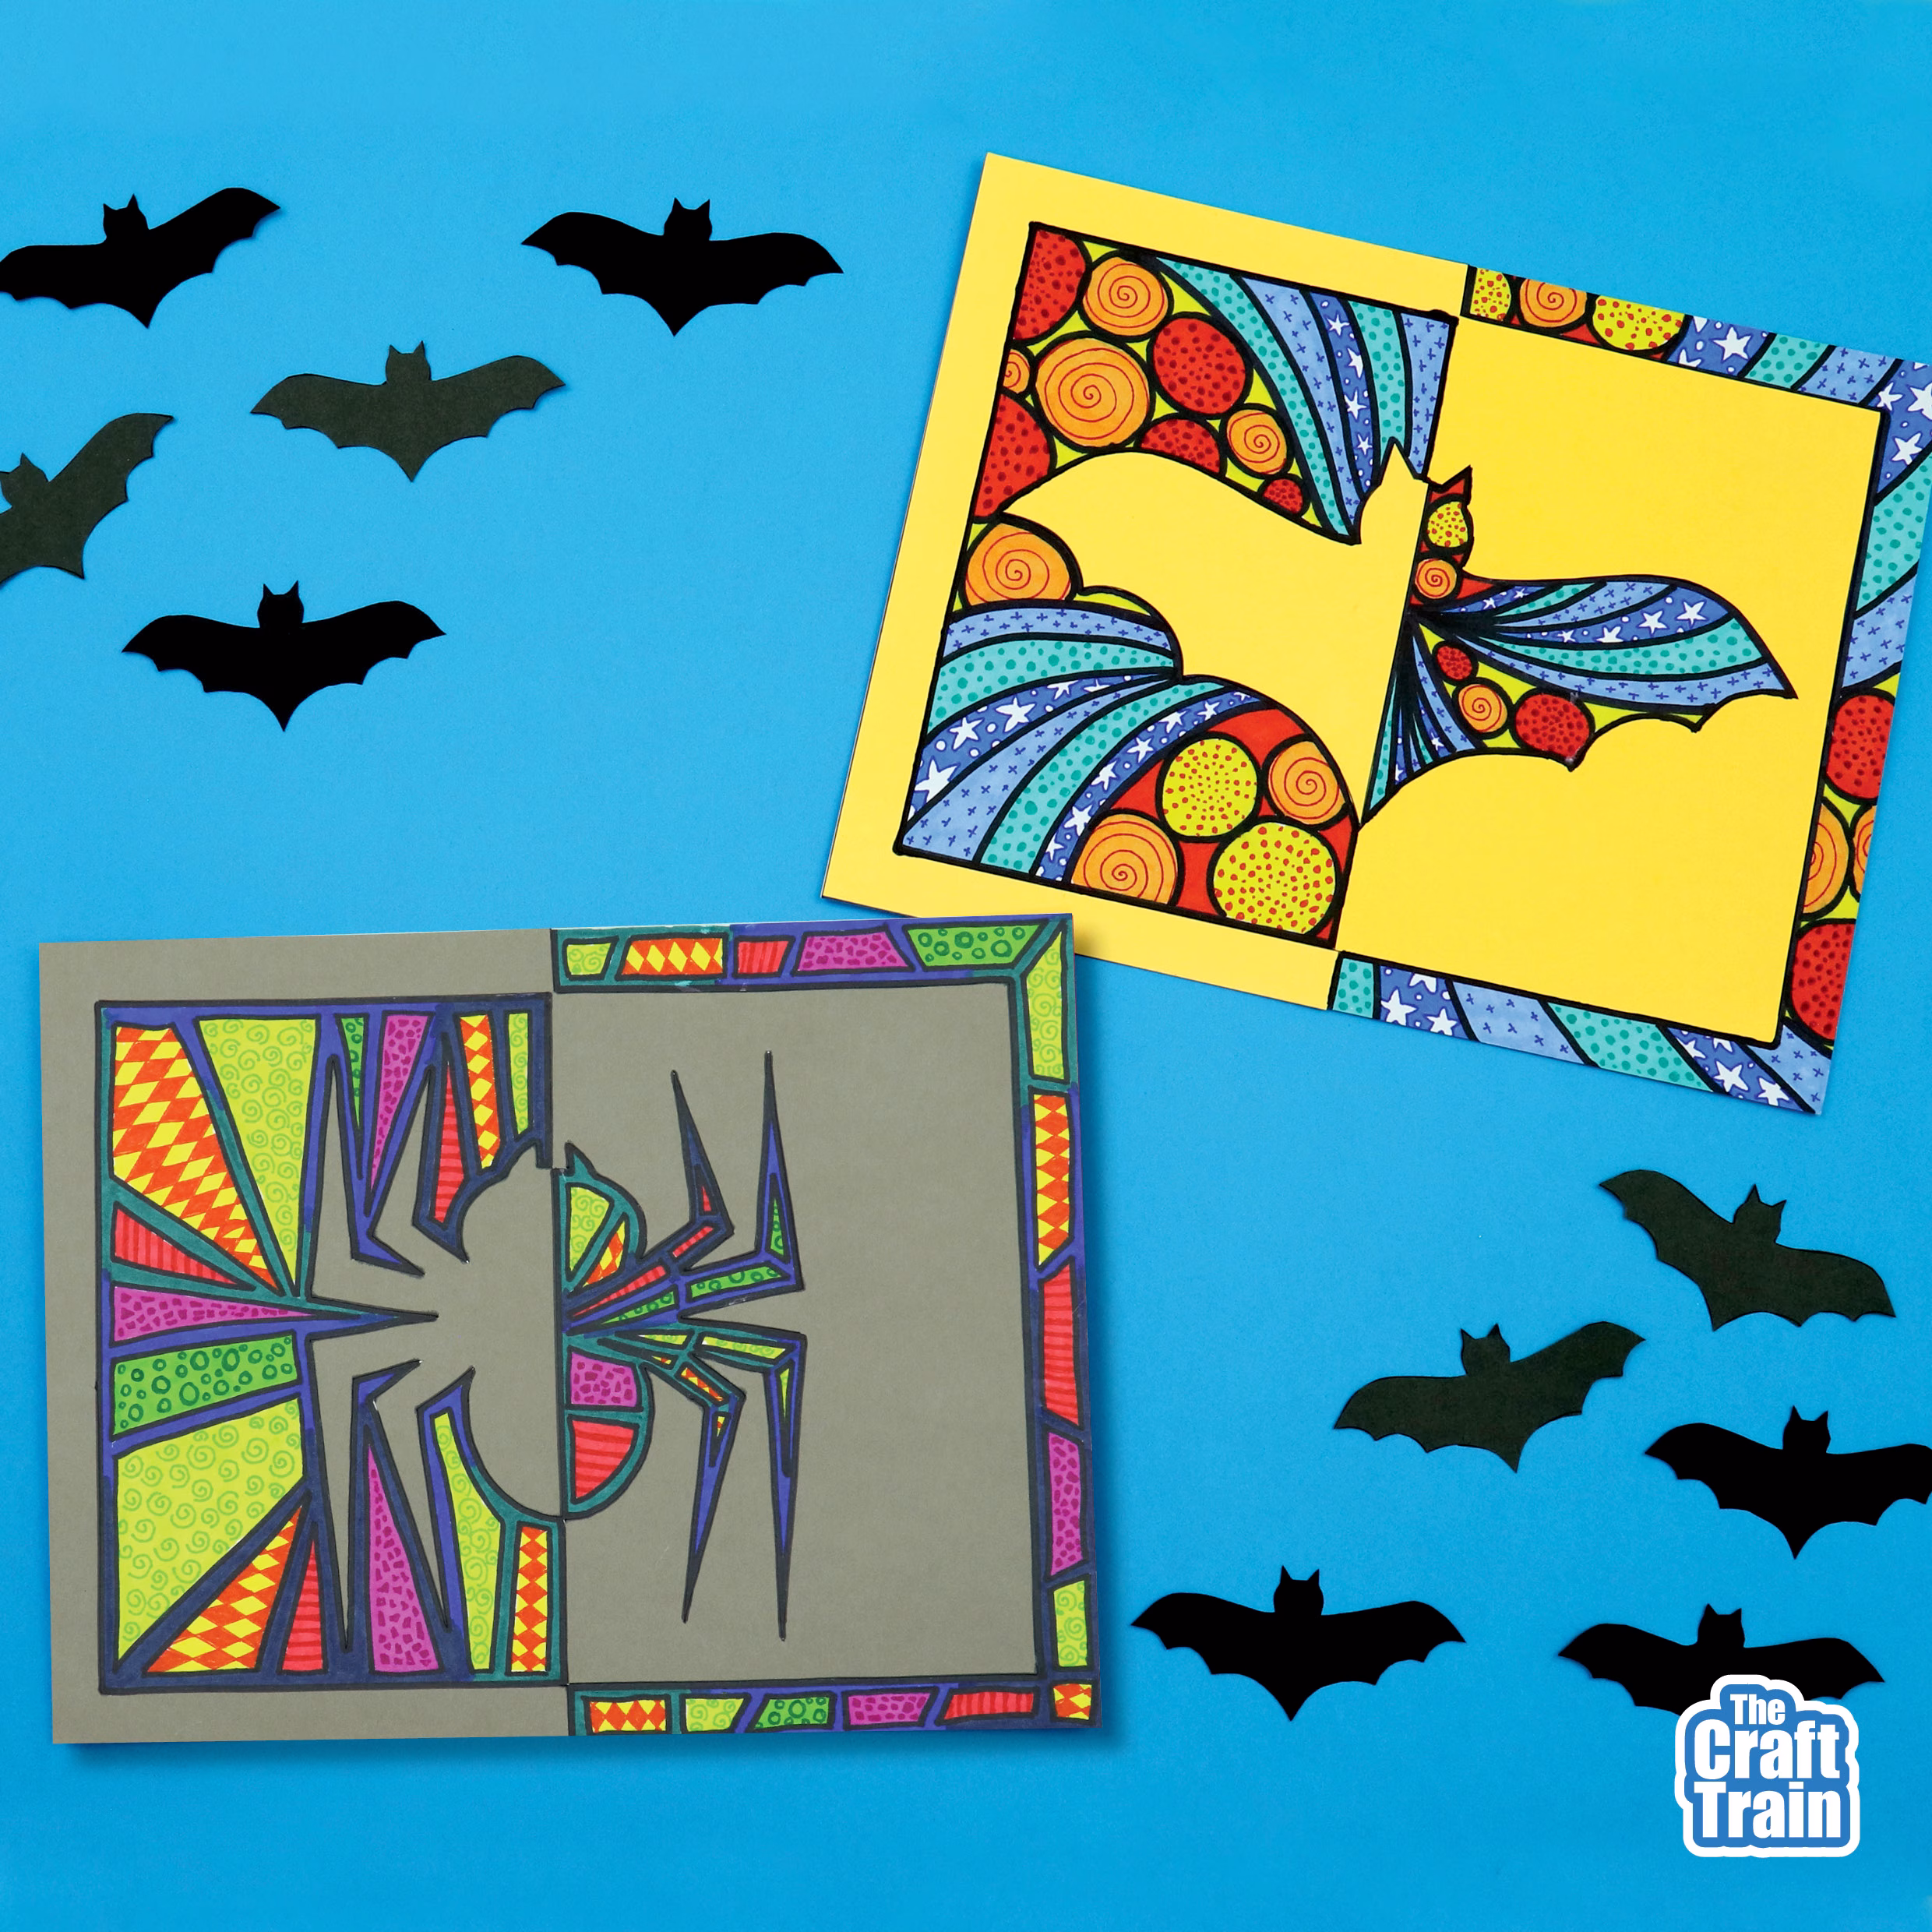
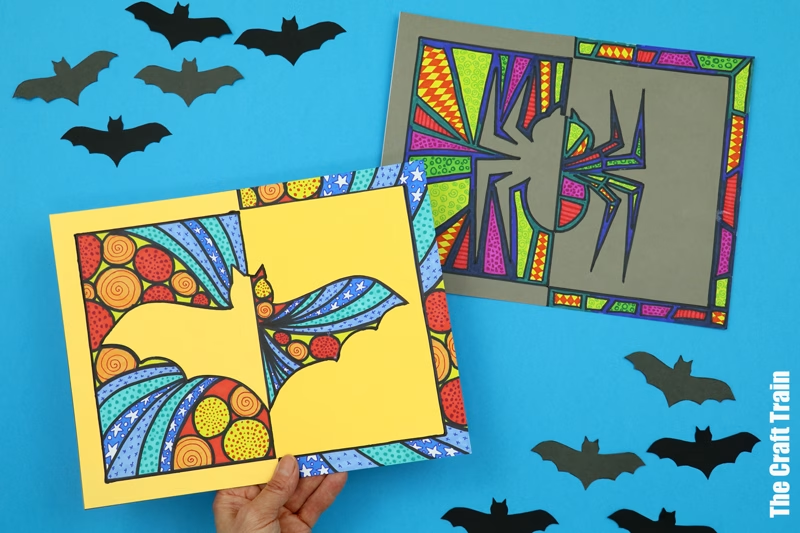
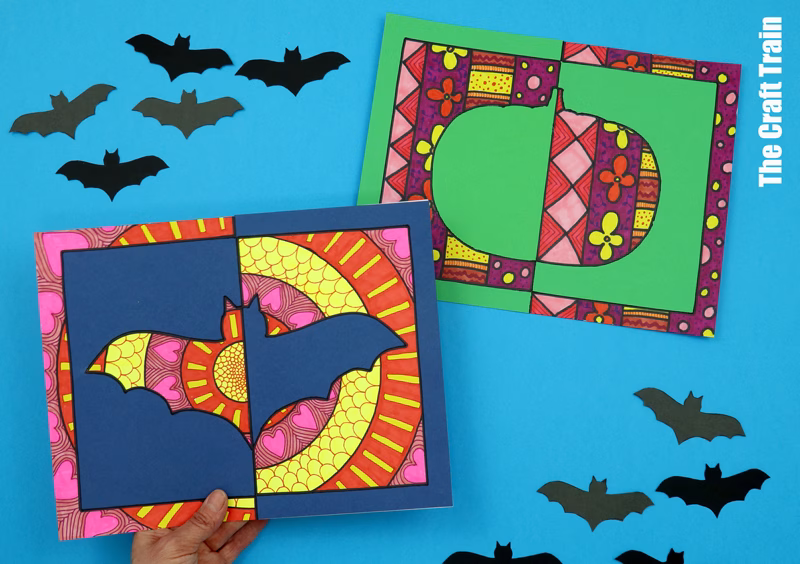
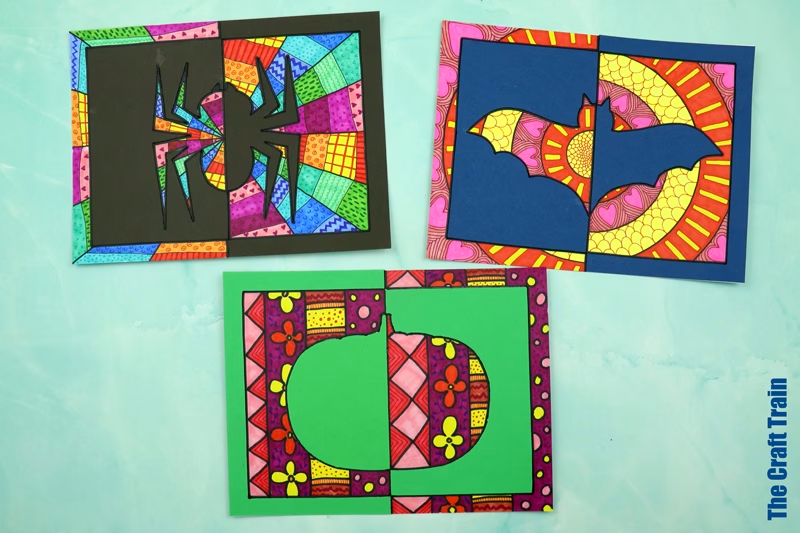
Here is an example of artworks created using the pattern art starting grids.
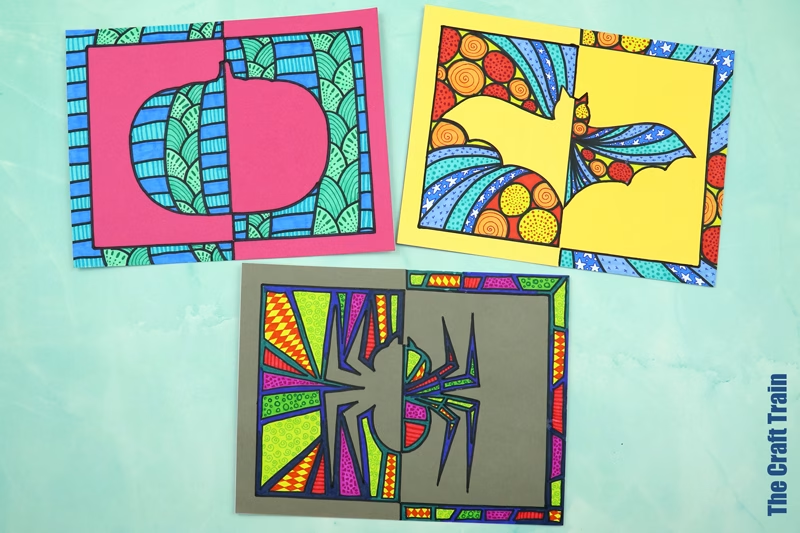
As with all our positive negative art, you can also use blank space and draw the pattern segments freehand.
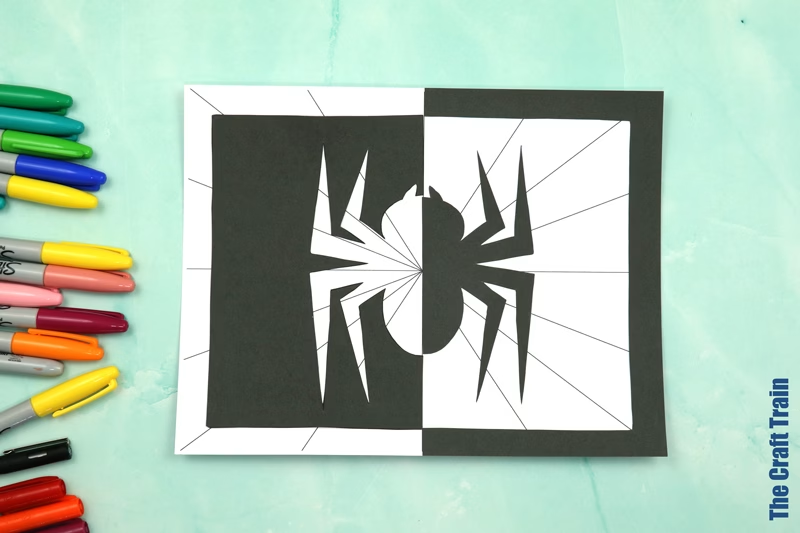
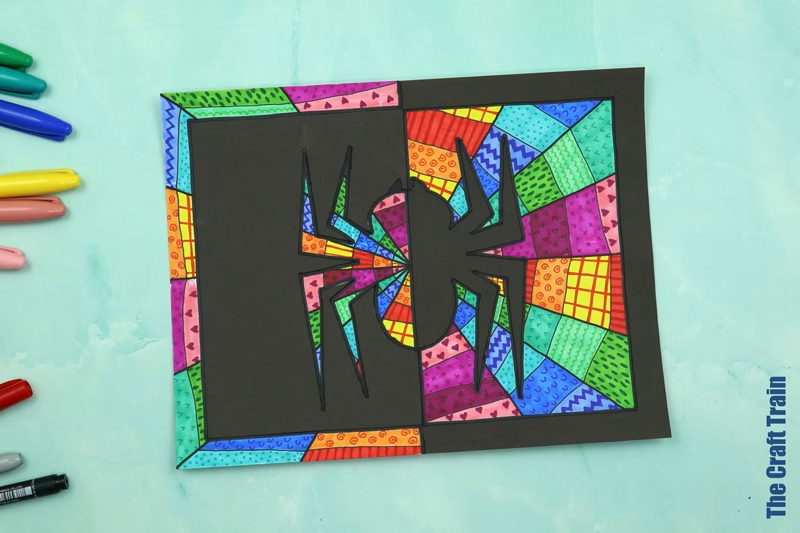
With the spider example below, the top spider artwork has been created with a printed pattern starter, while the bottom artwork has been drawn freehand.
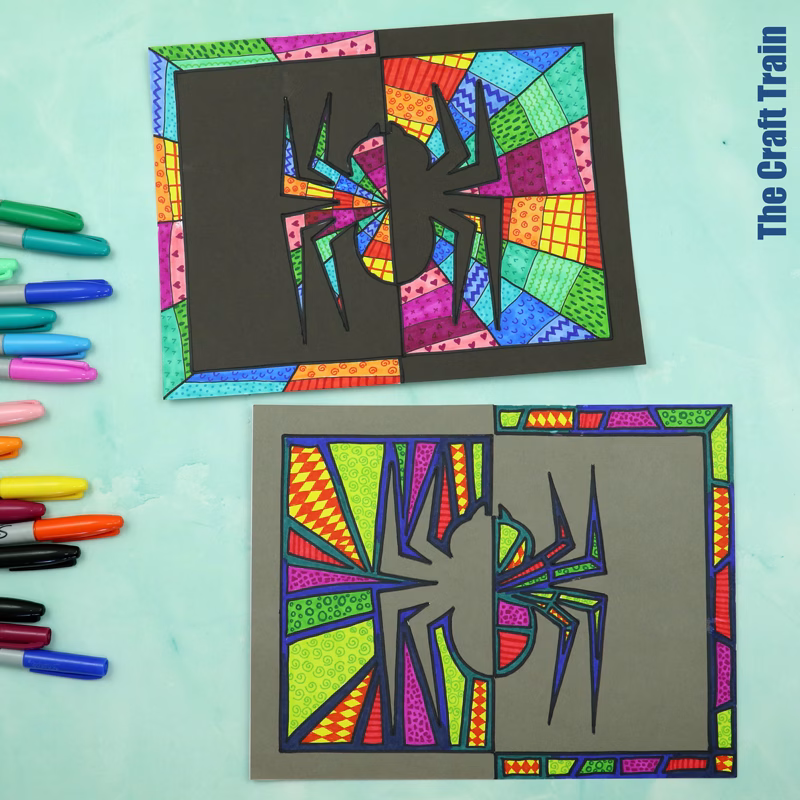
Both are lovely, but I personally prefer the freehand version.
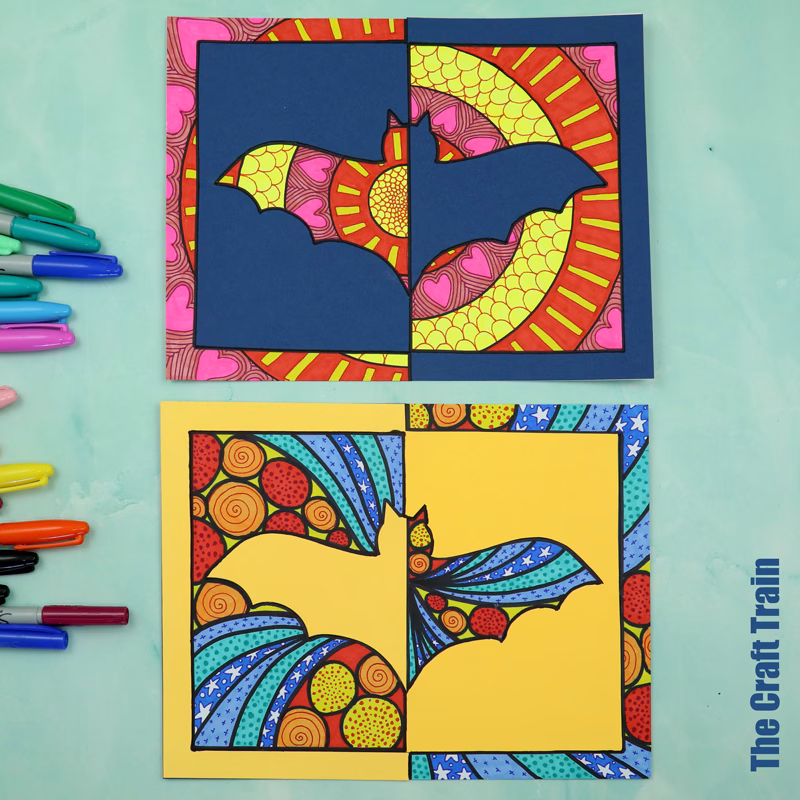
Here is the bat design for comparison. The top artwork has been created with a line art base, the bottom artwork has had the patterning drawn freehand.
It’s up to you which template you go with!
This activity is recommended for kids aged 8+, but younger kids could make it with some adult help. If working with younger kids, I recommend sticking to the simple shapes of the pumpkin and bat, and using a pattern starter grid. The spider is more fiddly to work with.
Here are over 40 Pattern Art Projects for Kids
Are you ready to get started?
How to create Halloween Positive Negative Pattern Art
You will need:
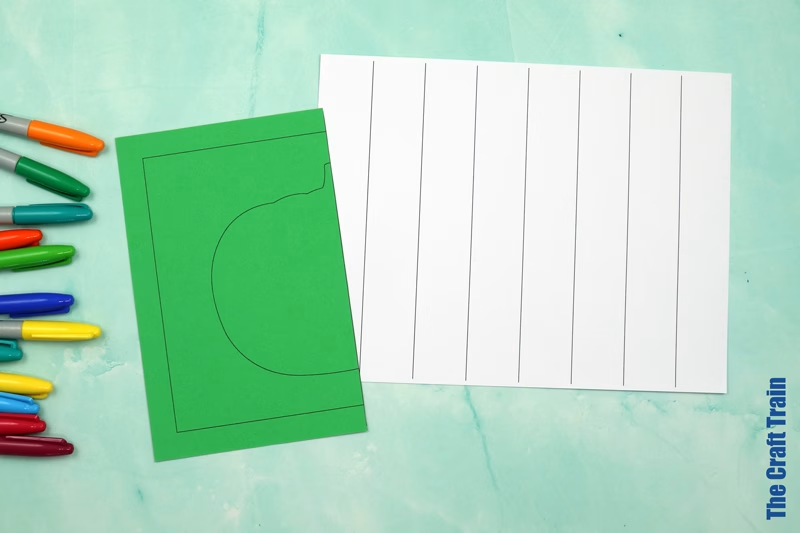
- Card stock in white – one sheet per artwork
- Card stock in a colour of your choice – one sheet for every two artworks
- Markers for doodling. You can use permanent “sharpie” markers or regular kids washable markers. Optionally, add fine-tipped pens for more detailed patterns
- Scissors
- Glue stick
- The Positive Negative Halloween Template, available in our printables store and TPT store
How To:
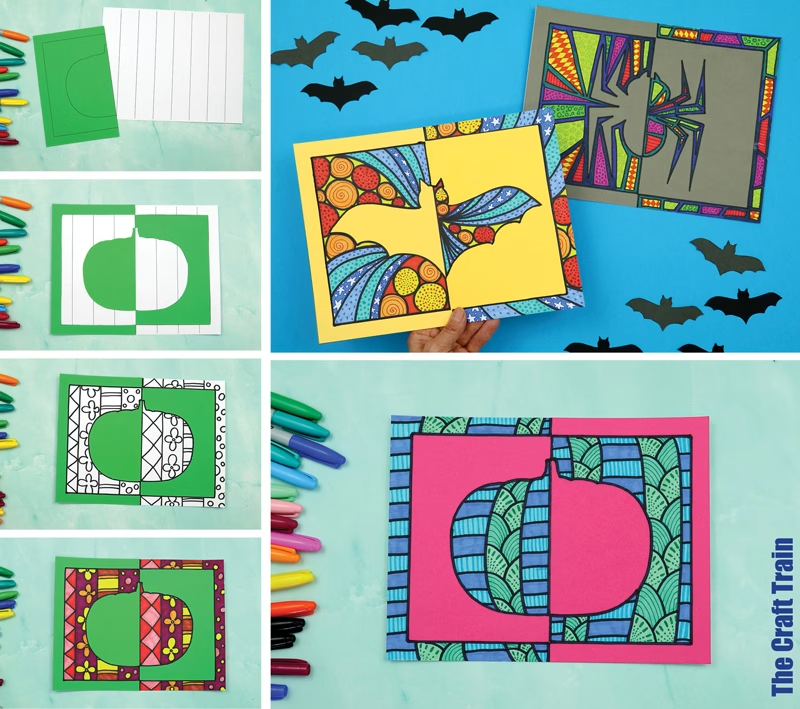
Print your design of choice on coloured card stock. Cut the page in half along the mid line. If working with a group, give half a page to each student. If working alone, discard the other half.
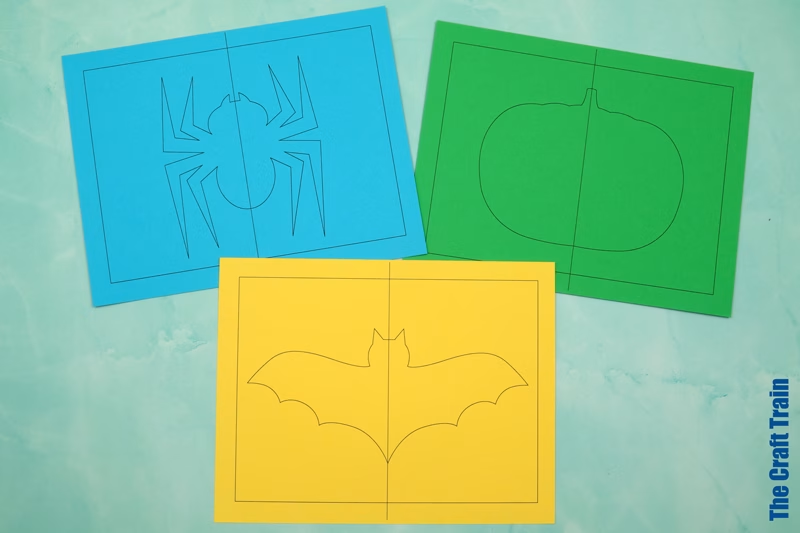
If using one of the predesigned line art pattern-starters, print to white.
Cut the design out along the marked lines.
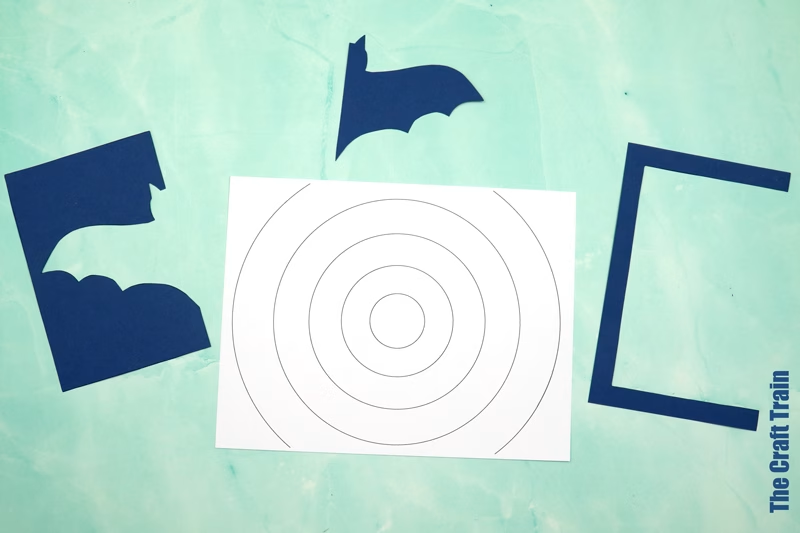
Glue the shapes on in a positive/negative pattern as pictured.
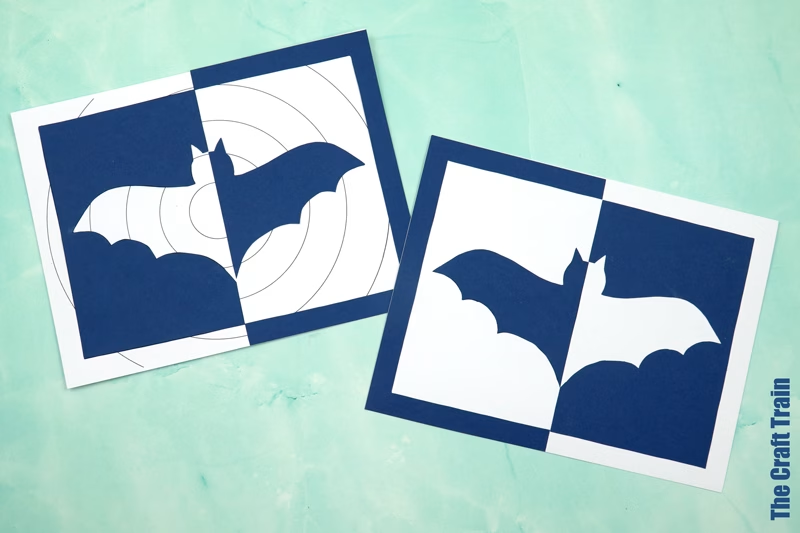
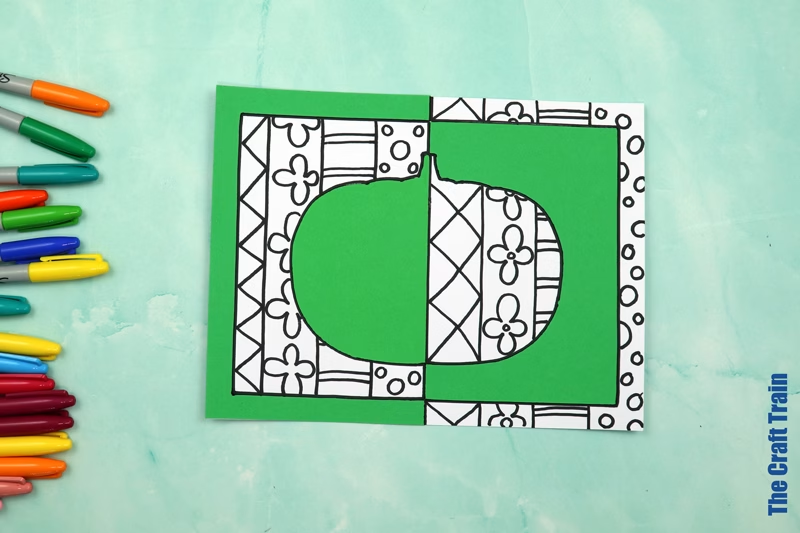
Use a black marker to outline the design pieces. If using a pre-lined page, use the existing layout as the base of your pattern art and decorate each section with doodle art. If starting with a blank page, design your own pattern from scratch.
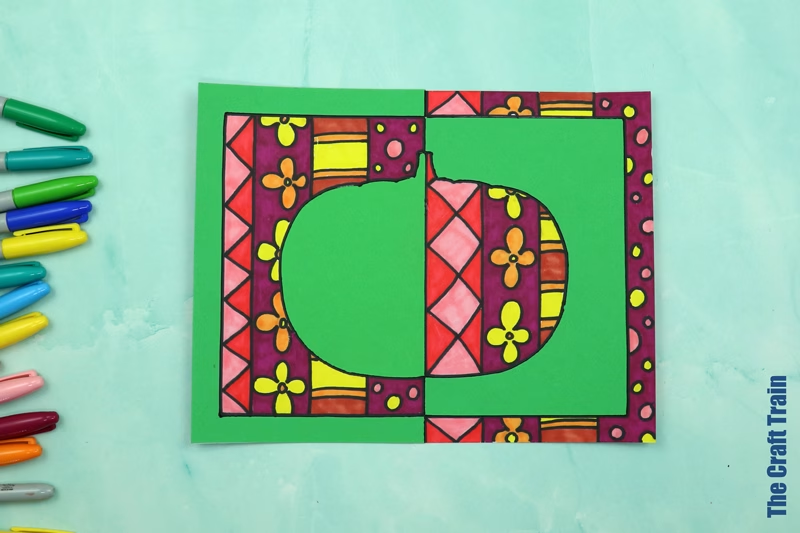
Here are the designs using pre-lined pattern starters.
Here are the three I drew freehand.
Happy Halloween patterning to all our readers!
More Halloween Printables for Kids
- Create super cute bat treat baskets
- Here’s a fun 3D ghost craft
- We also have a 3D Monster portrait craft with mix and match features
- Create super colourful 3D Bat Pattern art
See all our pattern art projects here