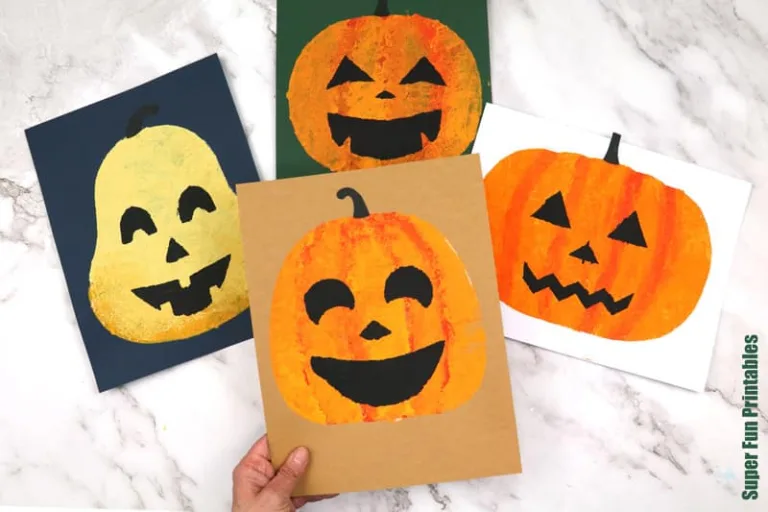
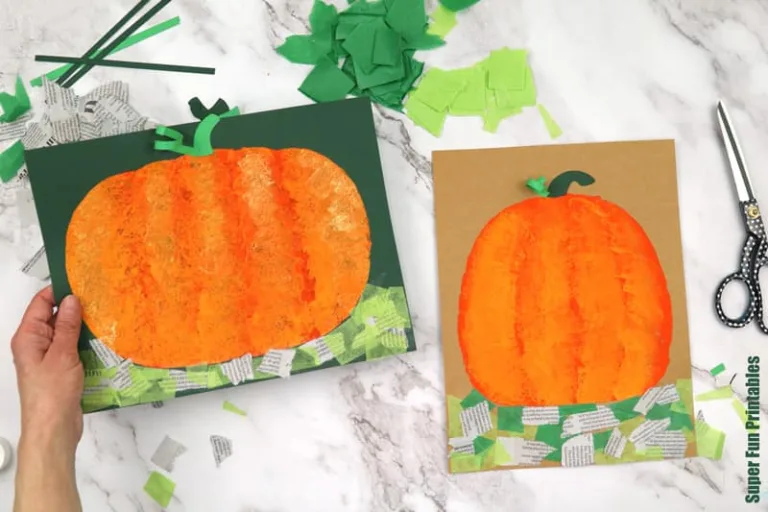
Today we’re showing you how to create pumpkin sponge art two ways using our latest template. Make a jack-o-lantern for Halloween or a natural pumpkin mixed-media collage art for Autumn or Fall.
It’s up to you!

Who doesn’t love pumpkins? They’re versatile in cooking (pumpkin soup is my favourite) and I love that you can use the shell to make lanterns for Halloween decorating.
I have to admit, making real jack-o-lanterns a bit daunting. Art projects are so much easier, haha.
If you’d prefer to create pumpkin art without a face, this template gives you the option to do that too.
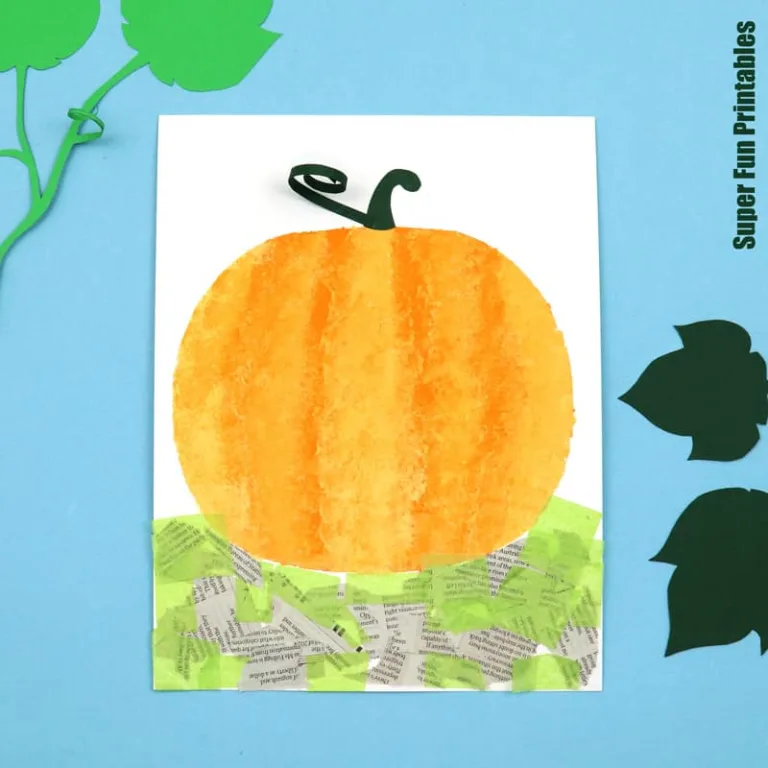
The technique used to make the base art for both pumpkins is the same, it’s only the final steps that are different.
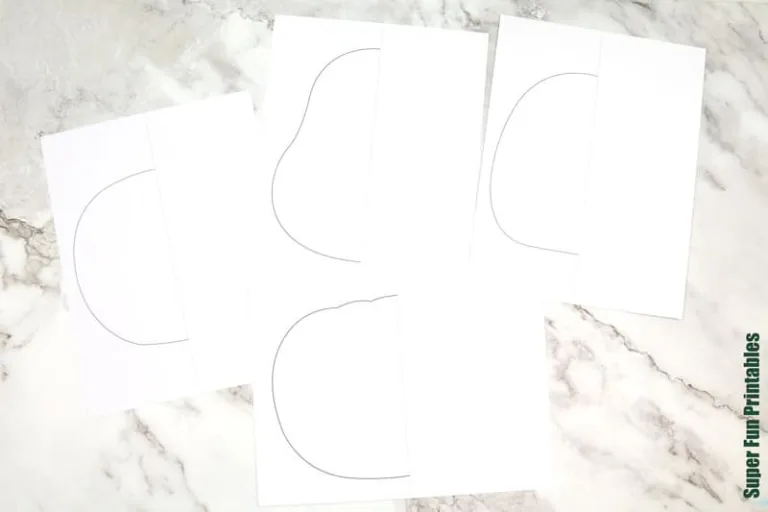
Pumpkins come in lots of shapes and sizes, so our template includes four different pumpkin options.
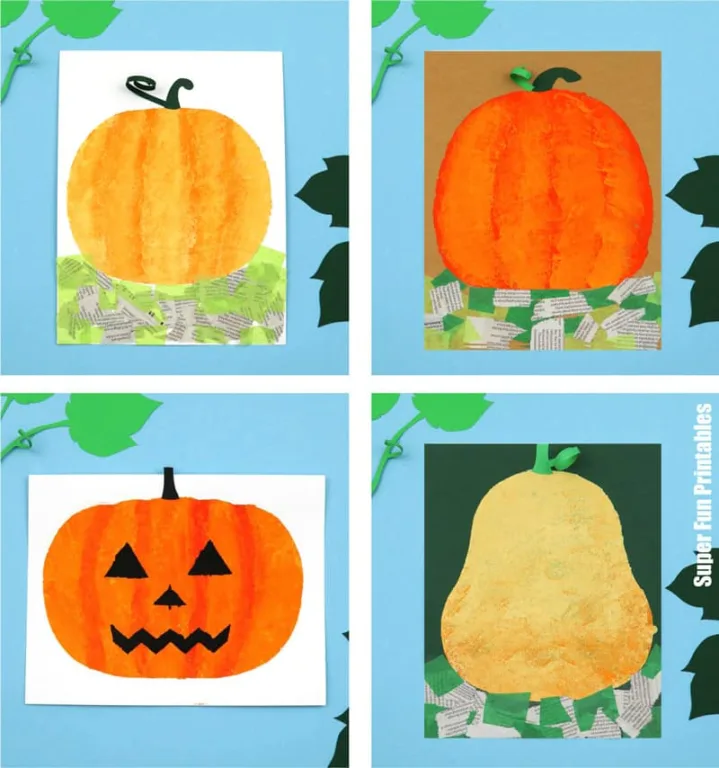
This activity is best suited to kids aged 8 and over. If you have preschoolers, they might enjoy this potato masher printing activity in pumpkin colours. We also have a set of open-ended pumpkin shapes that can be painted and decorated any way you like.
How to make pumpkin sponge art
For the pumpkin base
You will need
- Card stock in your choice of colour for the background
- White card stock or paper for the pumpkin mask
- A kitchen sponge cut into pieces
- Acrylic paint in at least two shades of orange and warm yellow
- Scissors
- Glue stick
- Paper clips
- The template, available in our printables store and TPT store
How to
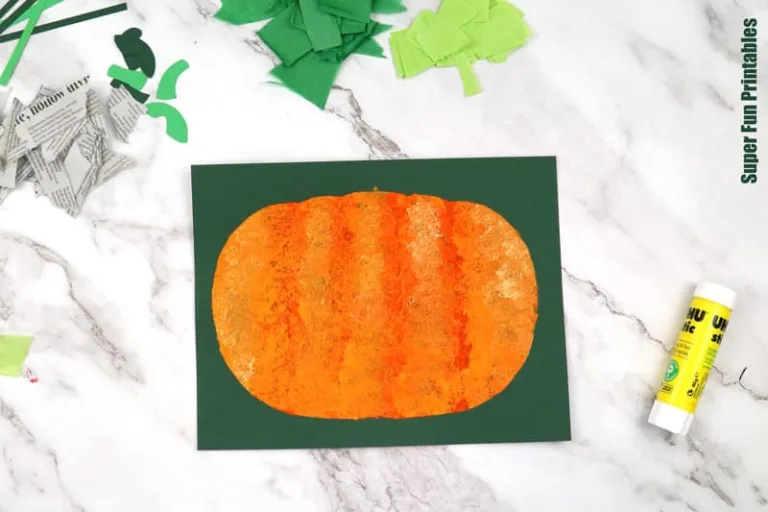
Fold a pumpkin template in half and cut out the shape. Discard the centre and use the outside as a mask.
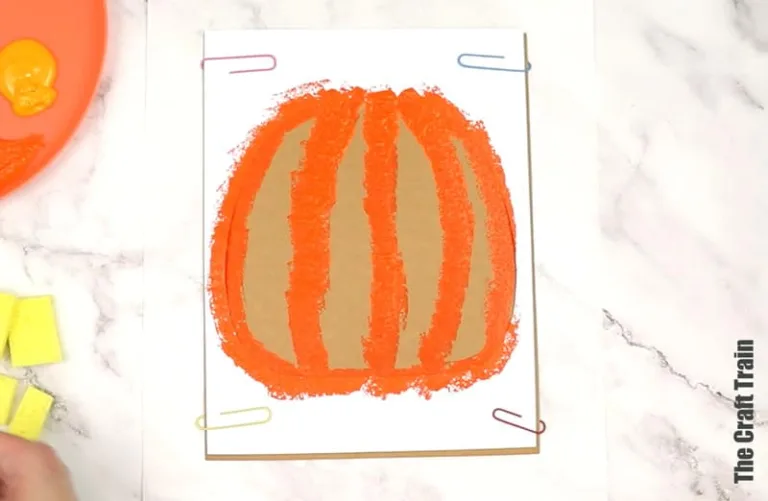
Place the mask over the top of your card stock. Use a paper clip in each corner to hold the mask in place.
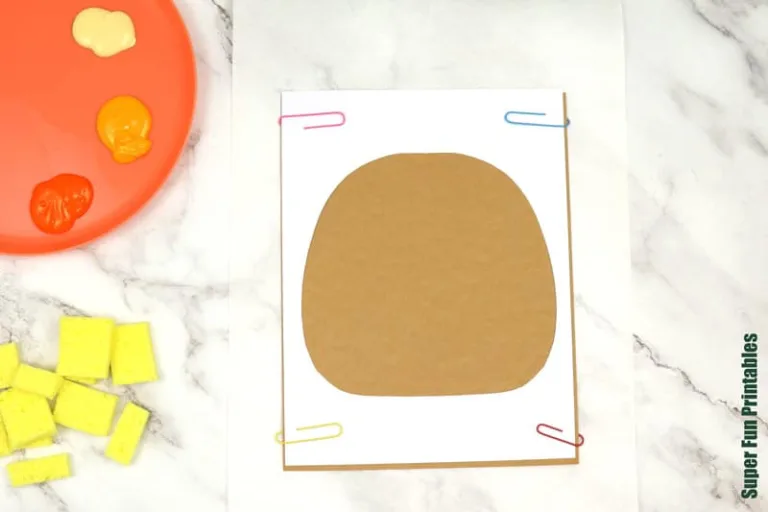
Use a square of sponge to dab the darker orange in curved vertical pumpkin lines first.
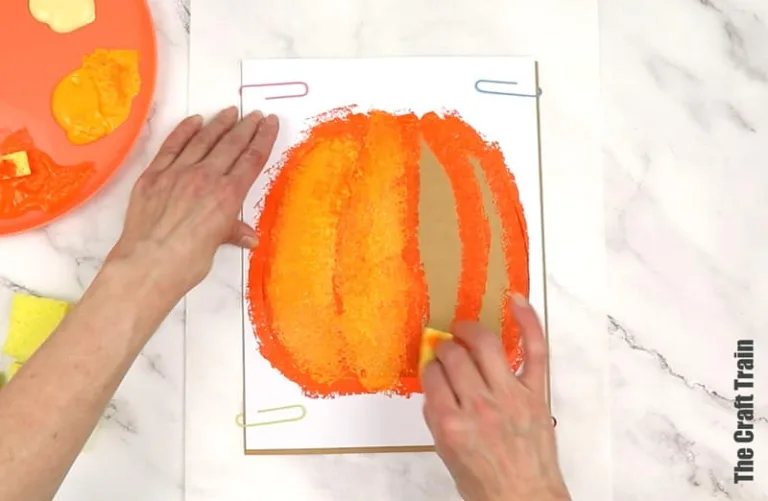
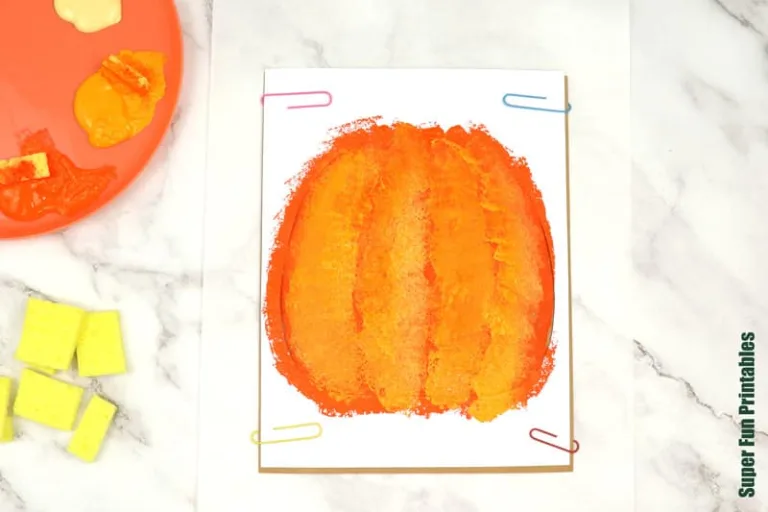
Use a second square of sponge in a lighter orange to dab in between those lines, overlapping to create a blend.
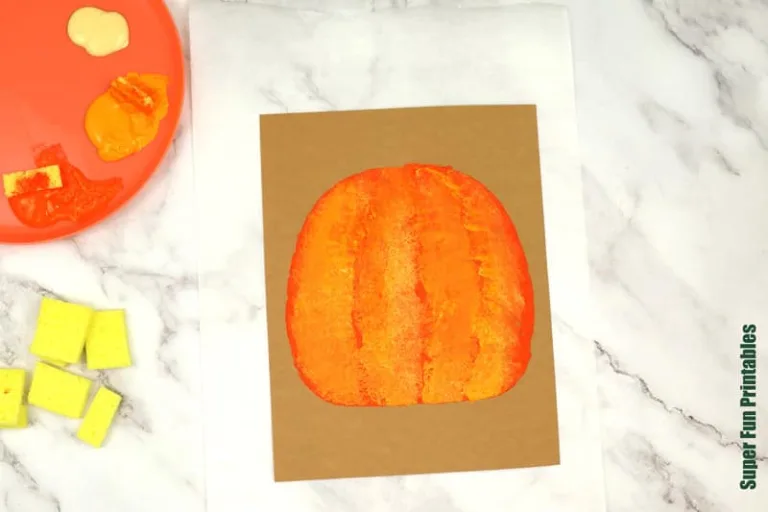
Peel the mask away and allow to dry.
For the Jack-O-Lantern Art
You will need
- The face stencil of your choice (included in the template)
- The Pumpkin Stalks (included in the template)
- Black acrylic paint
- Sponge squares
- A scrap of black paper
- Glue stick
How to:
Fold the pumpkin face shapes and cut along the individual eye, nose and mouth lines to create the masks.
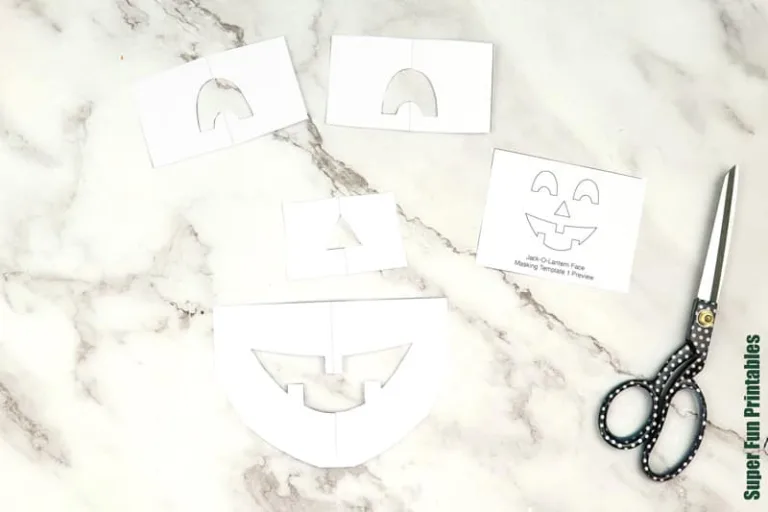
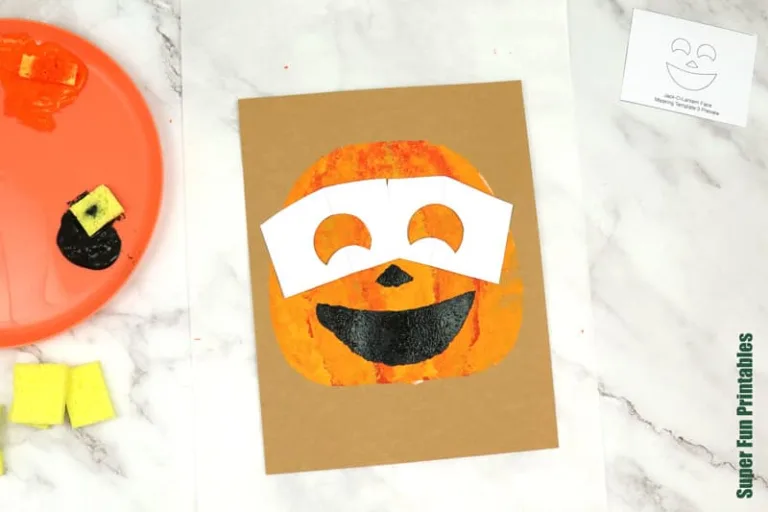
Place the mouth mask on the lower part of the pumpkin and use a sponge square to dab black within the shape. Remove the mask.
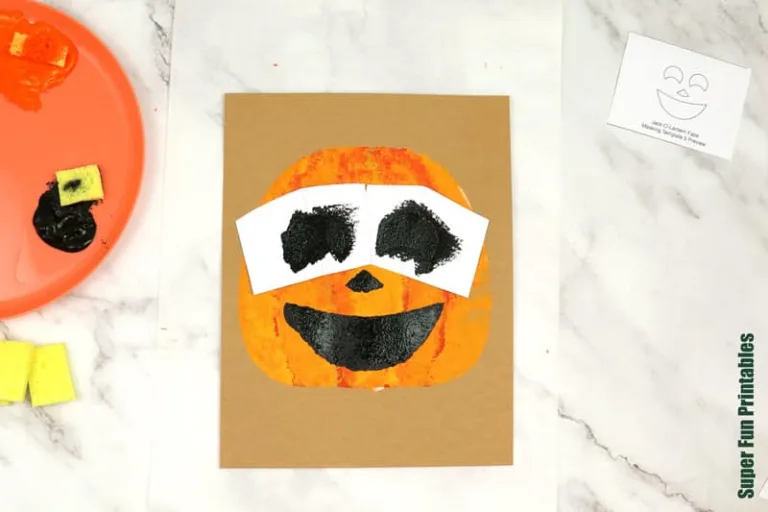
Repeat for the nose and eyes. You will probably need to trim away some of the excess white paper to get the eyes and nose where you like them.
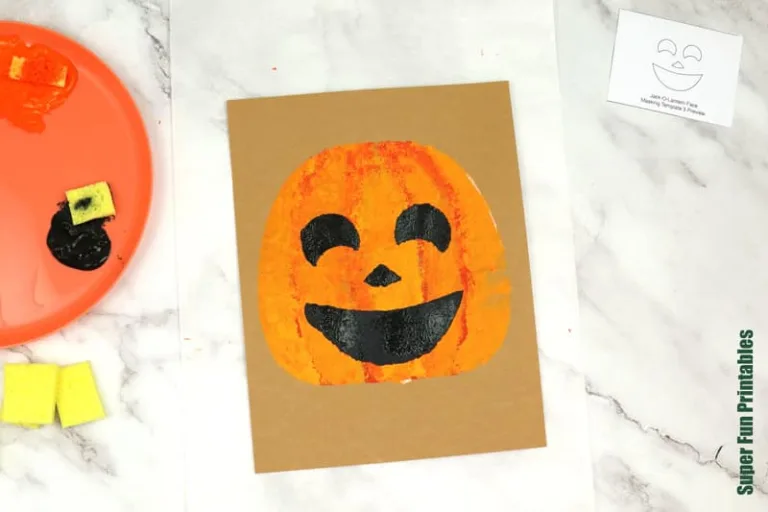
Use the template to create a stalk shape by tracing around it on a scrap of black paper or colouring it black. Glue into place. Alternatively, use a sharpie marker to draw your own stalk.
For the Natural Pumpkin Mixed Media Art
You will need
- The pumpkin stalks printed to green paper
- newspaper and green tissue paper torn into pieces
- Green paper cut into thin strips
- Glue stick
How to
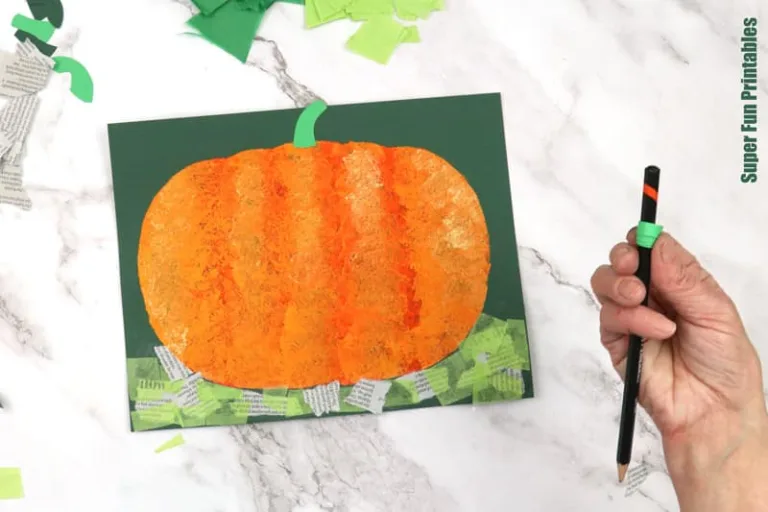
Glue squares of torn tissue paper and newspaper around the base to create a collage effect for the ‘dirt’.
Cut a stalk out and glue into place at the top of the pumpkin.
Wrap a thin strip of green paper around a pencil to create a paper curl and glue this next to the stalk.
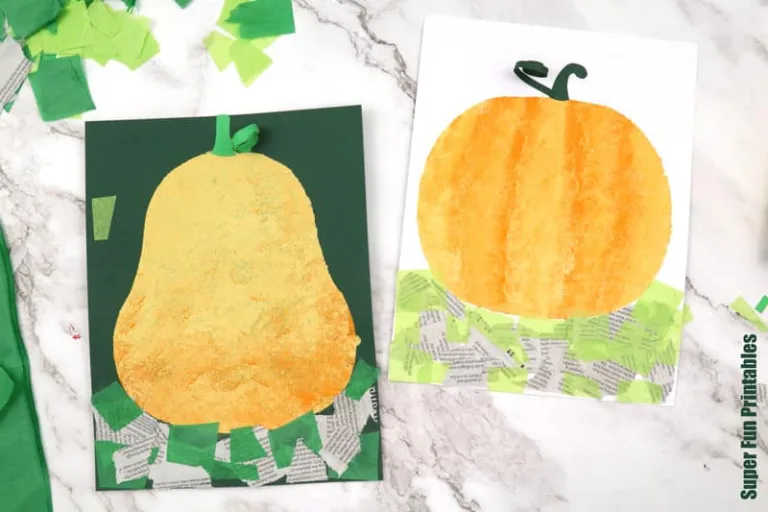
Which pumpkin project are you going to make first?
More autumn art projects for older kids
- Make autumn leaf doodle art using our paper leaf templates
- This apple positive negative art is another fun way to explore pattern
- Let kids get creative with comic leaf art
More printable art projects for all seasons