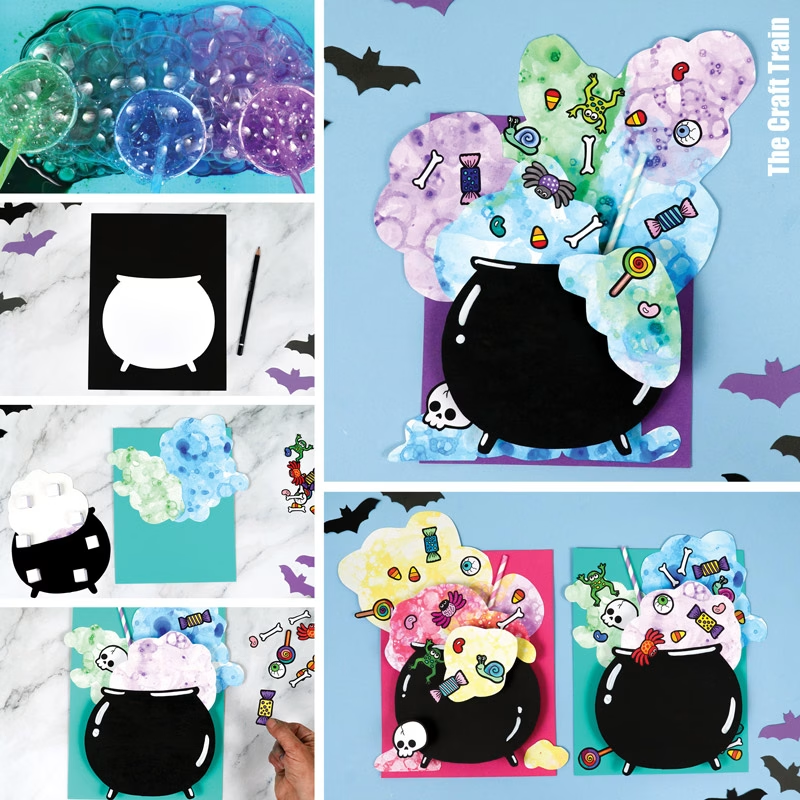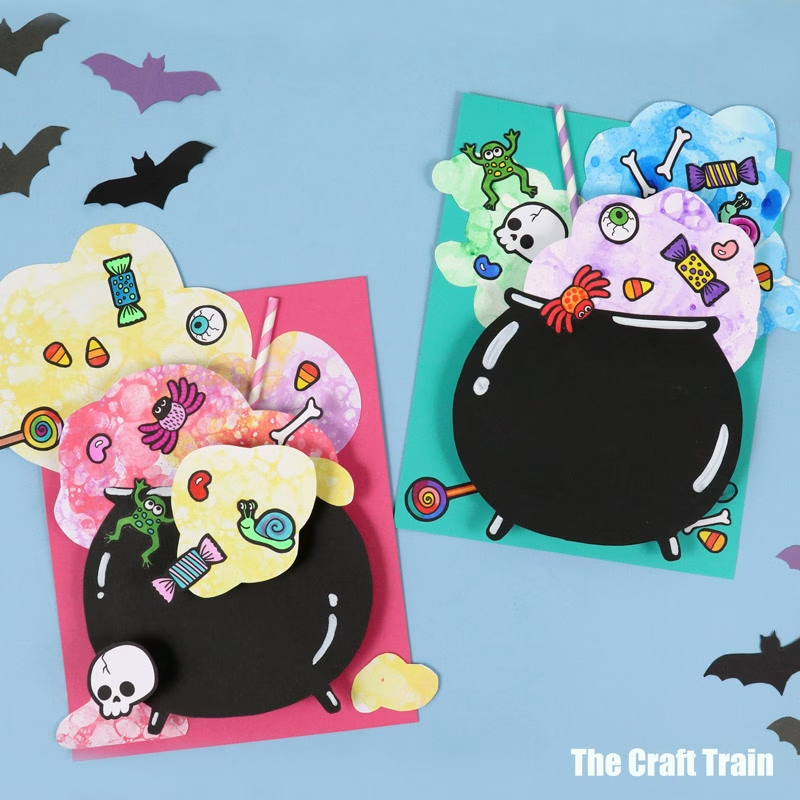
Conjure up a colourful 3D Bubble Art Cauldron artwork using bubble art printing and our template. This is a fun and easy Halloween art project kids will love!
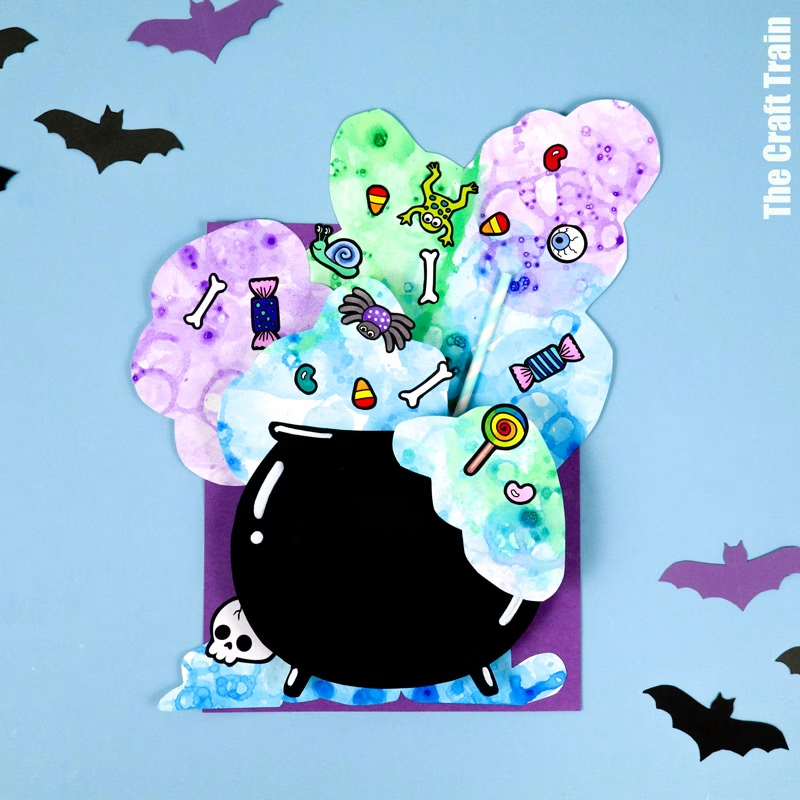
Q: How do you make a witch’s brew?
A: Only a witch would know. The rest of us have to guess!
All we can do is put a bunch of stuff in a pot, say the magic words, and hope for the best.
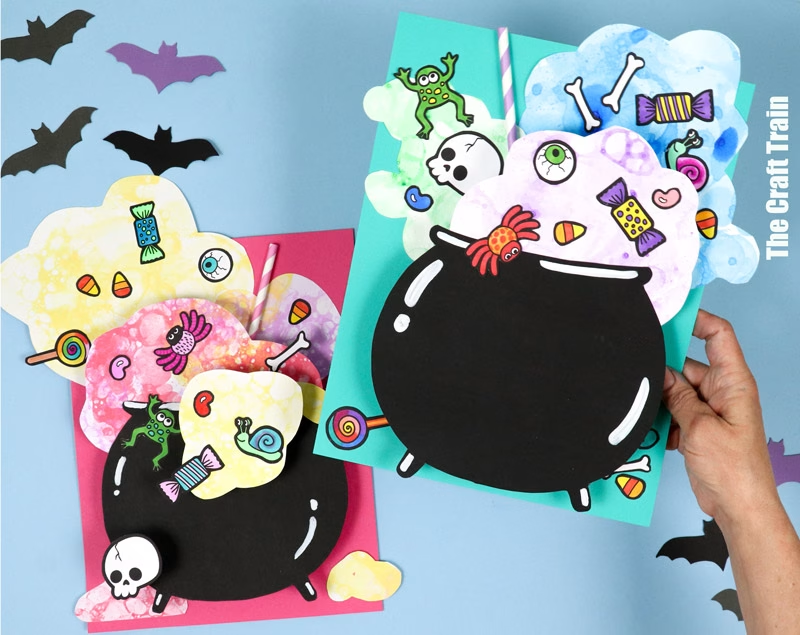
We may end up with more of a colourful explosion than any actual magic, but that’s all part of the fun, right?
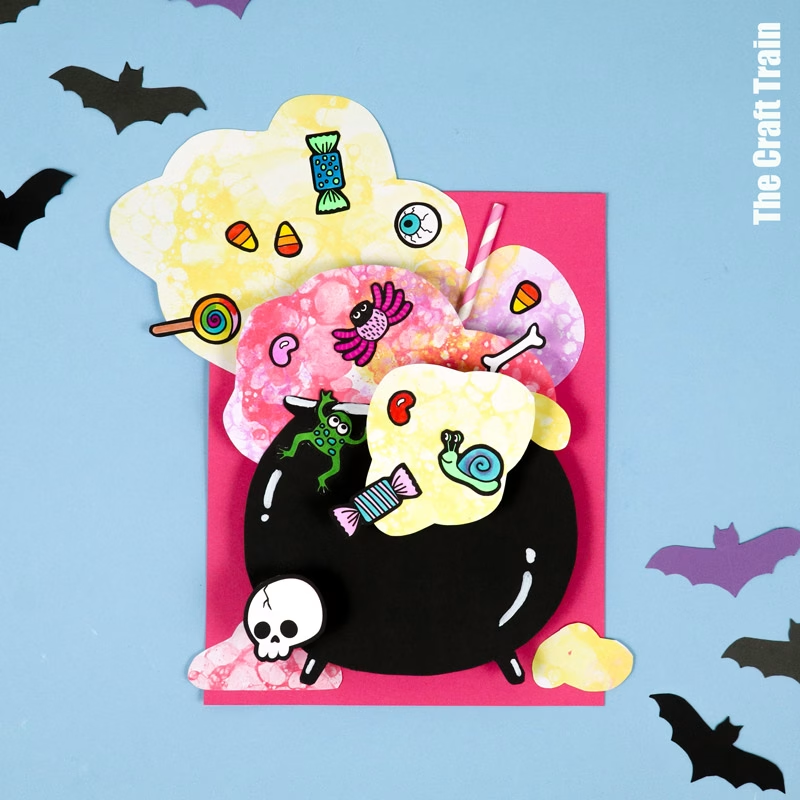
This cauldron artwork is a collage of bubble art prints and our printable graphics. The 3D effect has been made using printable support squares.
You could modify this project for younger kids by omitting the support squares and creating a flat collage instead of a layered image.
Age suggestion: 7+, but younger kids could make this with adult help
How to make cauldron bubble art
You will need to do this craft in 2 steps: 1) Making the bubble art prints and allowing them to dry completely, then 2) creating the 3D layered cauldron collage.
Step 1) Bubble Art Printing
Note: This activity gets messy. If possible, set your bubble art up outdoors or in an room with hard floors where mess can be easily cleaned up.
I’ve used liquid watercolour paints (affiliate link) for my bubble art prints. You can substitute this with tempera paint, food colouring (a cheap but messier option), or watered-down poster paint as we’ve used here. The quantities in this tutorial are for watercolours.
You Will Need
- Good quality art paper – watercolour paper is ideal, but cartridge paper also works
- Liquid watercolour paint
- Water
- Dishwashing liquid (I’ve used Morning Fresh)
- A shallow plastic tray to catch the mess
- Paper cups or bowls – 1 per colour you wish to use
- Straws
How To
Set the paper cups inside your shallow tray. In each cup, place 1tbsp each of liquid watercolour paint, dishwashing liquid and water. Stir to combine.
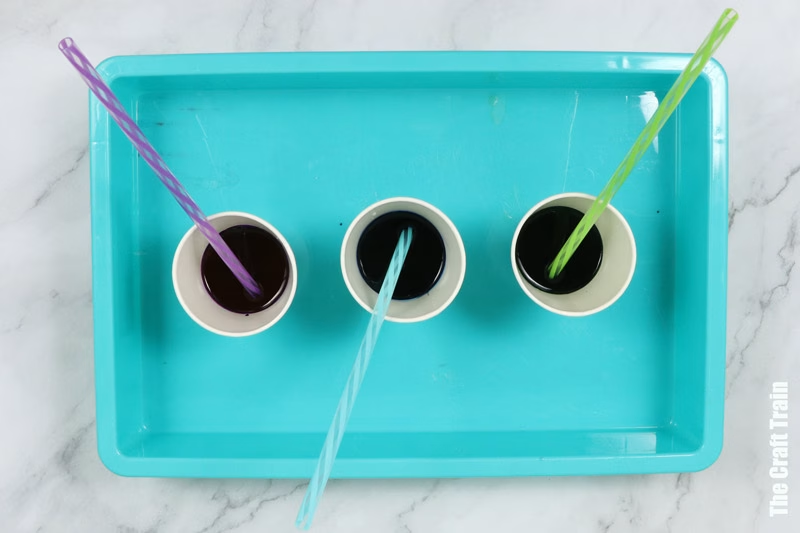
Use a straw to blow bubbles in the mixture. Continue until the bubbles rise over the rim of the cup.
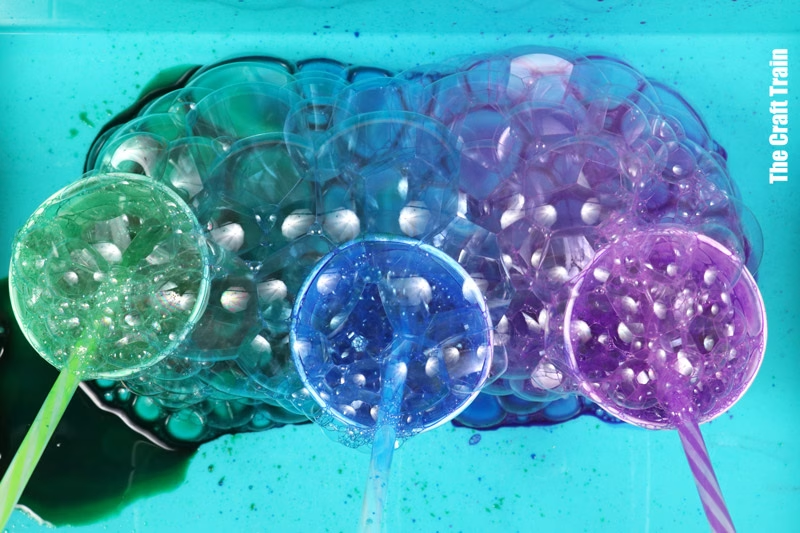
Place your sheet of watercolour paper over the bubbles to create a print.
Repeat with more of the same colour, then add bubble prints from the other cups too.
Create multiple sheets of bubble prints so you have more options for your collage.
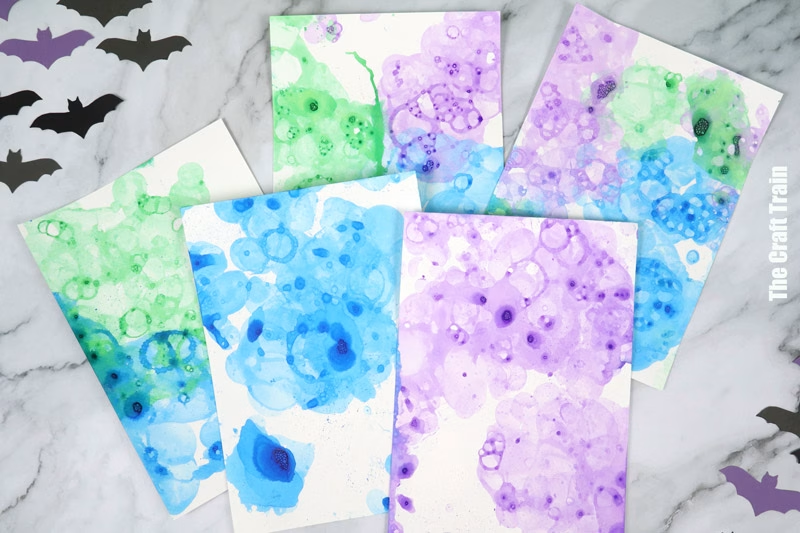
Lie flat until completely dry.
Step 2) 3D Witch’s Cauldron Collage
The bubble shapes will be different for every collage. Kids can work with what they have and create either one or two layers using as many of the 3D support squares as they need.
You will need
- Card stock in white – 2 sheets per artwork
- Card stock in black and a background colour of your choice
- Markers for colouring
- White paint pen (optional)
- Scissors
- Glue stick
- Paper straws (one per artwork)
- Sticky tape or masking tape
- The Cauldron Bubble Art template, available in our printables store and also on ETSY
How To
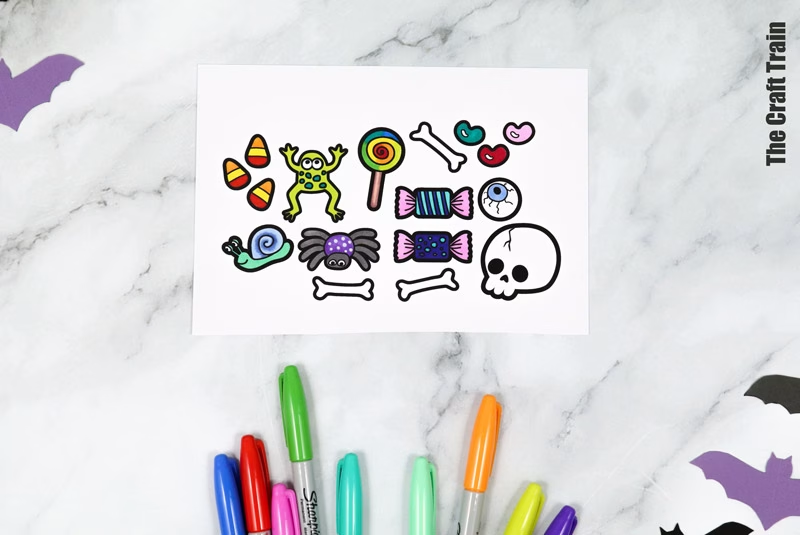
Print the template to white card stock.
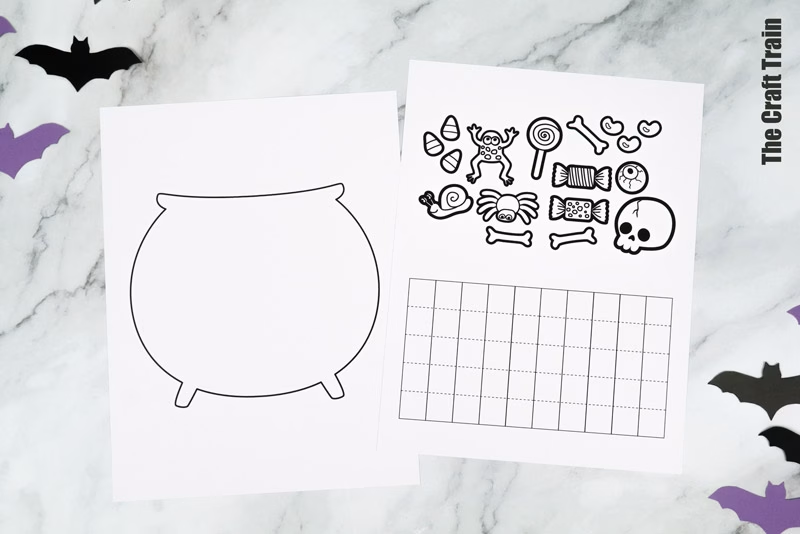
Colour the decorations, then cut the shapes out.
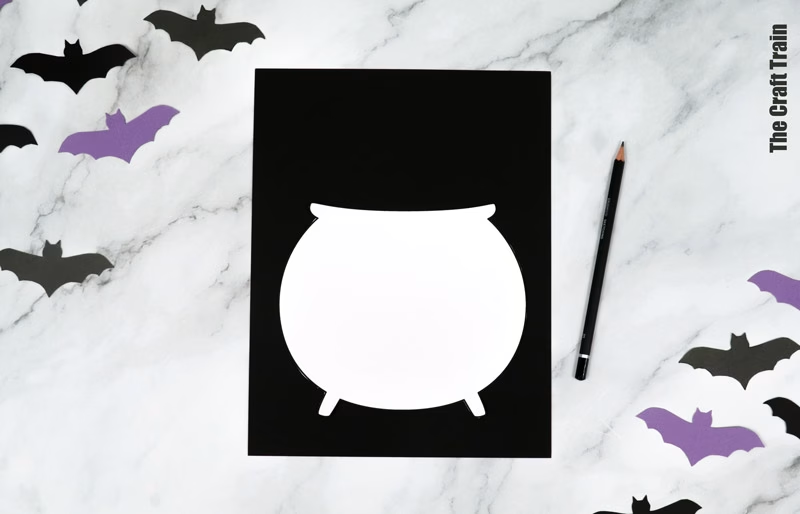
Trace the cauldron shape onto a black sheet of card stock and cut it out. Optionally, use white paint pen to add shiny highlights, creating a 3D effect.
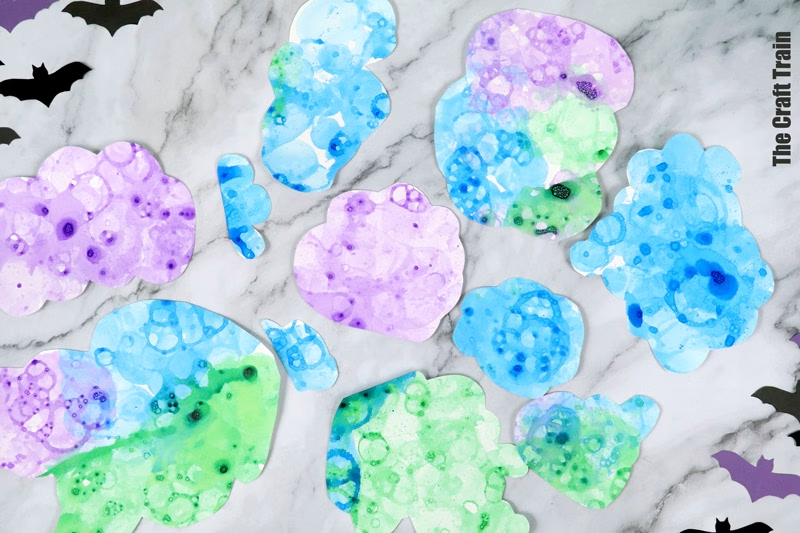
Cut the bubble art into smaller, cloud-like pieces, following the natural shape and line of the prints. You will need a minimum of 3 pieces for a single 3D layer, or 4 pieces for two 3D layers. The bubble clouds need to be different sizes, with larger clouds for the back and smaller shapes for the front.
Cut the support strips out, then fold and glue them into squares.
Collage the two largest bubble clouds onto the top half of your backing sheet. Place one edge of each shape in the approximate centre of your page. Allow them to overlap the edges of the backing sheet in different directions.
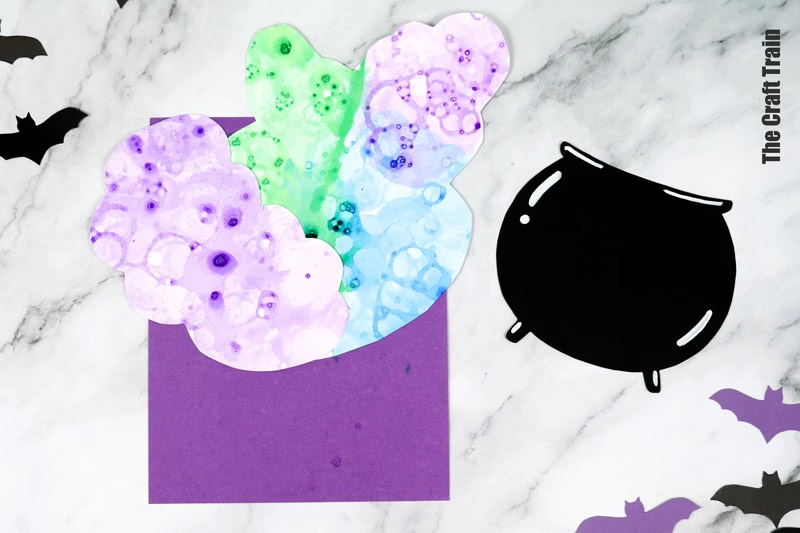
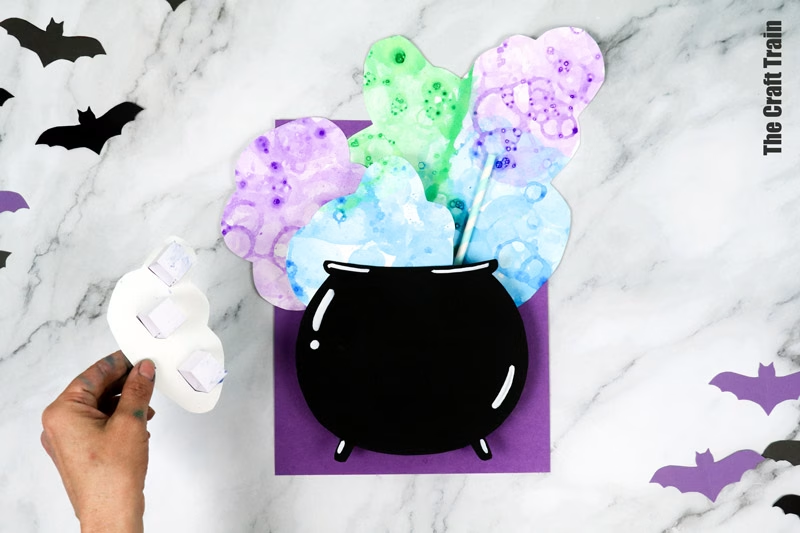
Glue a third, smaller bubble cloud onto the back of your cauldron so it appears to be bubbling over the brim of the pot.
Use tape to attach the straw to the paper, arranging it at an angle to resemble the handle of a stirring spoon.
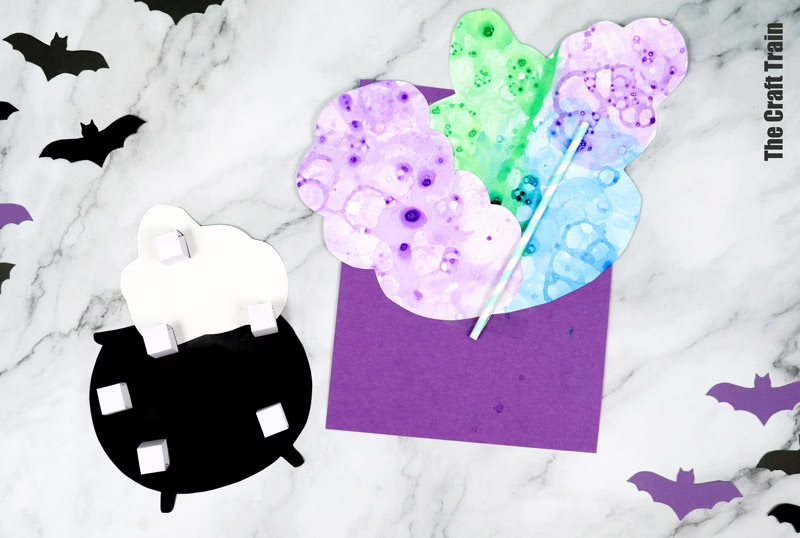
To create an additional 3D layer, glue 3D support cubes onto the back of a smaller bubble shape, then glue this over the rim of the cauldron so it looks like it’s dripping over the edge. If you have some bubble shapes left over, you can cut them into smaller shapes and glue them to the floor.
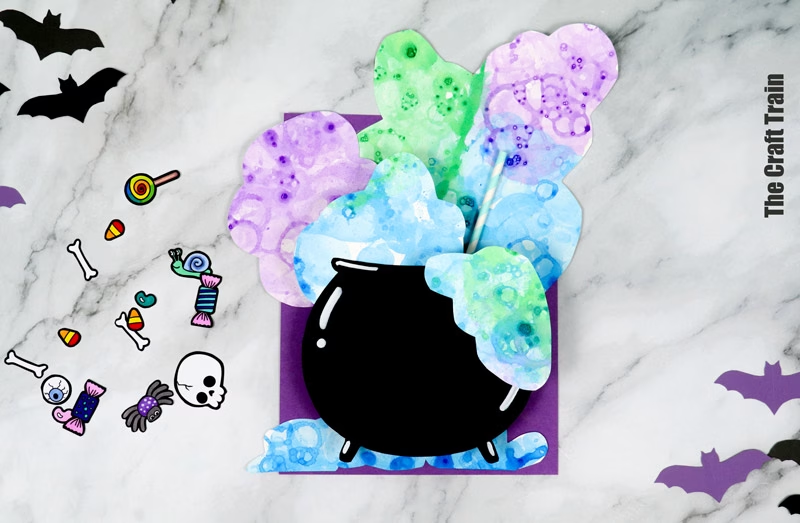
Glue the colourful decorations into the bubble collage for the finishing touch.
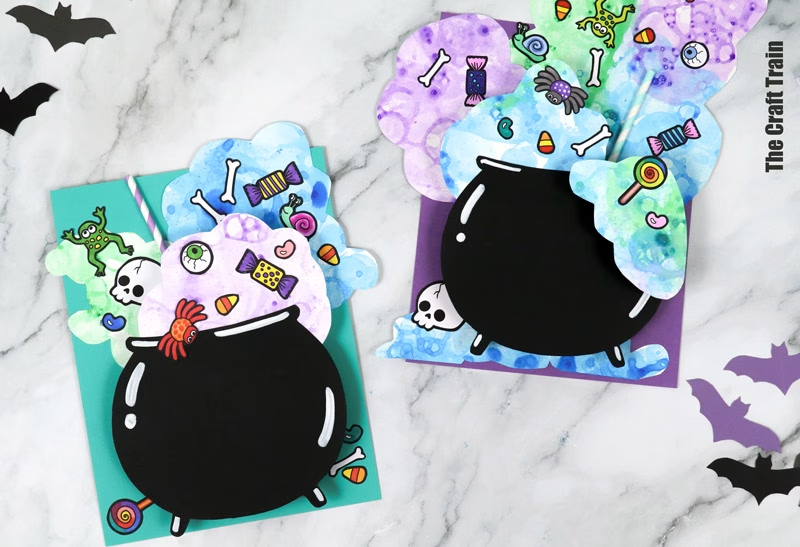
Now all you need to do is say the magic words, and—poof—who knows what might happen?
You might also like
- This Squeegee Ghost Scrape Art is so much fun!
- Halloween Positive Negative Art is great for older kids
- Preschoolers will love creating a fizzing Witch’s Brew for pretend play