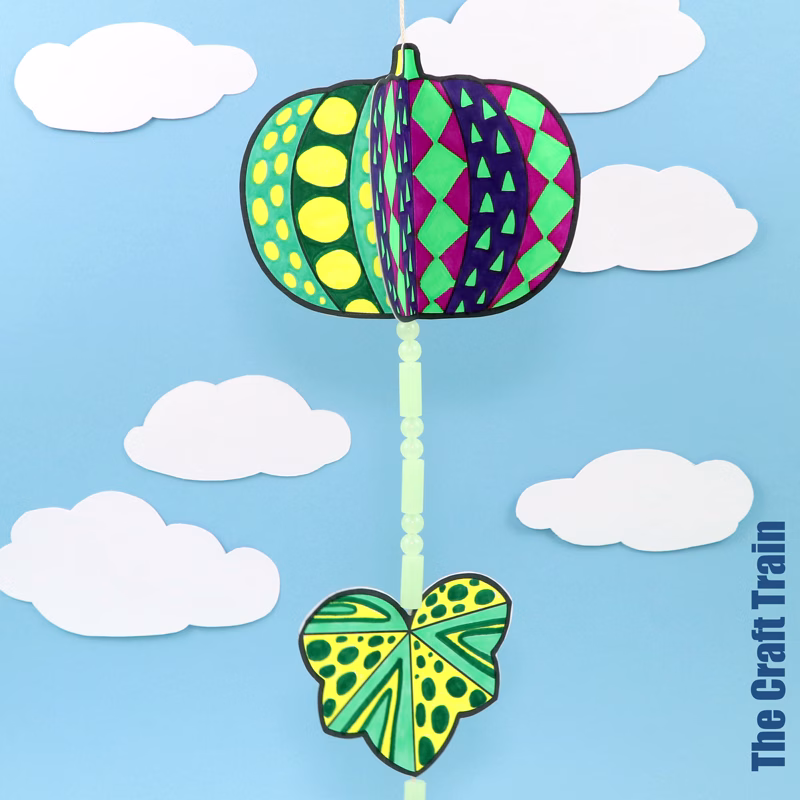
Create a gorgeous pattern art pumpkin decoration that spins in the wind! Decorate your pumpkin with doodle art patterns or simply colour, cut and paste together.
This is a fun STEM craft for older kids, teens and adults. It’s perfect for Autumn or Fall, Harvest season, Thanksgiving or as a Halloween decoration. Younger kids could also make this with some adult help.
Pumpkin crafts are so fun, right?
Even in Australia, where we are enjoying some fabulous Spring weather, pumpkins are everywhere thanks to Halloween. And in our house, we like to eat them all year round anyway because they’re so yummy!
To get this decoration to spin like the video example, you need to hang it somewhere where it can catch the wind. An undercover outdoor area works, or somewhere near a window (if you leave the window open).
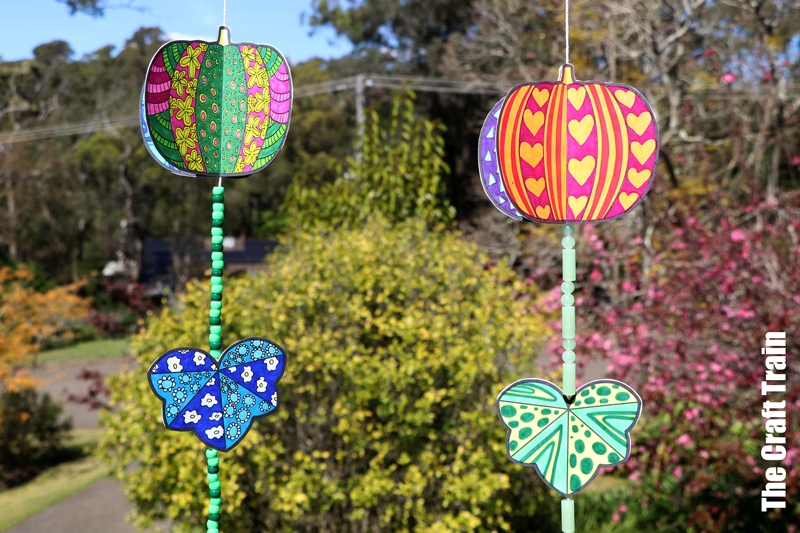
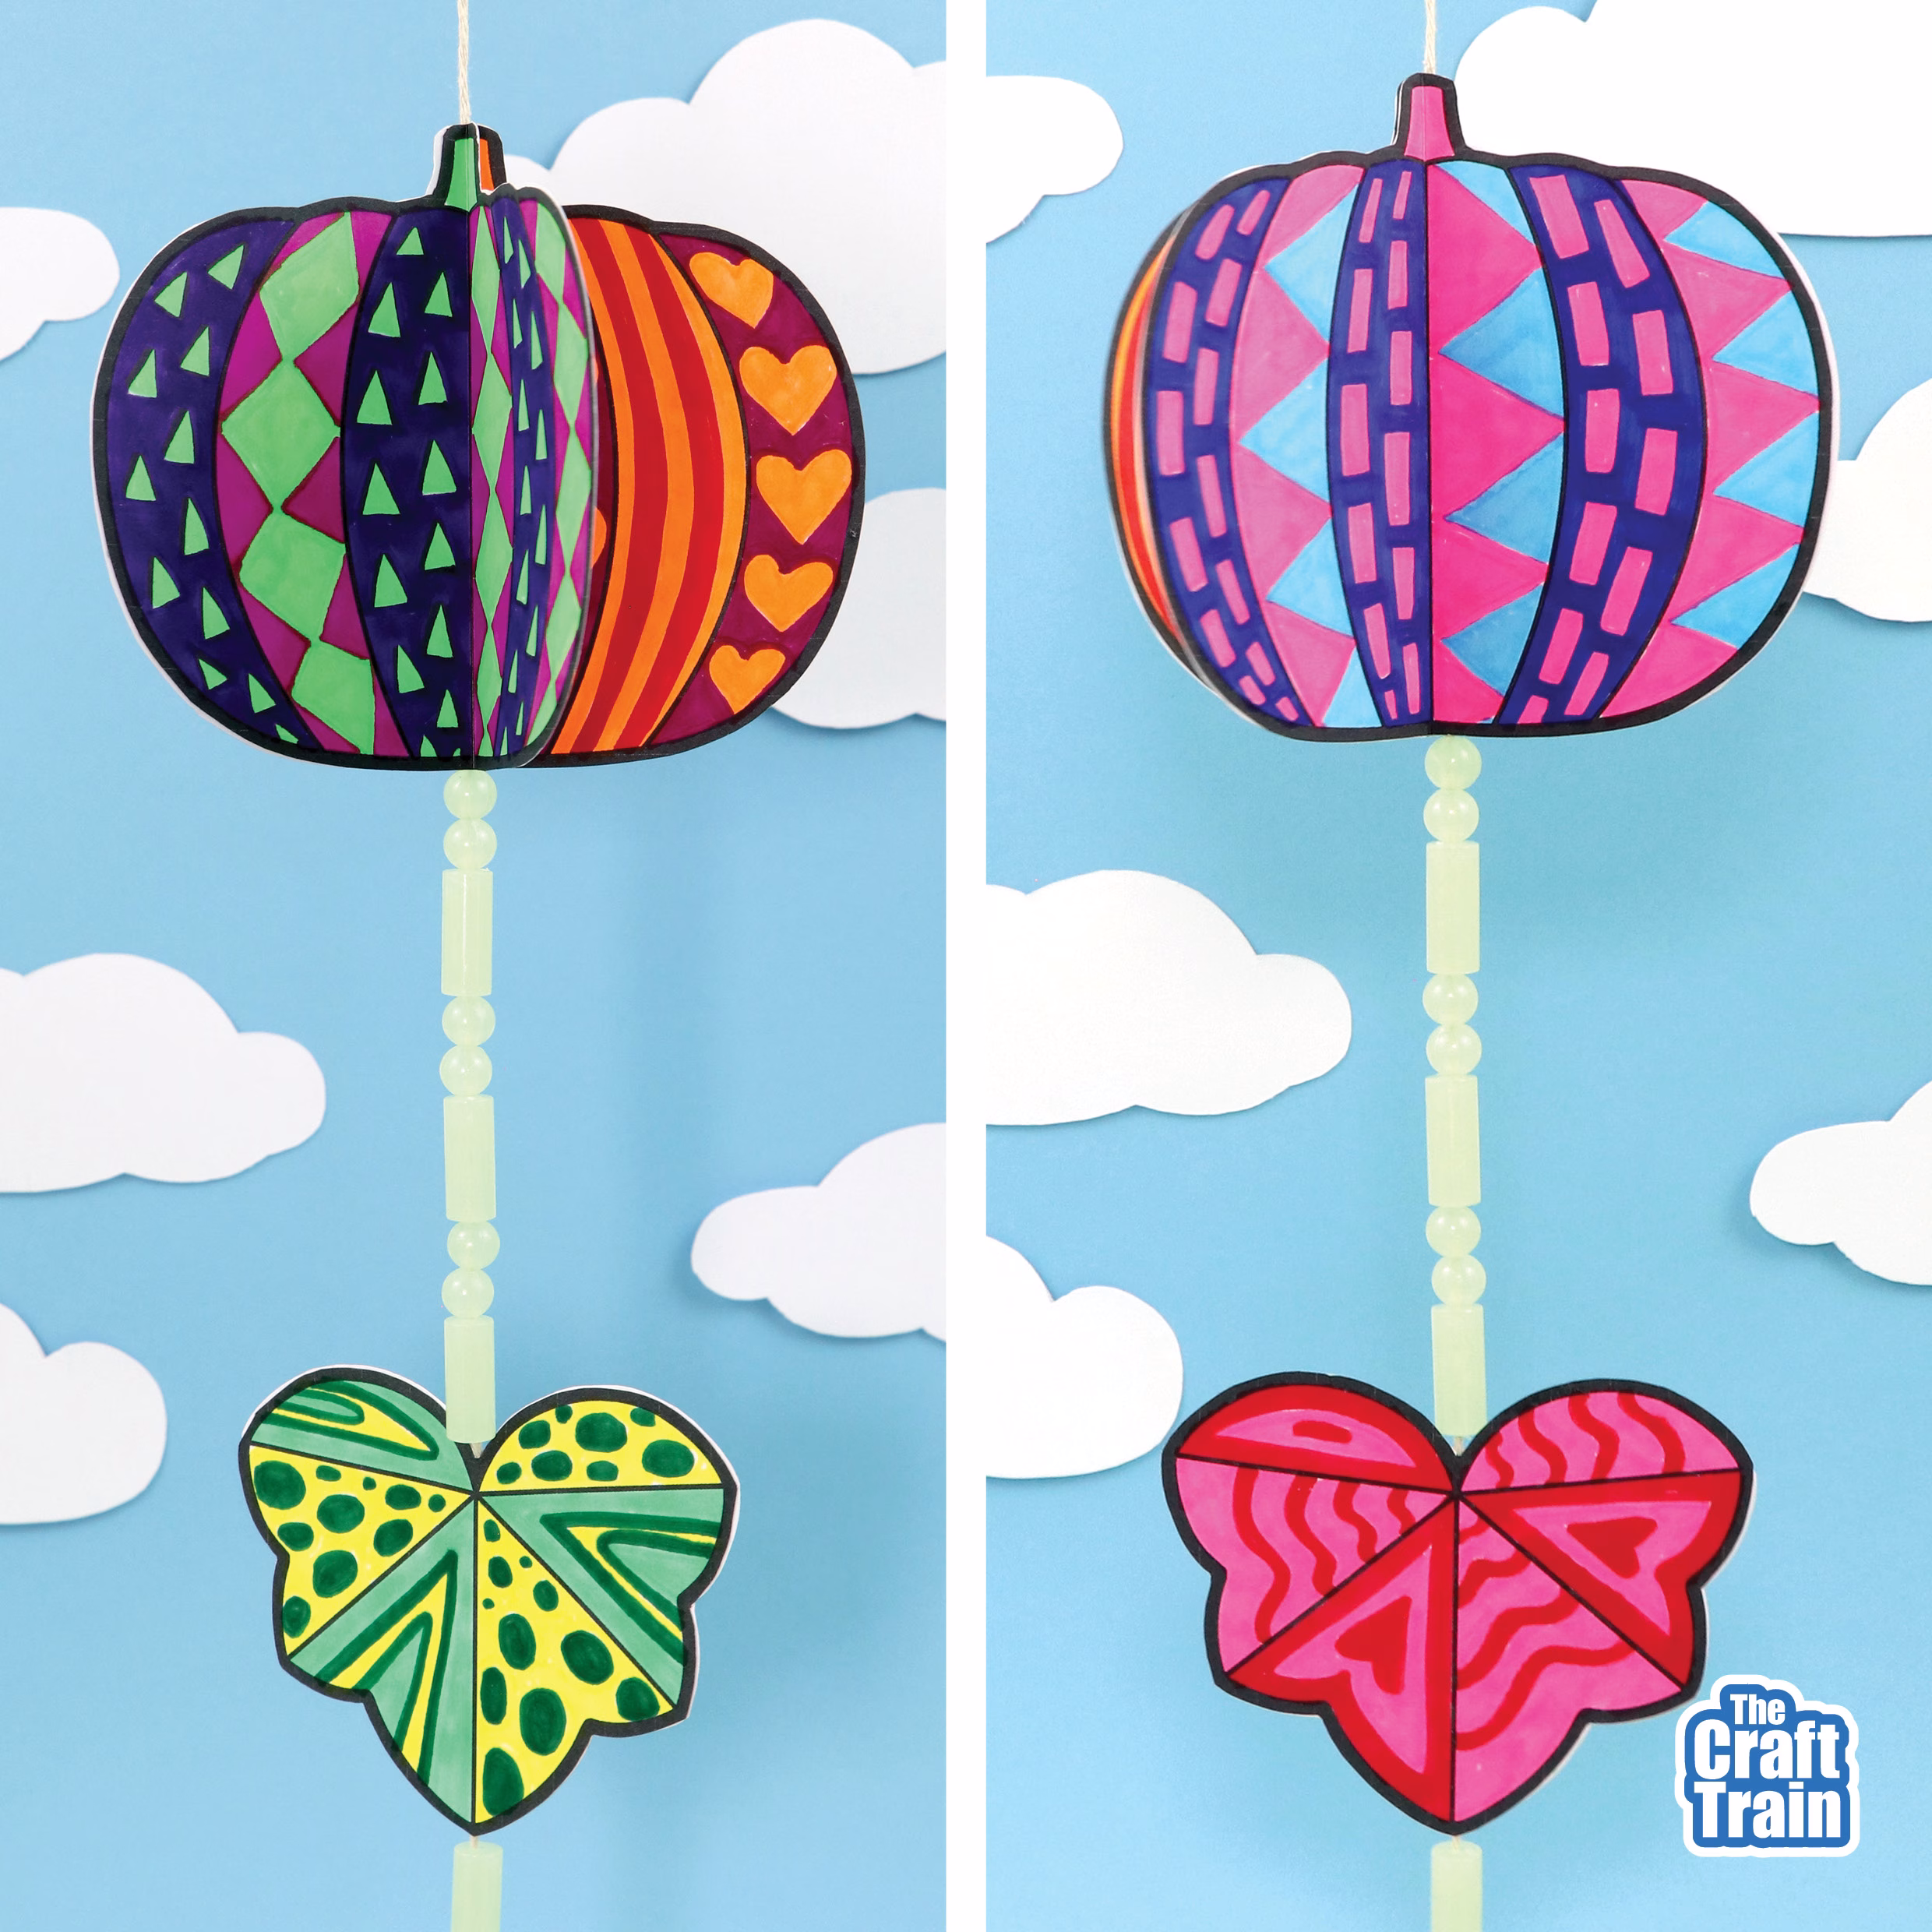
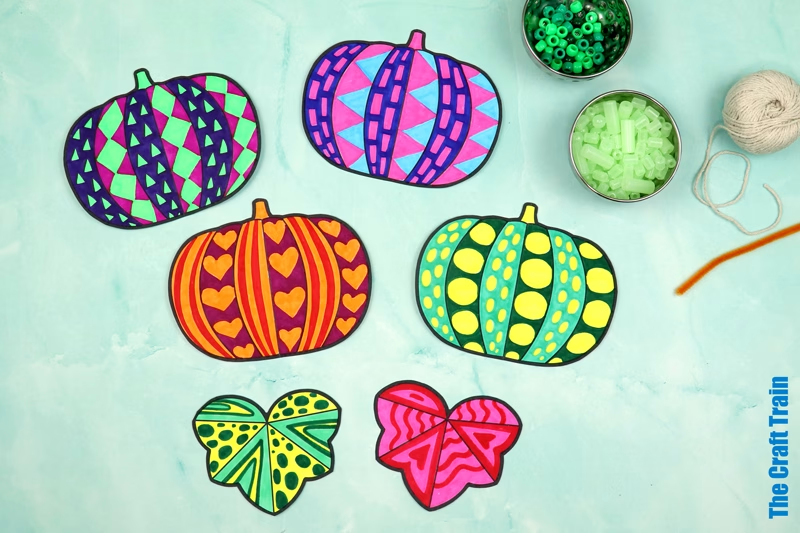
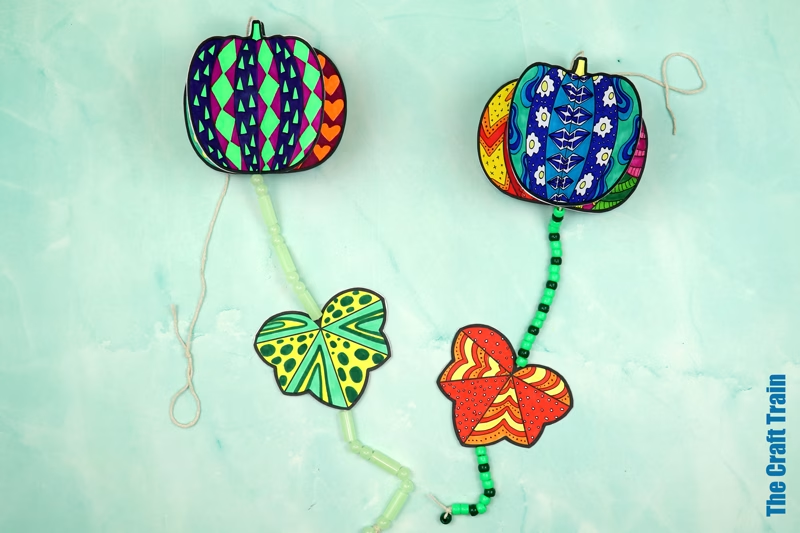
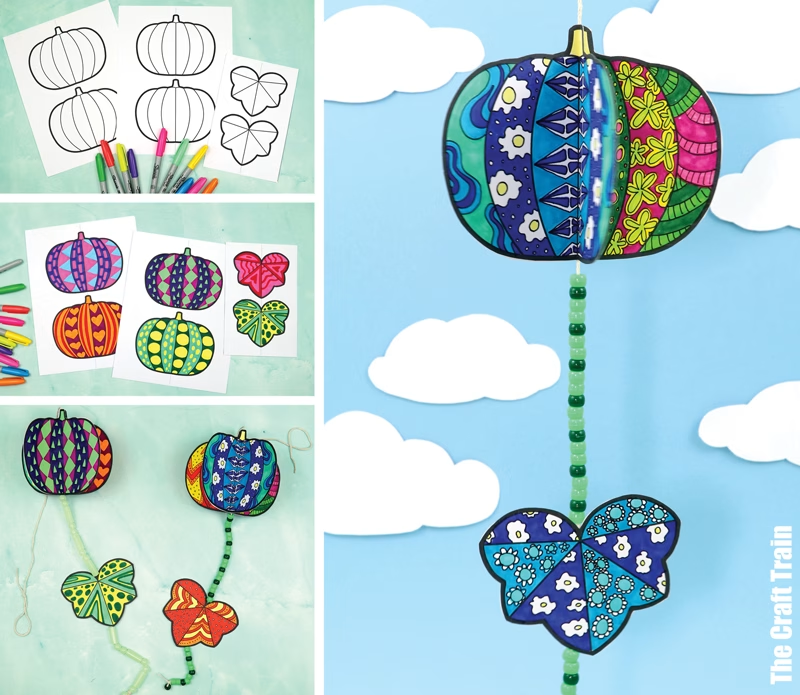
I created two examples of the project …because one is never enough when it comes to pattern art.
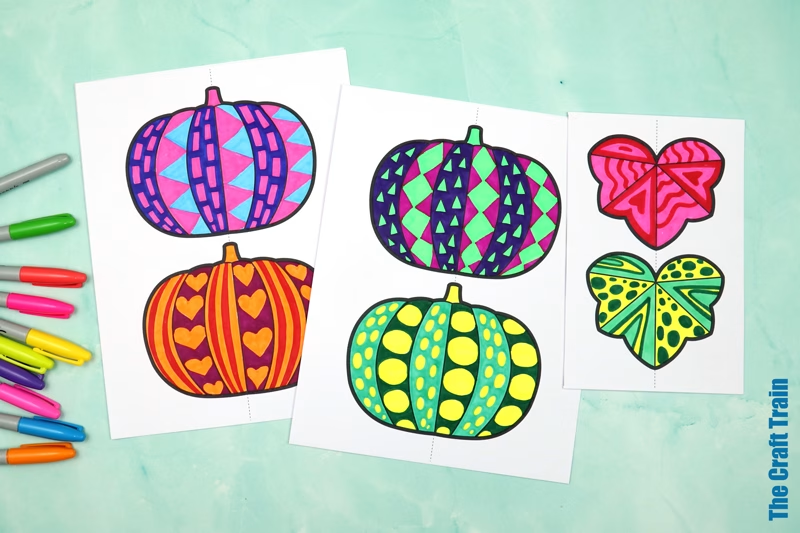
The first design is super simple. I decorated my pumpkin with hearts, circles and other basic geometric shapes. I used Neon Sharpies (affiliate link) to give it some extra ‘pop’. You don’t need to pattern the sections at all if you don’t want to, you can simply colour, cut and paste. A rainbow pumpkin would look great!
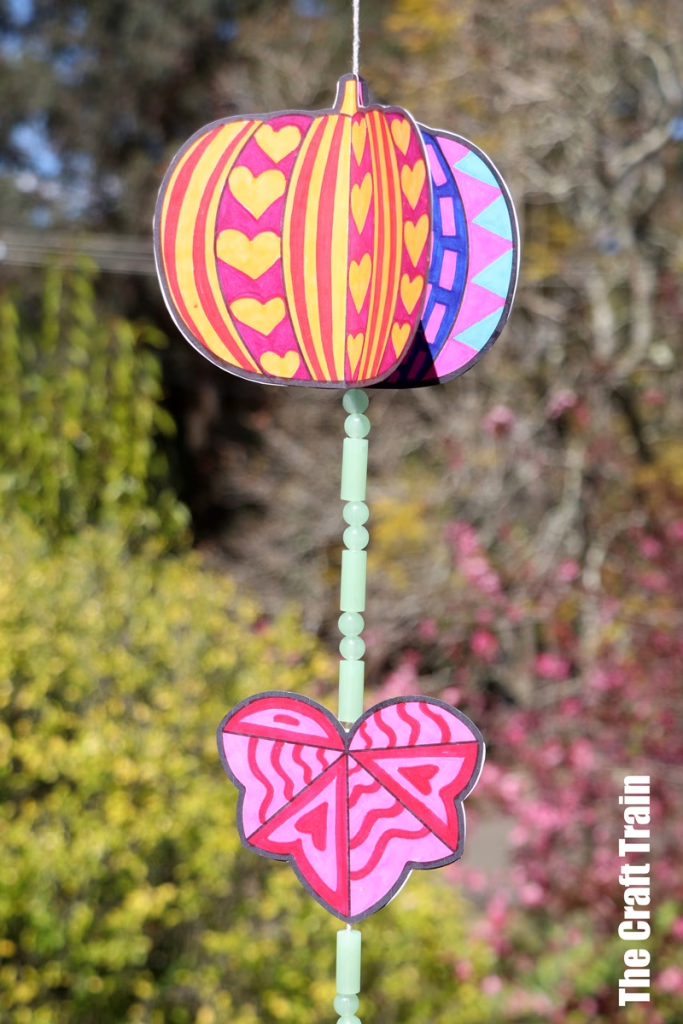
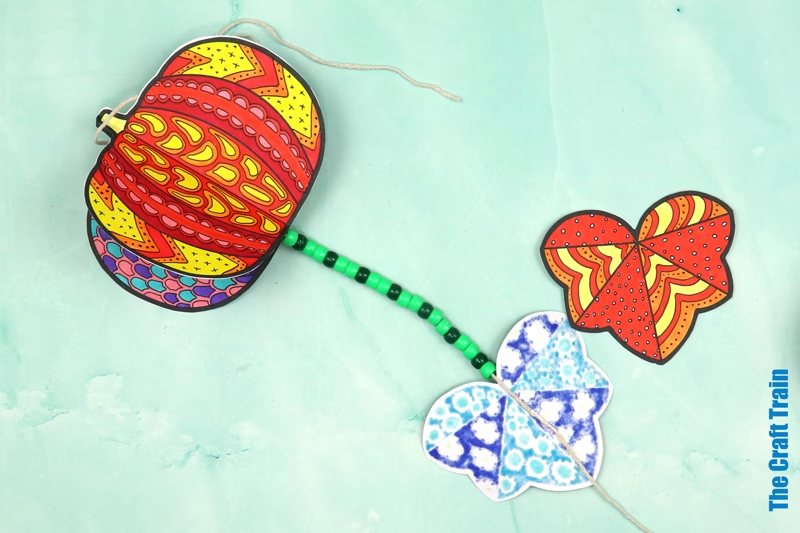
For my second example, I decorated the sections with more elaborate patterns by adding details with some Sharpie fineliners (affiliate link).

You will need cardstock and beads for this activity. Pony beads (affiliate link) work best because they have wide holes and are easy to thread. I also managed to scrounge some glow-in-the-dark beads from my supplies cupboard and used those too. They went perfectly with my geometric neon pumpkin.
Tip: When adding beads to your decoration, use a bent scrap of pipecleaner as a DIY ‘needle threader’ to make threading quick and easy.
You can make this craft without beads if you have none, but be aware that they add weight to help the pumpkin spin better. If you leave them out, your pumpkin may not spin in the wind.
For patterning inspiration, we have a free sheet of printable doodle art swatches here.
Here are over 40 Pattern Art Projects for Kids
Let’s get started …
How to make a Pattern Art Pumpkin Spinner
You will need
- Card stock in white – 3 sheets will create one pumpkin, 5 sheets will make 2 pumpkins
- Markers – use permanent “sharpie” markers or regular kids washable markers, plus optional fine-tipped pens for more detailed patterns
- Scissors
- Glue stick
- String
- Pony beads – we’ve used approximately 33 per decoration
- The pumpkin spinner template, available in our printables store and TPT store
How to
Print out the pumpkin and leaf shapes as per the instructions in the download.
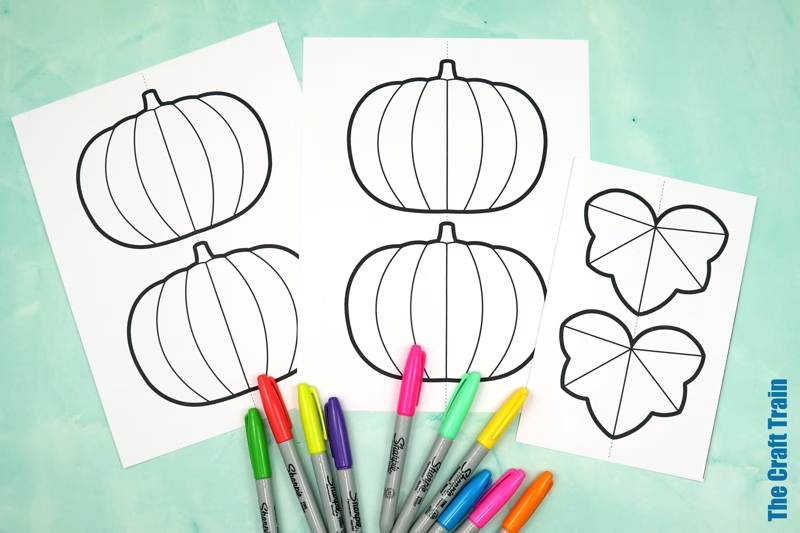
Colour and decorate 4 pumpkin panels plus 2 leaves.

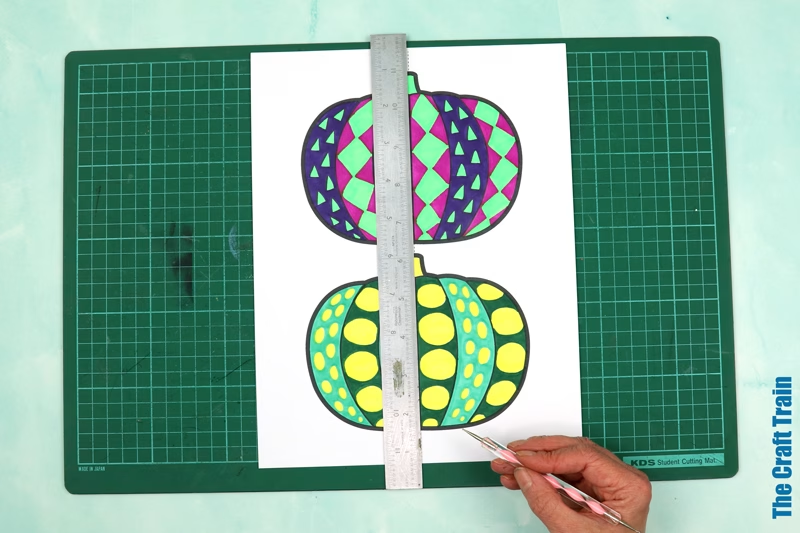
Score the pumpkin fold lines by using a ruler and scoring tool to create an indent where the pumpkin should be folded (the scoring is optional). Fold the pumpkin pages along the dotted lines.
Cut the pumpkin and leaf shapes out.
Fold and glue the pumpkins together to create a stack of 4 folded pumpkins.
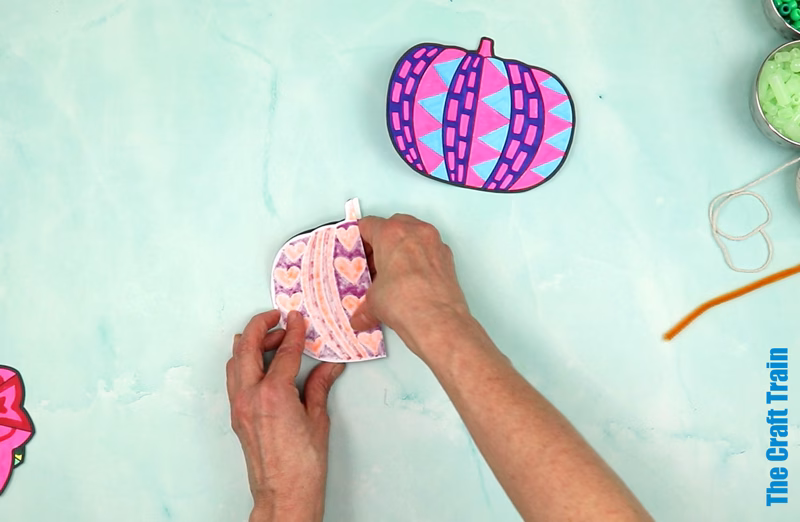
Tie a loop in the top of a piece of string. Stick the string into the centre of the pumpkin decoration with a piece of sticky tape before gluing the final 2 panels together to create a 3D pumpkin.
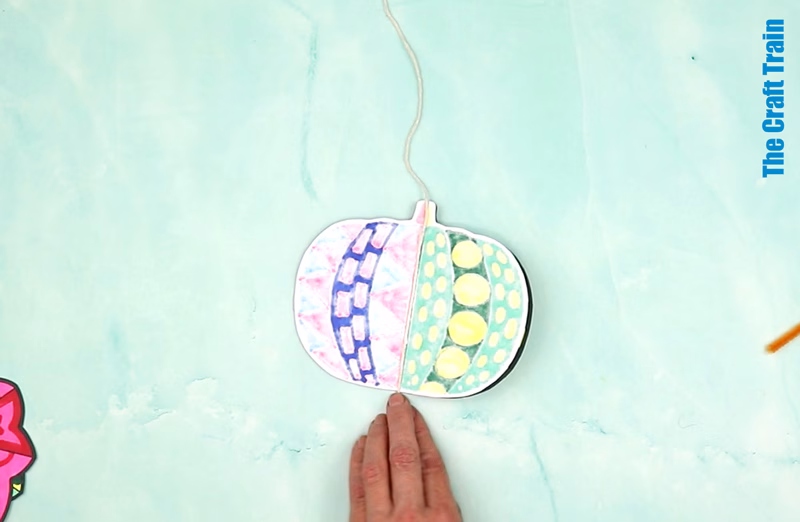
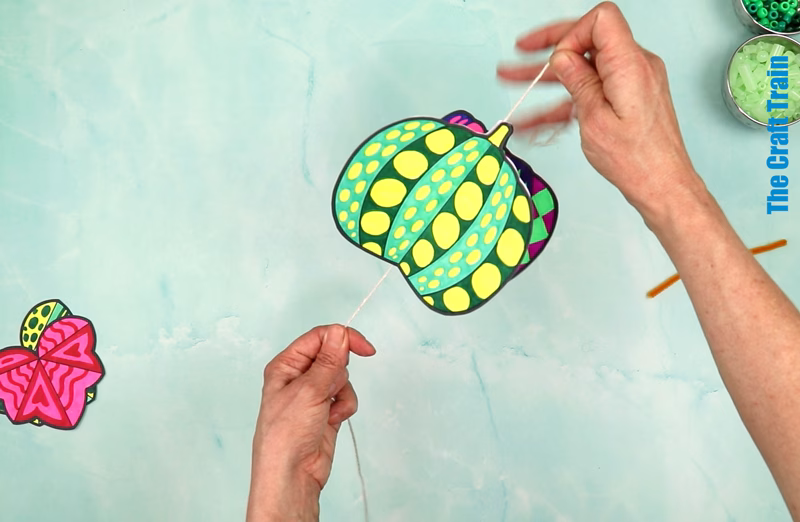
Thread pony beads onto the end of the string below the pumpkin. In between the pony beads, glue the two leaves back to back, with the string running through the middle. At the end of the string, add a final pony bead and tie it on with a secure double or triple knot.
Now go and hang your pumpkin and watch it spin in the wind.
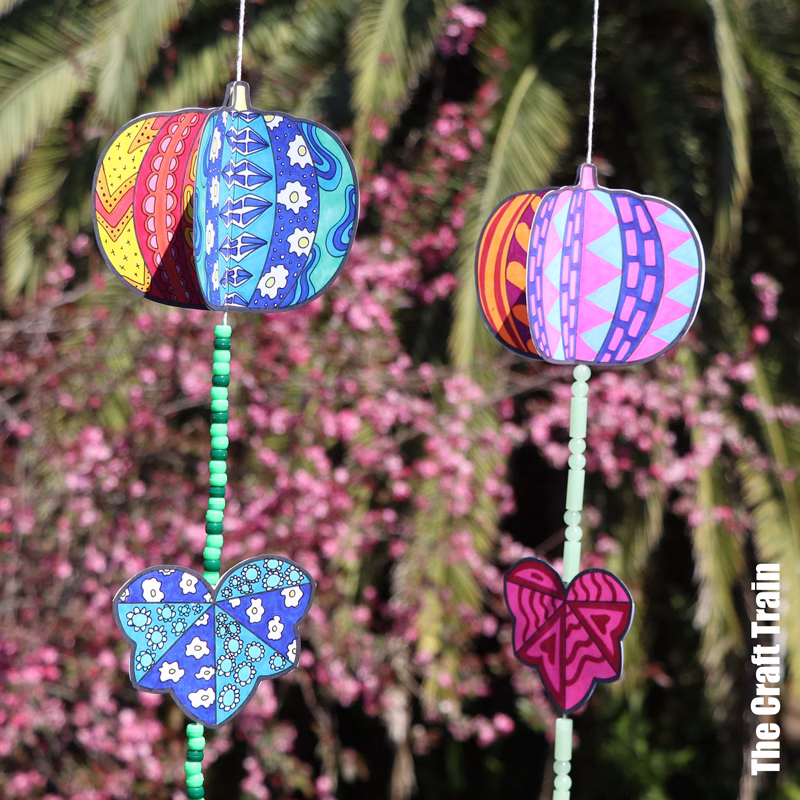
I love how bright and colourful these turned out!
More pumpkin crafts for kids
- Here are some adorable mini pumpkin people
- This pumpkin sponge painting activity can be created as a natural-looking pumpkin or as a jack-o’-lantern
- Build a super cute pumpkin village using our mix’n match windows, doors, and chimneys
See all our pattern art projects here