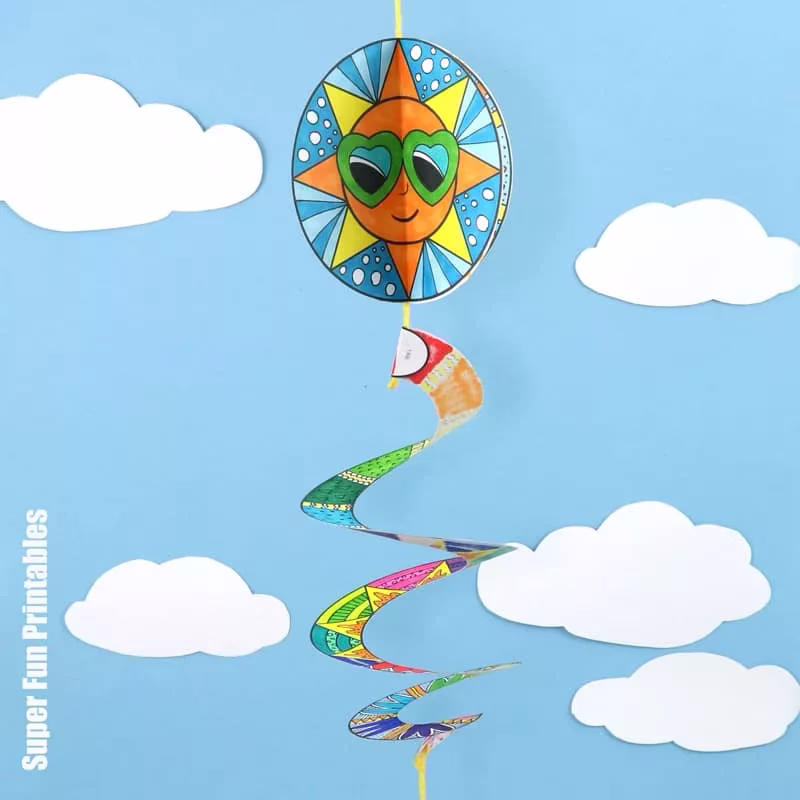
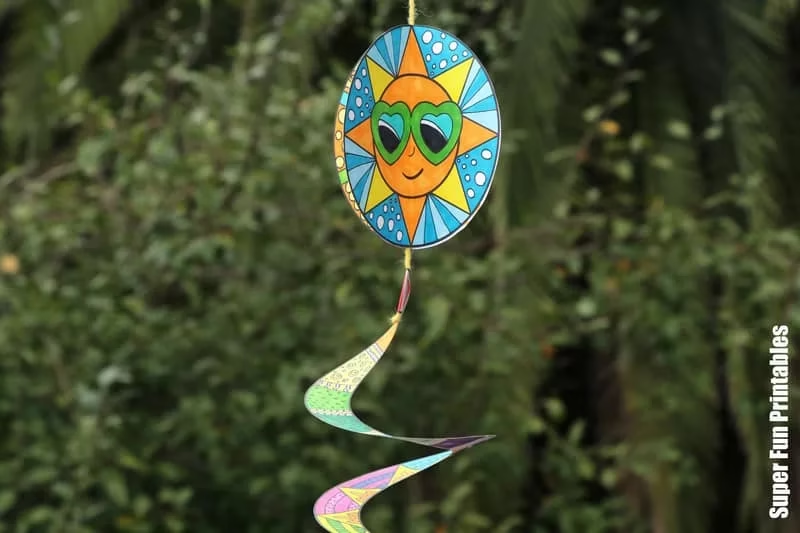
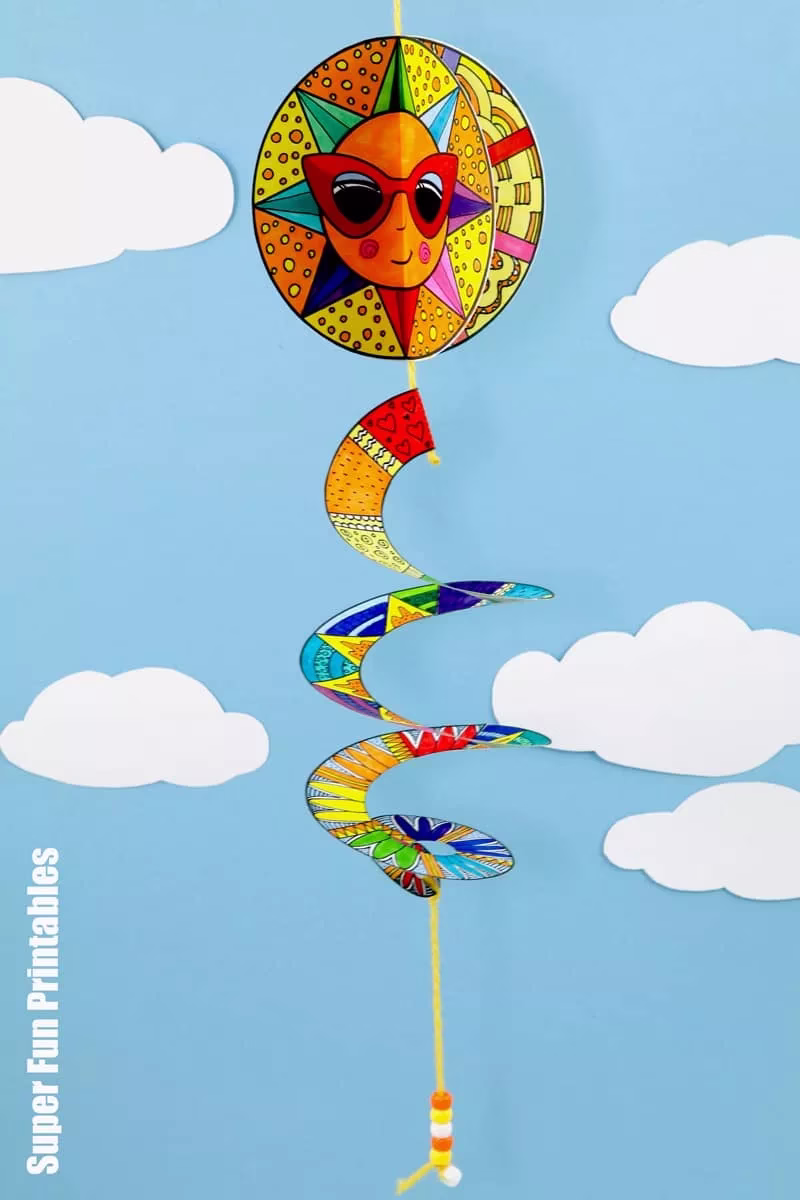
Make a Sun Spinner paper decoration that twirls in the breeze! This is a fun Summer papercraft for kids that can be a doodle art project or a straight colour, cut and paste craft.
There’s nothing quite so happiness-inducing as sunshine. The sun is associated with warmth and brings us blue skies, outdoor time and a healthy dose of vitamin D.
Of course we’re going to love it!
The sun doesn’t always shine, so when it does, we have to make the most of it. But even on rainy days, kids can make a happy sun decoration to twirl and whirl in the breeze.
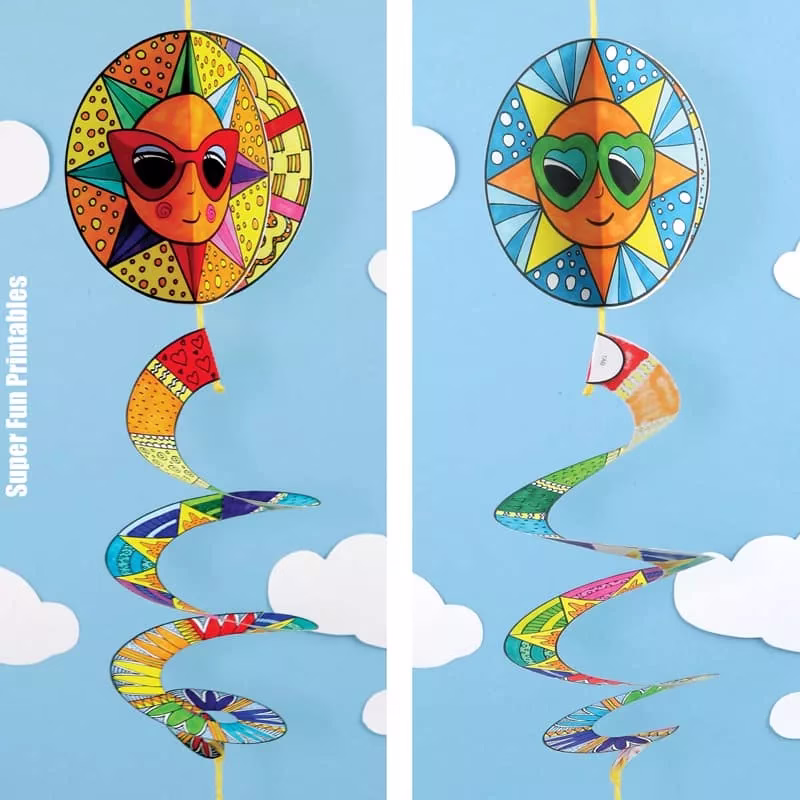
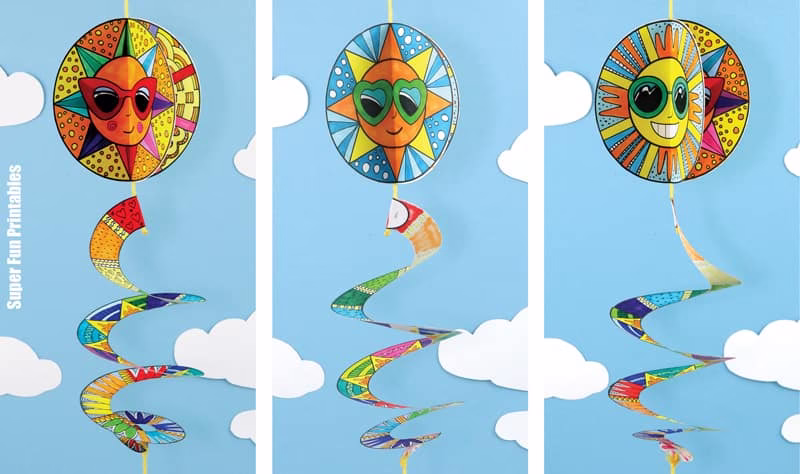
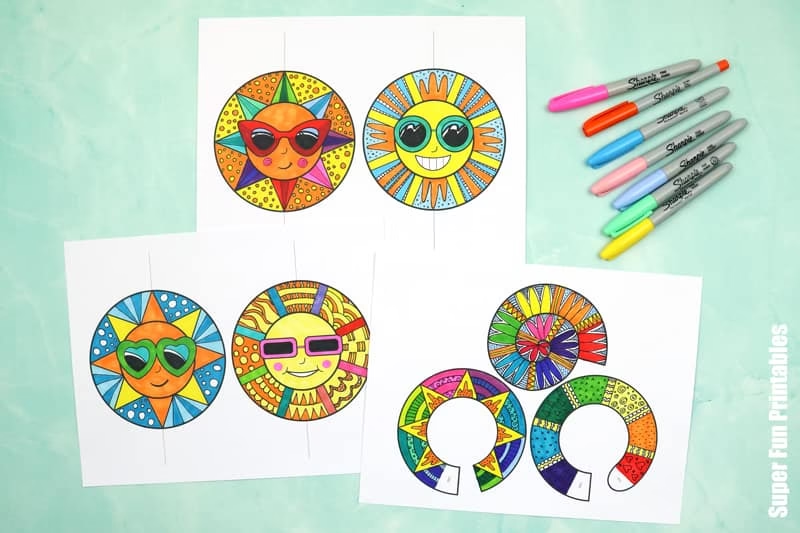
The spinner features 4 sun faces, each wearing a different set of groovy sunnies. When decorating them, don’t feel limited to yellows and oranges. A bit of extra colour lifts this design and makes it pop. The pattern art element makes each sun face—and each child’s craft—unique.
Colour and decorate the line art segments on the sun in pattern art (or simply colour them in if you prefer), then kick back in a sunlounge with an ice cream and watch your paper sun spin.
Cardstock is recommended for this craft, but paper also works. You will need some pony beads to add weight to the twirler and help it spin.
Age suggestion is 8+ but younger kids could make this craft with some adult help.
Lets get started …
How to make a Sun Spinner
You will need:
- Card stock in white – 3 sheets per decoration
- Markers for colouring and doodling, plus optional fine-tipped pens for more detailed patterns
- Scissors
- Glue stick
- String
- Sticky Tape
- Pony beads – we’ve used approximately 6 beads per decoration
- The Sun Spinner template, available in our printables store and TPT store
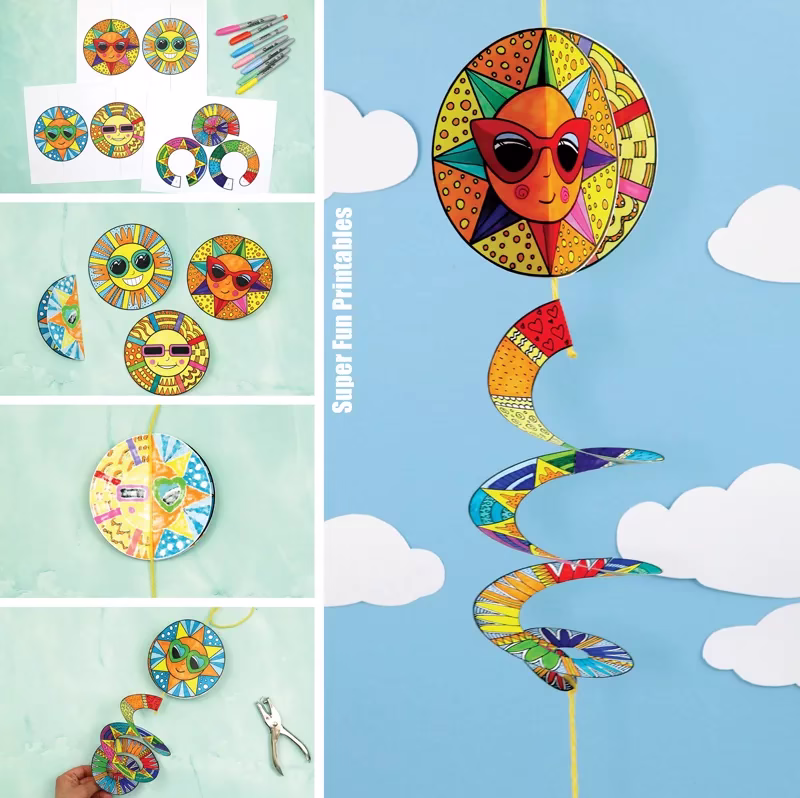
How to:
Print the sun spinner template to card stock.

Colour and decorate the sun designs and spiral twirler pieces. Optionally, add your own doodle art patterns.
Score the fold lines on the sun shapes by using a ruler and scoring tool to create an indent where the sun should be folded (the scoring is optional). Fold the dotted lines marked above and below each sun.

Cut the sun and spiral twirler shapes out. For the spiral tail (the piece that looks like a snail shell), cut along the spiral.

Fold and glue the suns together to create a stack of 4 folded suns.
Tie a loop in the top of a piece of string. Stick the string into the centre of the sun decoration with a piece of sticky tape before gluing the final 2 panels together to create a 3D sun.

Fold the rounded tab on the twirler piece (marked “1” in the template). Stick the end of the piece of string to the back of this with a piece of sticky tape. Glue the tab over the top of the string. Tie a knot in the string and snip the end off.
Glue the piece (marked “2” in the template) to the tab on the end of piece “1.” Glue the spiral piece the end of piece “2”.
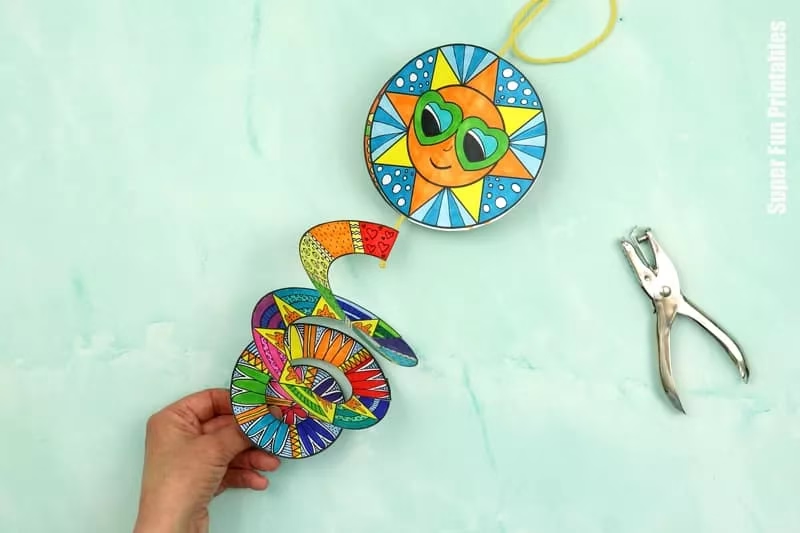
Punch a hole in the inner most spiral tip, tie a piece of string to it and thread the pony beads on.
Tip: For easy threading, use a folded piece of pipe cleaner as a “needle”.
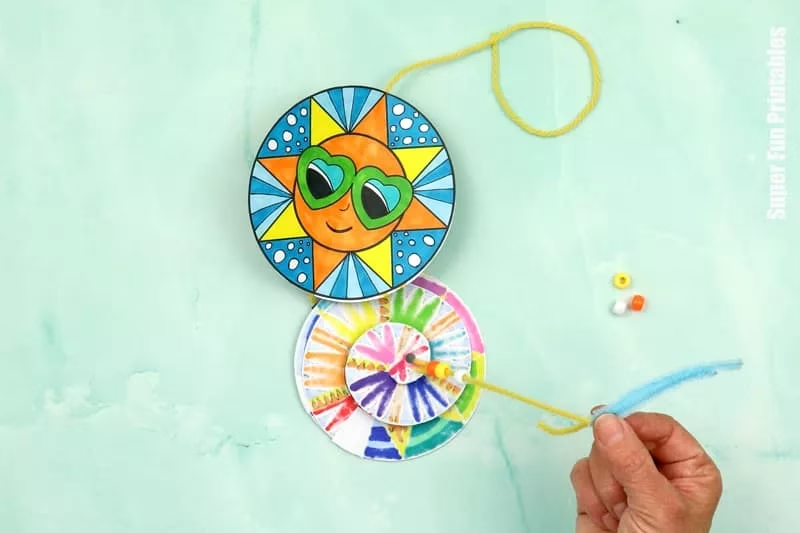
Tie the final bead to the end of the string and snip the end off.
Now go and hang your sun spinner somewhere it can catch a gentle breeze.
This craft really does me smile.
More Summer crafts kids will love:
- Make a pom pom ice cream cone ball-and-cup game
- This paper boat mosaic looks super effective against the sunset sky
- Create 3D seashell pattern art with torn paper waves
Check out all our Summer Printables