

Got a Rainbow Magic book fan at home? Here are some Rainbow Magic fairy ornaments you can make based on the series of popular chapter books from wooden teaspoons.
This is an easy Christmas craft kids can make – in fact, it was my 7 year old who came up with the idea!
This craft was originally published in 2015 and has been updated and re-shared for today’s audience.
You might also like these Free Christmas crafts for kids

My girls, aged 6 and 7, absolutely can’t get enough of the Rainbow Magic fairy books. Nine times out of ten, when I ask them to choose a book for read-aloud time it will be one of these.
For this reason, we decided to make some spoon doll fairy ornaments based on characters in the books. Mind you, there are over 150 chapter books in the series to choose from so we couldn’t make them all, haha.


We are all very pleased how our fairy ornaments turned out! Here’s how we made them.
How to make Rainbow Magic Fairy ornaments
You will need
- Wooden teaspoons
- Construction paper in assorted colours
- White card stock
- Felt
- Glue – fabric glue works best for the felt, or use tacky craft glue
- Gell pens
- Optional watercolour paints for the wings
- Your favourite Rainbow Magic chapter book to use as a guide

How To
- Trace the outline of the wooden teaspoon onto construction paper (choose a colour that best matches the outfit of the fairy you have chosen). The outline is just a guide for getting the size of the clothing right, once you have traced the spoon you can use that outline to draw the fairy outfit as it looks on the cover illustration.
- Cut the paper outfit out and stick it onto the spoon using a glue stick. If you like you can add some detail to the clothing with markers or gel pens.
- Place the spoon over the white card stock and sketch the shape of the wings. You only need to sketch one side because you can fold the paper and get a perfectly matching second wing that way. Optionally, add some colour to the wings with watercolour paint, pencils or markers.
- Make the hair. Trace the outline of the round part of the spoon onto felt twice. Sketch the shape of the front half of the hair (the fringe) on one and the back of the hair on the other.
- Cut the hair shapes out and glue into place using fabric glue, pacing the back hair on the indented side of the spoon.
- Draw the face and shoes on with gel pens
- Make the arms. Sketch the arms onto construction paper (heavy stock works best) and glue on. Cut out a sliver of a different colour for the magic wand and glue onto the fairy’s hand (the girls drew their fairy arms directly onto the wings after gluing them on instead, which is a less fiddly way to do it)
- Glue the wings on
- Glue a piece of string tied in a loop to the back of the head and wait for it to dry

All that’s left to do is hang them on your tree…

How adorable are these kid made ones?


More Fairy Craft Ideas
- Make your own sparkly magic fairy wand
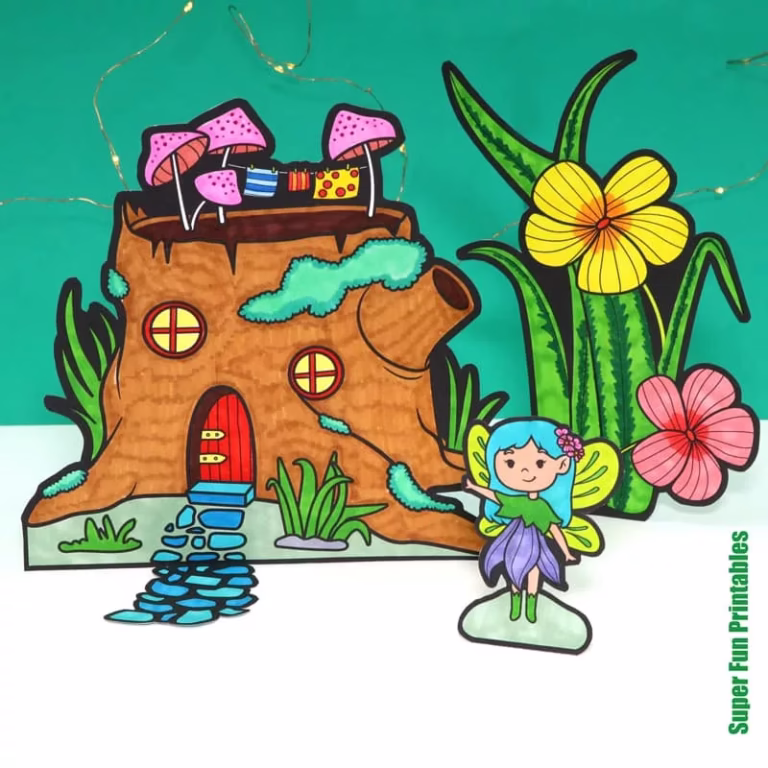
- Here’s a printable fairy garden you can laminate and set up outoors
- Create some pretty fairy crackers (we made them for the fairy party)
- Make a fairy castle from a cardboard box to inspire imaginary play
- Have you ever made a flying fairy car? This craft is totally kid-made!
- Every good fairy needs a fabulous foil tiara!


Wow! Such an impressive amount of photos. Thank you so much for the step by step instructions. I work with a group of girls and I am sure they will want to make these. Sharing on social media. Thanks!
Thanks Carolyn! Hope the girls have fun 🙂
These Fairy Spoon Dolls are spectacular. I think we are going to have a lot of fairy spoon dolls around us soon. 🙂
Thanks Shelah! They are fun to make 🙂
THESE are now a MUST on our “to make” list, Kate!! V LOVES LOVES LOVES the rainbow fairy books!!
They are super popular books aren’t they! Thanks Melissa
Wow, these are absolutely magnificent! I know a 4 year old that would love to make these!
These are the cutest ornaments ever! ♥
These have turned out so pretty!
These are adorable. As a boy mom, I had no idea about these fairy books, but I know my nieces would love these!
Such an impressive amount of pictures. Thank you very much for the step-by-step instructions. I work with a group of girls and I’m sure they would like to make it. Sharing on social media. These pre-spawn dolls are wonderful. I think we’re going to have a fairy-tale doll around soon.
Sounds like fun!