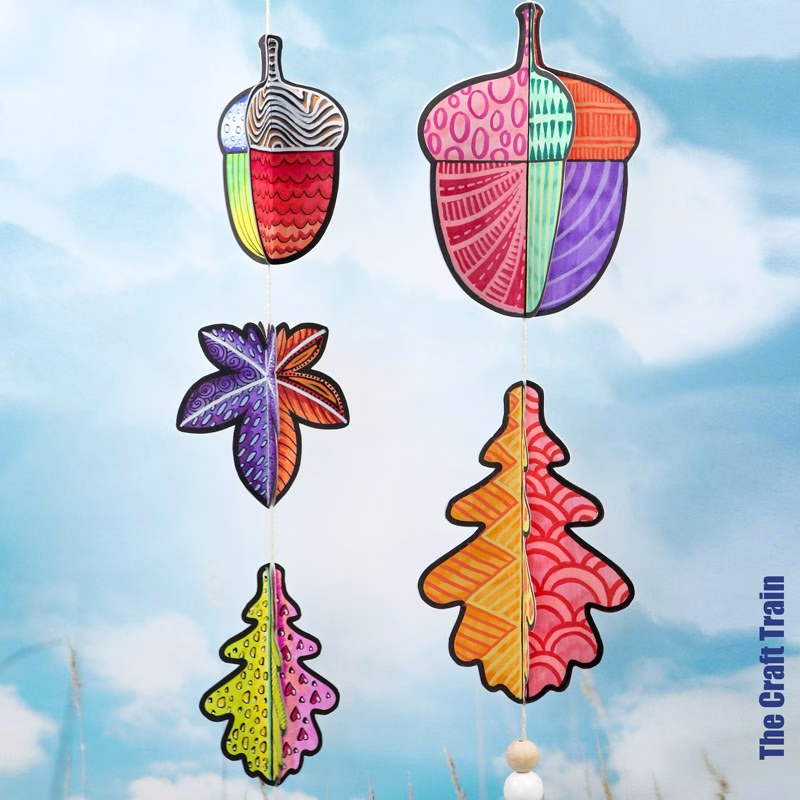
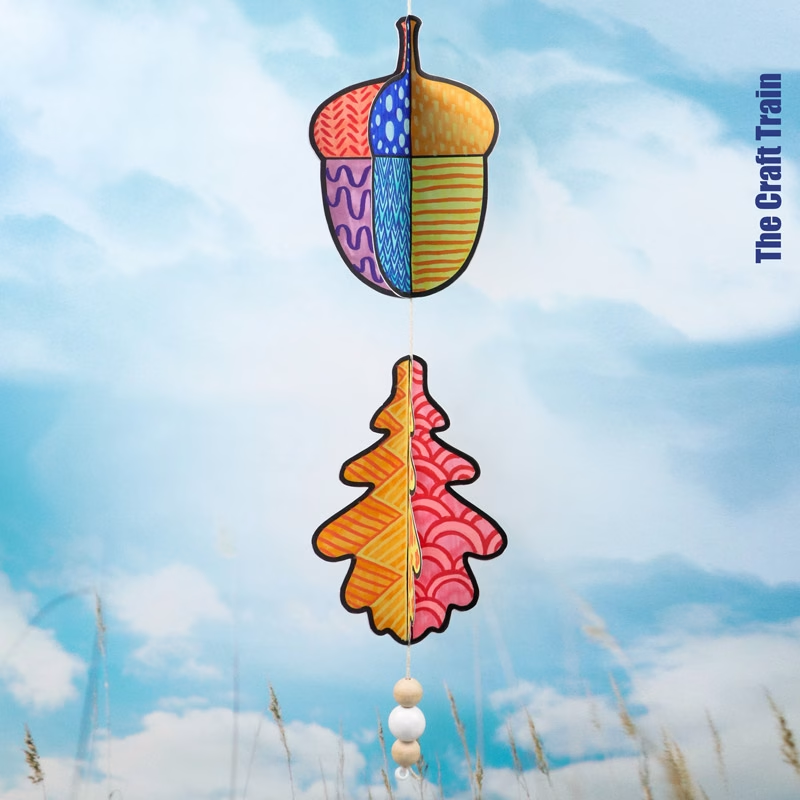
How pretty are these Acorn & Leaf Wind Spinners decorated with pattern art? It’s a fun STEAM craft that makes a twirling, whirling paper decoration for Autumn or Fall.
Wind spinners are one of my favourite crafts to design. I love watching the patterns whirl like crazy when the decoration is finished.
It’s tricky to get a video of these in my studio set-up because there’s absolutely NO wind, haha. Except what I can make myself by blowing through a straw while the ‘record’ button is on.
That trick didn’t work this time. I had to hang these in the backyard to get a decent shot, against our obviously not-Autumn backdrop. That’s because Australia’s in high Spring, ramping up towards Summer.
Psssst, Aussie readers: Check out our Spring Flower Spinner here.
However, many of our readers are cozying up for Fall right now. So here you go, northern hemisphereans, this craft is for you!
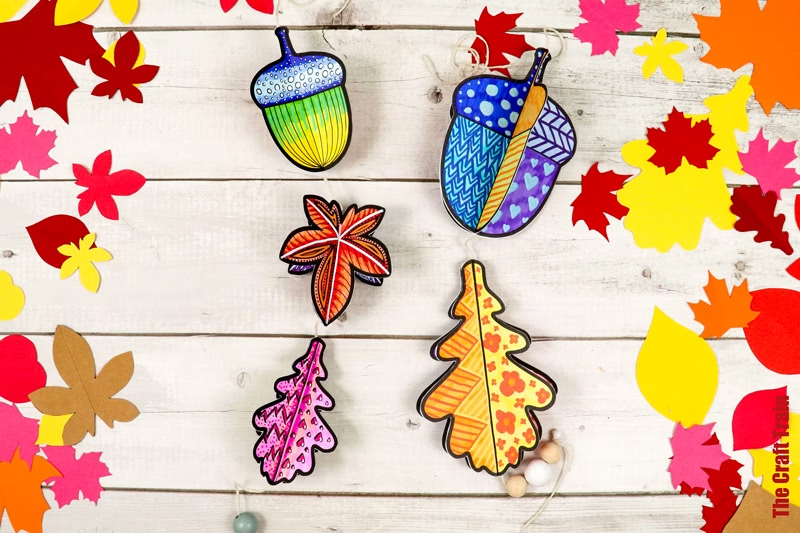
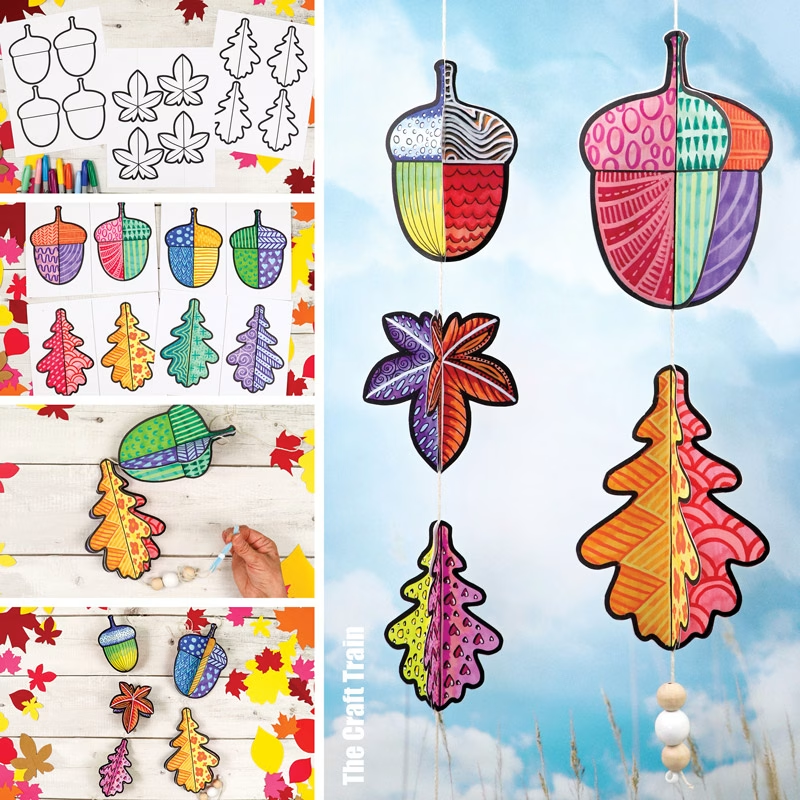
There are two versions of the spinner to make. One with a large acorn and a single leaf, and another with a smaller acorn and two leaves.
The larger spinner is best for younger kids because there’s less for little hands to cut out and colour. The smaller, three-shape spinner will provide more of a challenge for tweens, teens and adults who have more patience and can create more detailed patterns.
I’ve used a combination of Sharpie permanent markers and paint markers (affiliate link). The paint markers are optional. I like them because they give the patterns a bit more ‘pop’, but you can use whatever you have at home.
Age suggestion: 7+, but younger kids can make this with adult help.
Are you ready to get started?
How to create an Acorn & Leaf Wind Spinner
You will need
- White card stock or paper – 3 sheets per decoration if making a small spinner, 8 sheets per decoration if making a large spinner. You can add a third shape to the large decoration, but this will require 4 more pages
- Markers – either kids’ washable markers or permanent markers
- Optional paint markers
- String
- Scissors
- Masking (painter’s) tape
- Wooden macrame beads or a suitable alternative
- Optional cutting mat, ruler and scoring tool (or blunt butter knife)
- Optional small piece of pipe cleaner
- The Acorn & Leaf Spinner template, available from our printables store and also on ETSY
How To
Print the template out according to the instructions in the download.
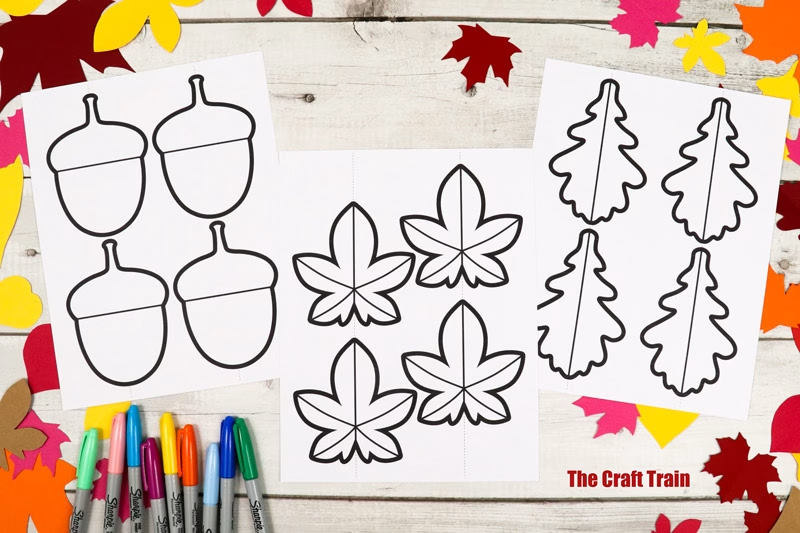
Colour the shapes and decorate with pattern art.
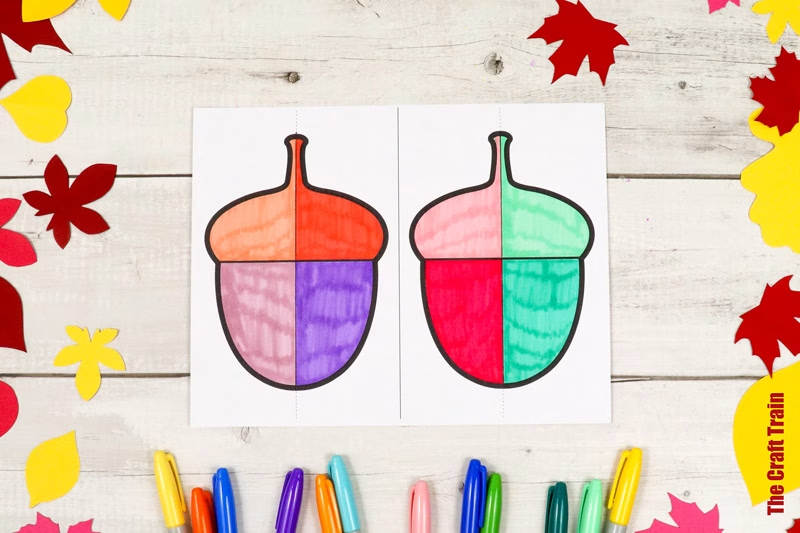
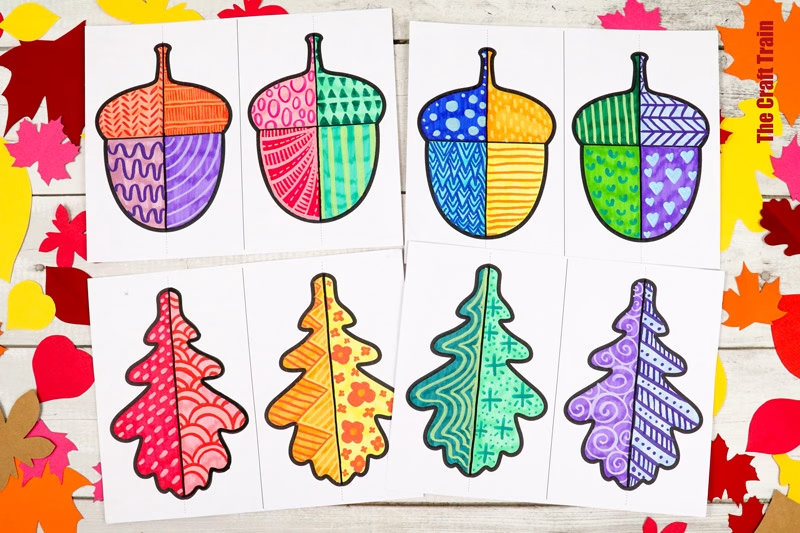
You can see I’ve gone to greater lengths with detail in the small shapes. You can also treat this as a straight colouring project if you prefer.
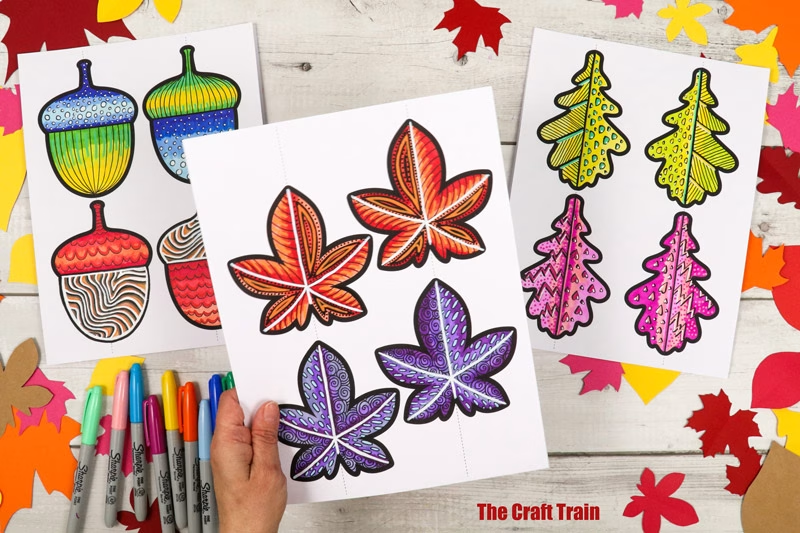
Score the fold lines by holding a ruler against the dotted line and creating an indent with a scoring tool. This step is optional but recommended. Scoring makes the folding easier and more accurate.
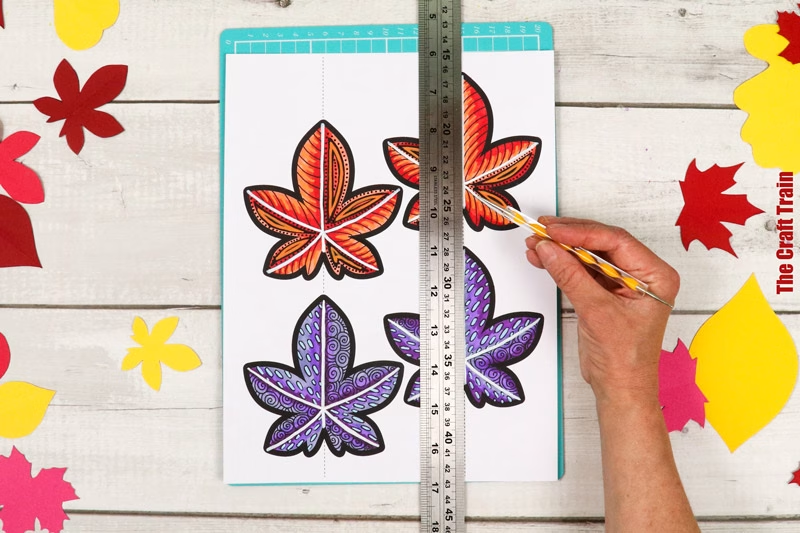
Cut the paper shapes out and fold each of them in half.
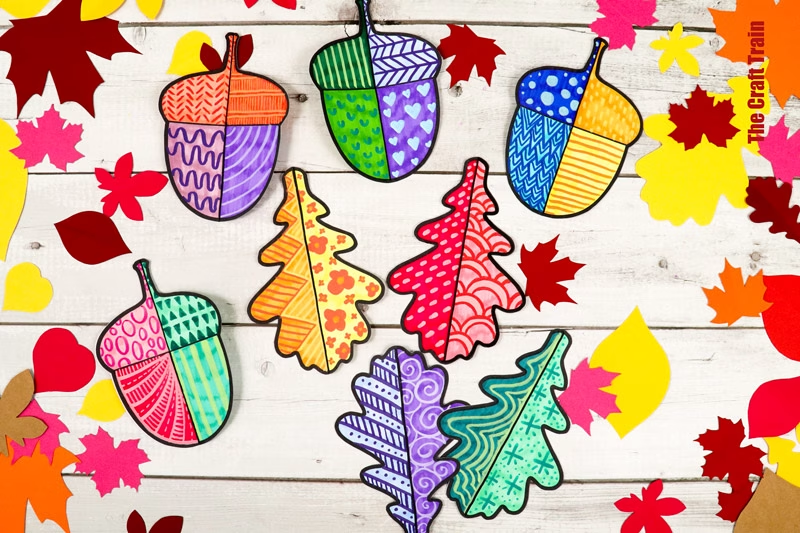
For each shape, glue the four folded leaves or acorn pieces together.
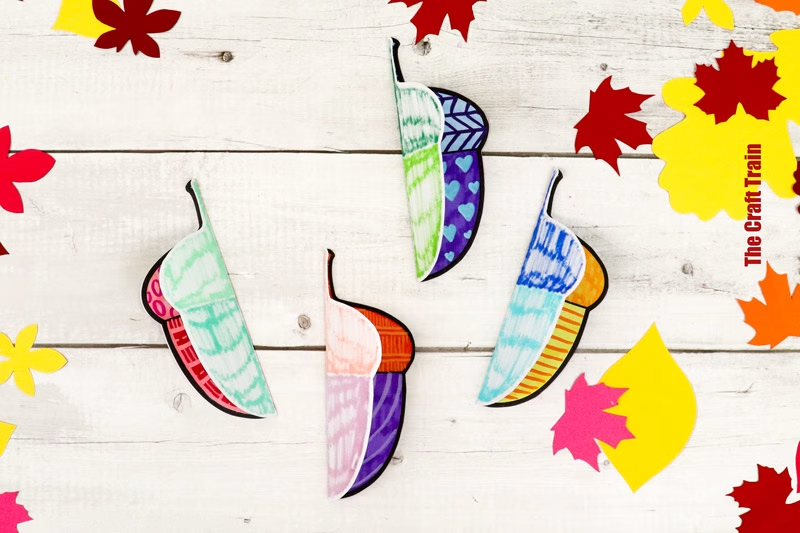
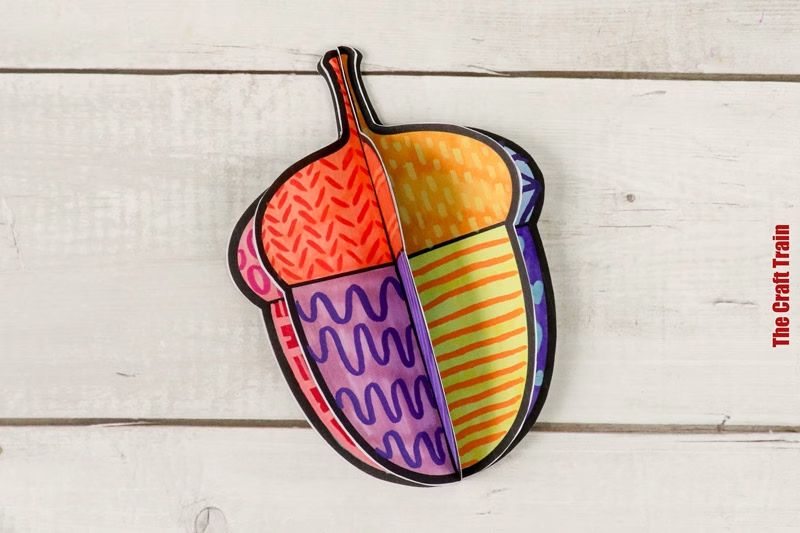
Before gluing the final two panels together, tape a piece of string through the centre of each.
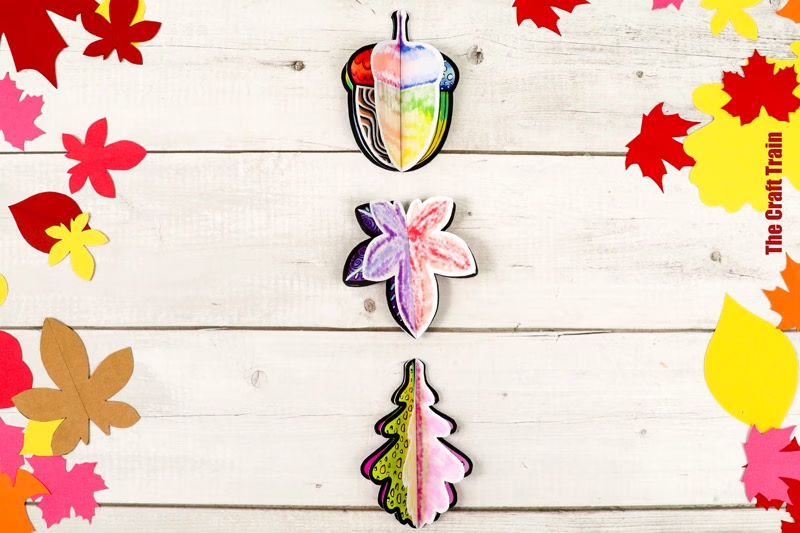
Attach all three leaves to the string.
Tie a loop in the top and add a few beads bottom for weight. To make threading easier, fold a small piece of pipe cleaner in half and use this like a needle threader to slide beads onto the string.
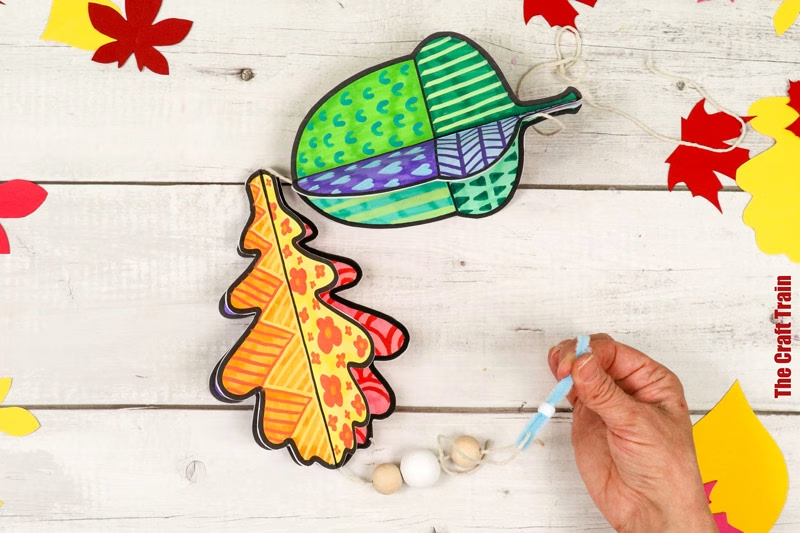
Hang your decoration somewhere it can catch the breeze. An outdoor undercover patio works well.
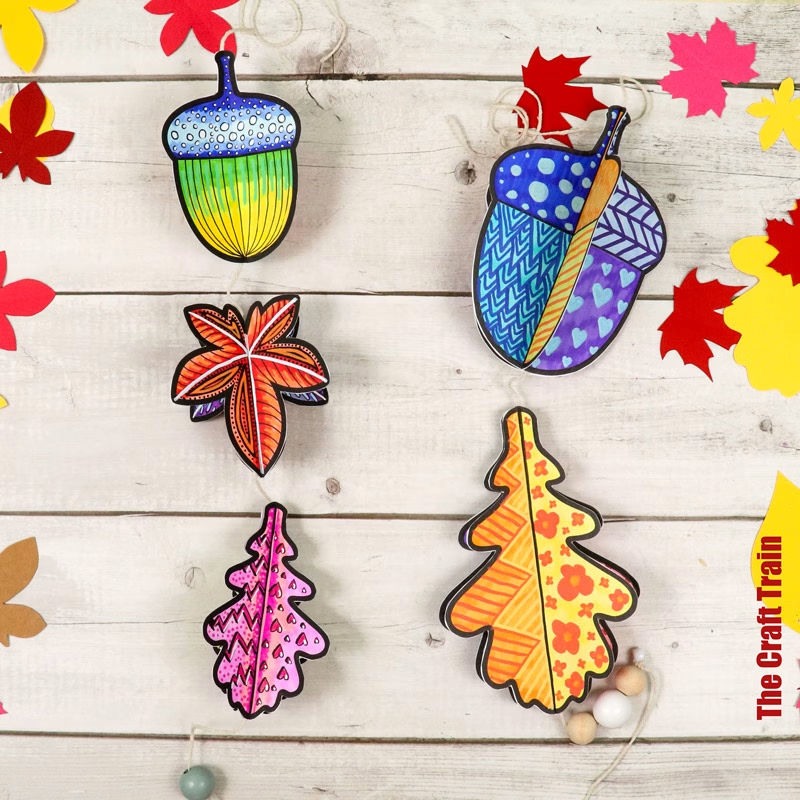
Now all you need to do is sit back and watch it spin, spin, spin.
More wind spinners
- Pumpkin Spinner
- Heart Spinner
- Star Spinner
- Sun Spinner
- Flower Spinner
- Easter Spinner
- Spinning Paper Earth