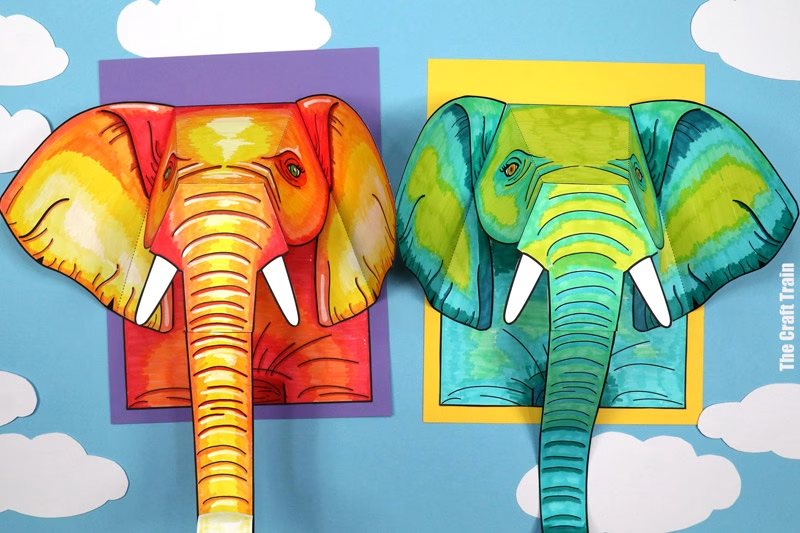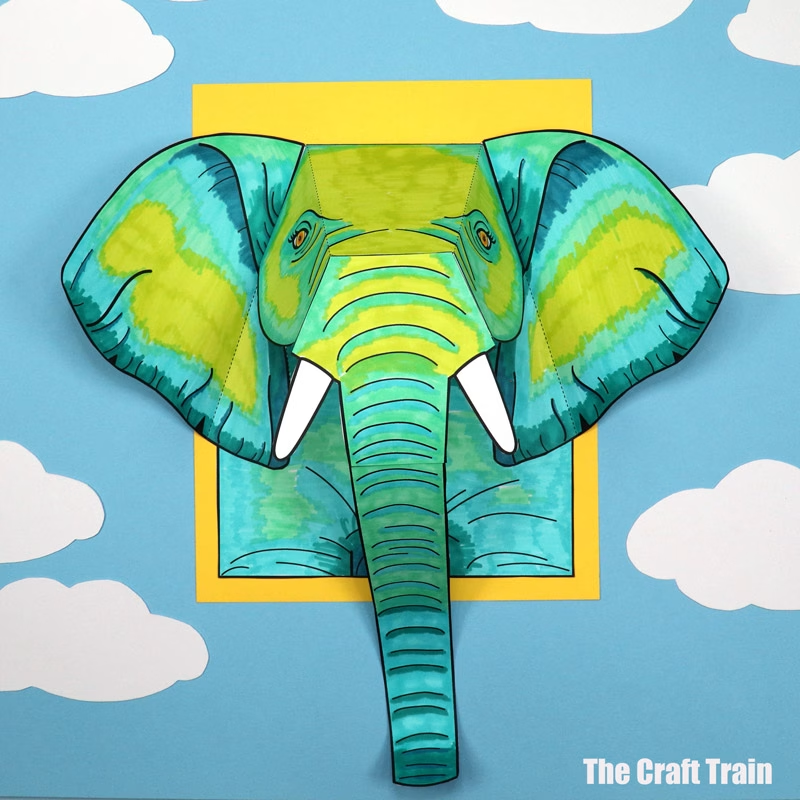
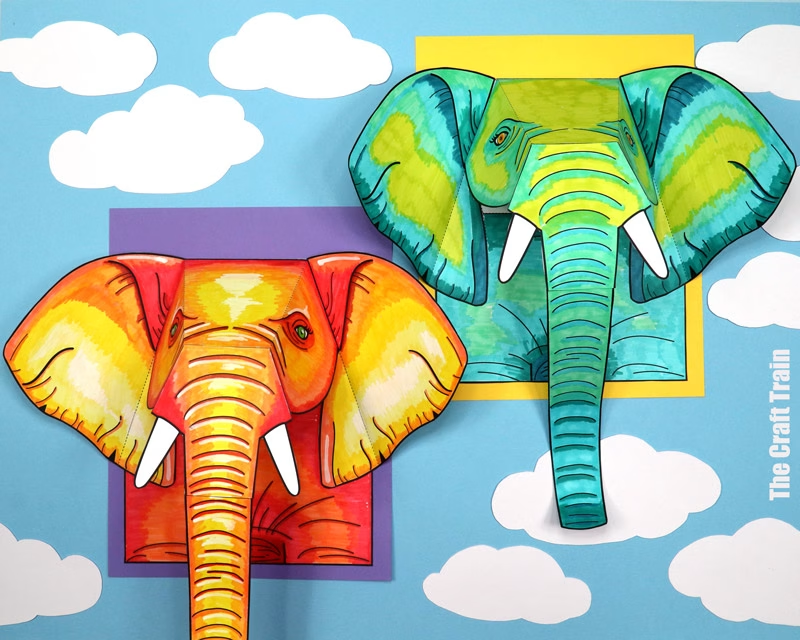
Go totally wild with this 3D elephant portrait! This is a fun paper craft for kids and the latest instalment in our African Animals series. See the full list of animals at the end of this post.
Do you know what animal we’ve neglected altogether on this blog? (until today, that is)
Clue: It’s BIG.
Right, an elephant.
How could I miss making an elephant? These enormous beauties are as unmissable as a wrinkly pug dog. And, at approximately 700 times the size, they’ve got more than enough ‘wow’ factor.
These creatures are practically trumpeting “Make me!” with their clever 5-in-1 noses.
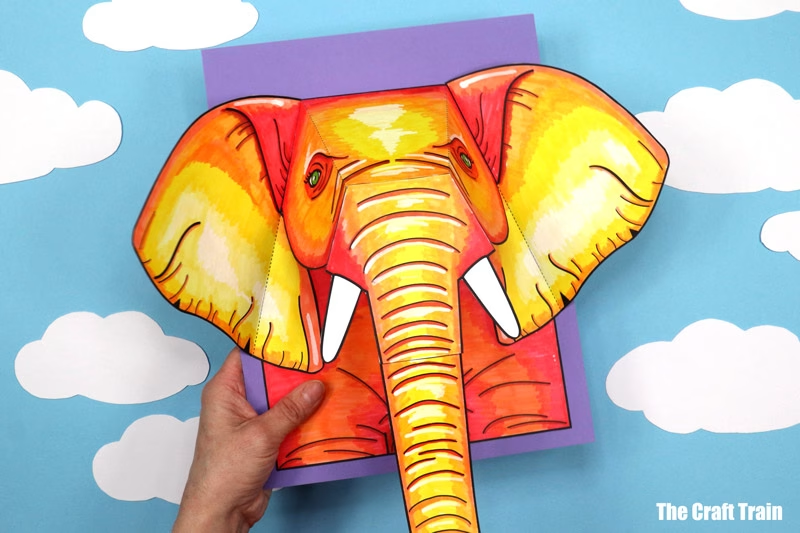
Like all noses, elephants’ trunks can smell, but that’s just the beginning. They can also be a DIY shower, a musical instrument, a fly swat, and an extra limb.
I’m probably underestimating an elephant’s trunk here. I’ll bet there’s even more it can do!
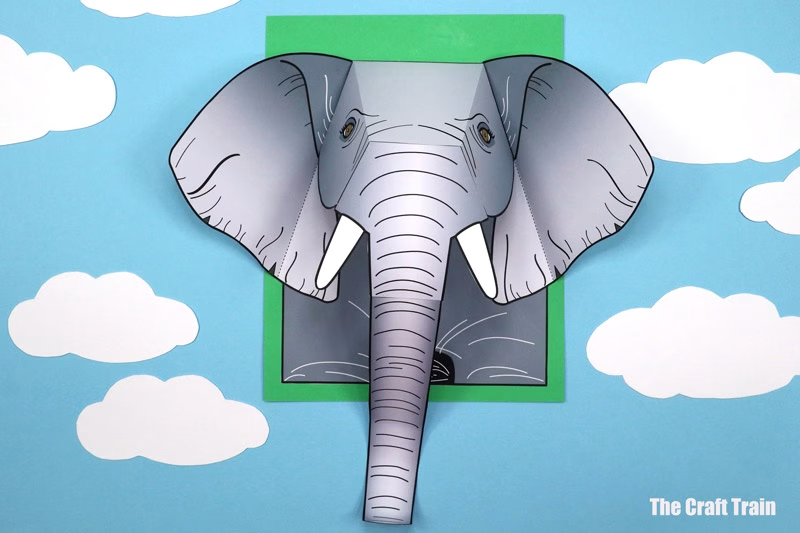
It’s about time we paid tribute to these magnificent animals, don’t you think?
This elephant template comes in full colour for realism, plus colour-your-own if you want to have some fun with it.
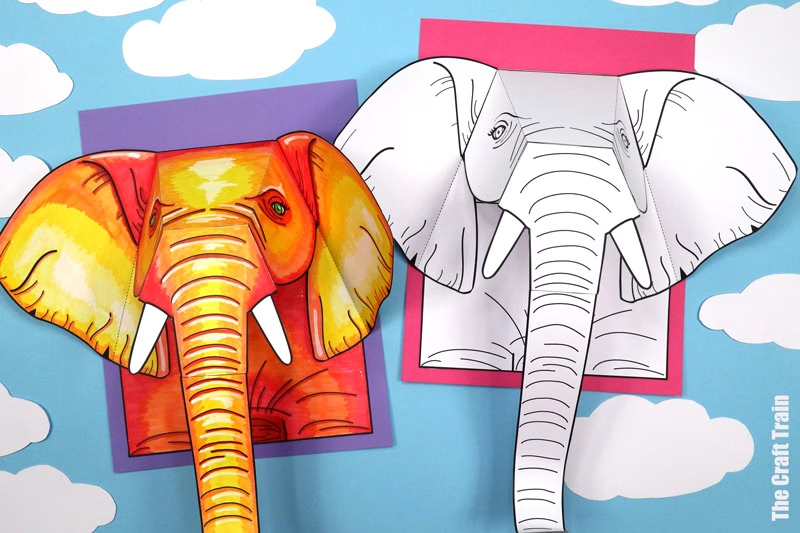
Card stock is recommended for sturdiness.
Age suggestion: 8+, although younger kids could make this with some adult help.
Are you ready to get started?
How to make a 3D Elephant Portrait
You Will Need
- Card stock in white (4 sheets per elephant), plus a colour of your choice for the background page
- Scissors
- Glue stick
- Markers, pencils, crayons, etc if colouring your own
- Optional cutting mat, ruler and scoring tool (recommended for easy and more accurate folding)
- The 3D Elephant Template, available from our printables store and also on ETSY
How To
Print the template on cardstock and colour your elephant. If you like, experiment with shading using 2-3 colours that blend well. This adds to the 3D effect.
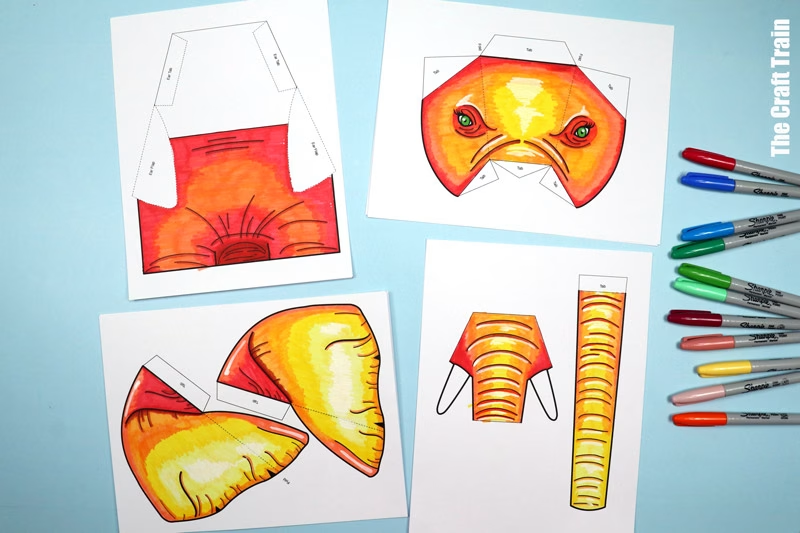
Cut the shapes out.
Optional: score the fold lines on your elephant head and ears to make folding easier. Do this by placing the sheet on a cutting mat, holding a metal ruler against each fold line and running your scoring tool (or a blunt butter knife) along them to create an indent.
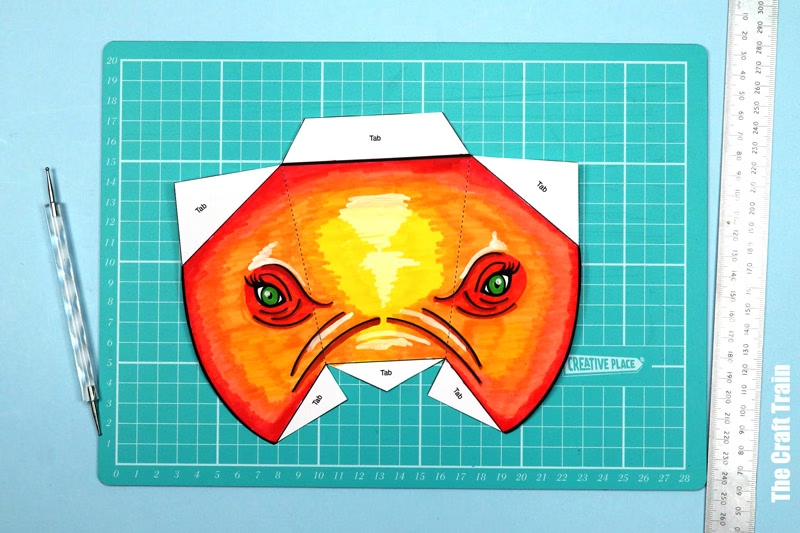
Glue the base shape featuring the torso and neck onto the backing sheet.
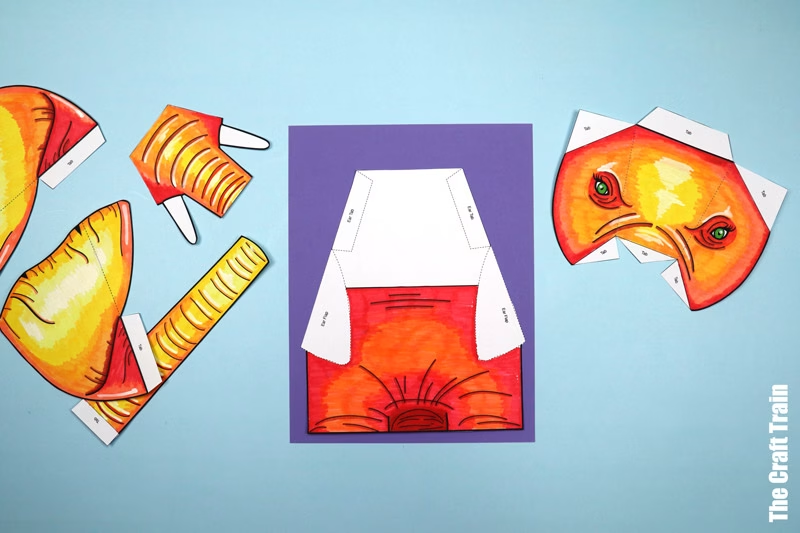
Fold the fold lines on the ears and glue onto the spaces marked.
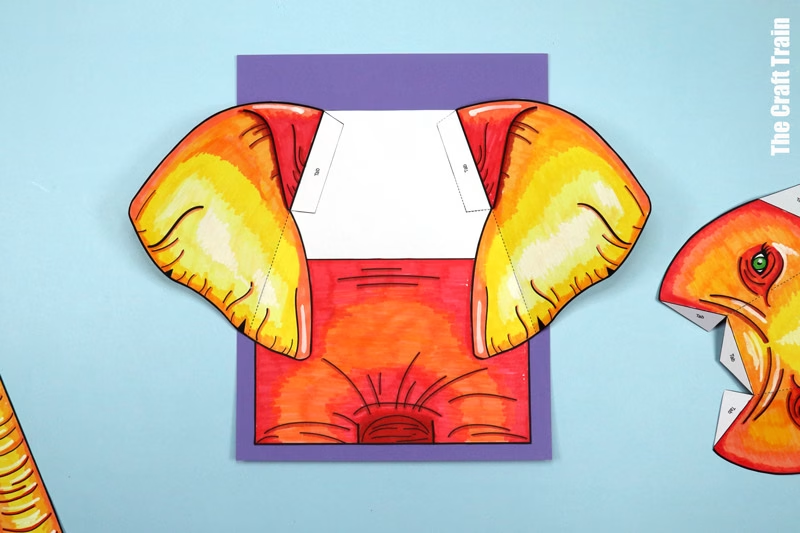
Fold all the fold lines on the head shape.
Glue the head to the geometric white shape on the base. Start by gluing the top of the head first, then stick the side tabs down at angles that line up with the sides on the shape.
Glue the tusks into place.
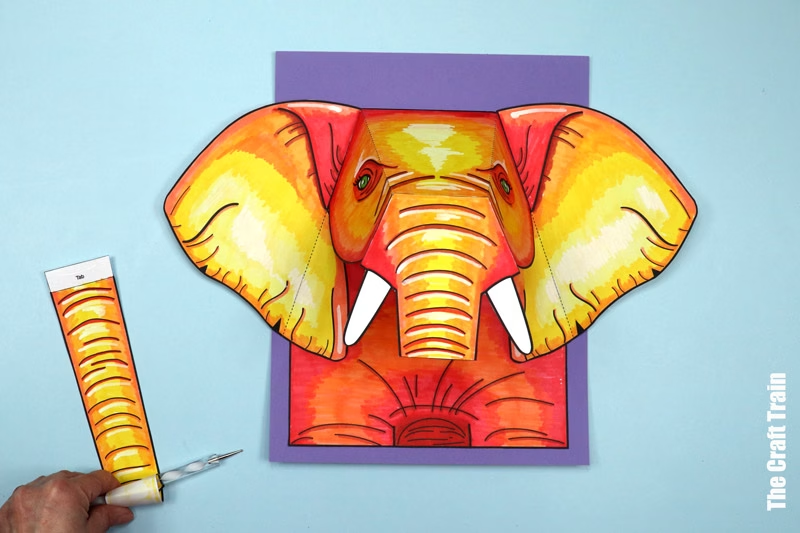
Optionally, curl the tip of the trunk by rolling it around a pencil.
Glue the trunk in place.