
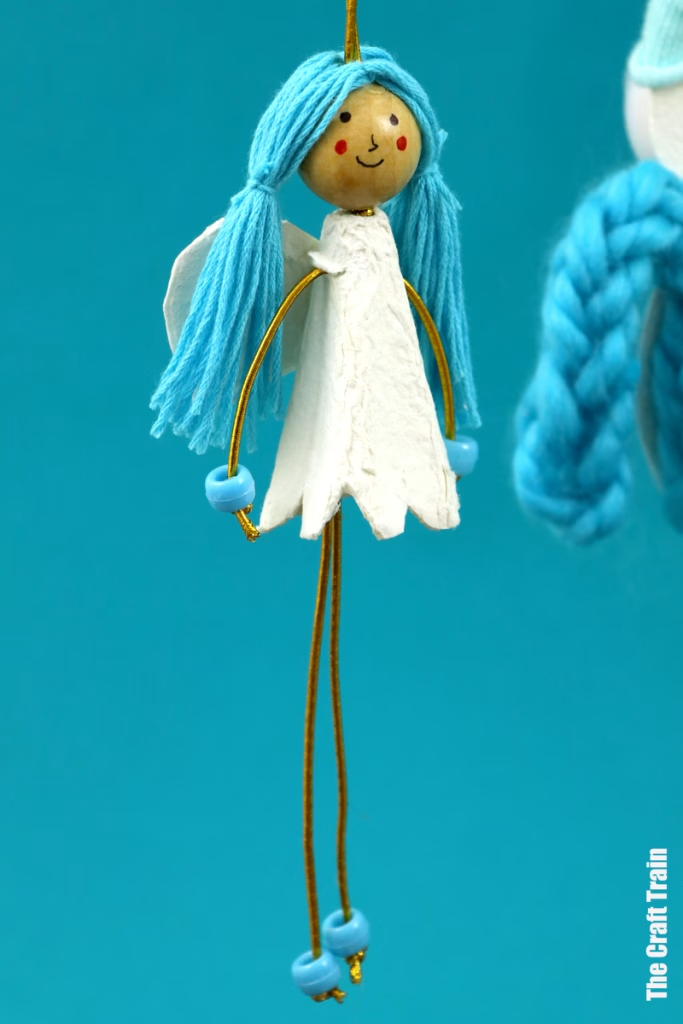
Make a super adorable Egg Carton Angel ornament for your tree this year. This is a fun recycled Christmas craft for ages 8 to adult. If you have younger kids, they might like making a paper roll angel.
This is part one of an egg carton ornament series, so stay tuned for more fun upcycling ideas in the weeks to come.
Q: What’s sweeter than angels at Christmas?
A: Upcycled egg carton angels because they’re cheap to make and good for the environment!

I have to admit, I have a soft spot for angel crafts, that’s why we have so many of them on our website.
“Why not add one more?”, I thought.
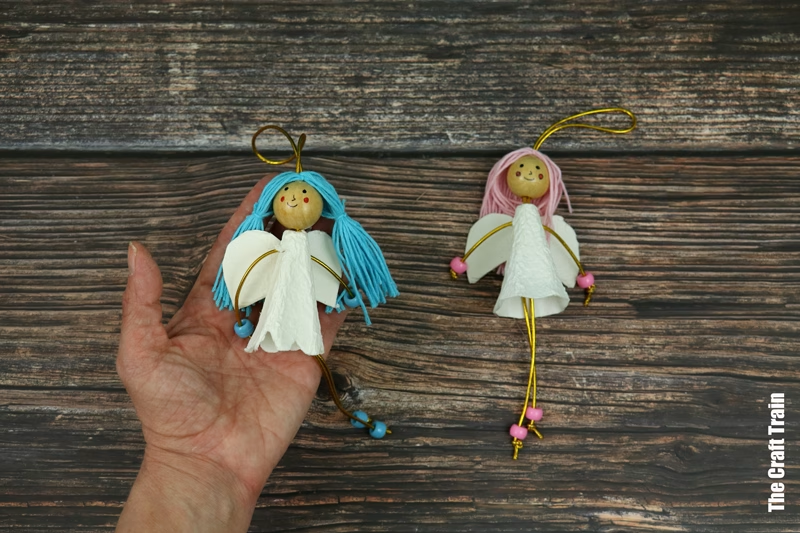
I’ve used a white egg carton to make these cuties, so there was no painting needed. If you are unable to get your hands on a white carton, you can use any colour and paint the shapes white before assembling—although you don’t have to. These angels would look cute in any colour (It would just be a bit less Christmassy).
Are you ready to get crafting?
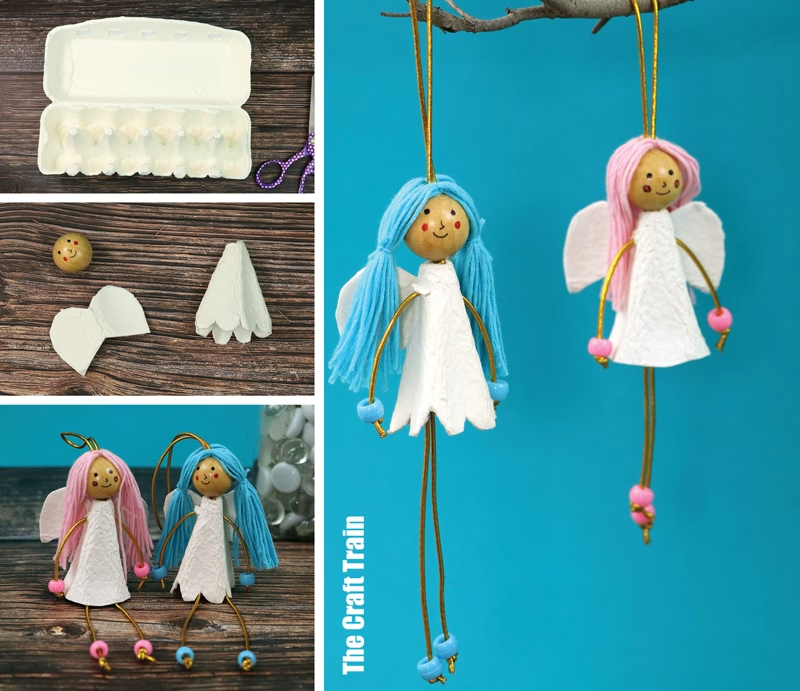
How to make Egg Carton Angels
You Will Need
- A white egg carton (or a coloured egg carton plus some white acrylic paint)
- Wooden bead 2.5cm wide (1″) – 1 per ornament
- Fine-tipped permanent markers – I used these ones (affiliate link)
- Embroidery thread in the colour you wish your angel’s hair to be
- Pony beads in the same colour as the hair – 4 per ornament
- Ornament elastic thread, thin ribbon, twine or similar
- Sharp scissors
- Hot glue gun
- Small piece of pipe cleaner
- Skewer
- The angel wing template (optional, it’s very easy to cut the shape freehand)
How to
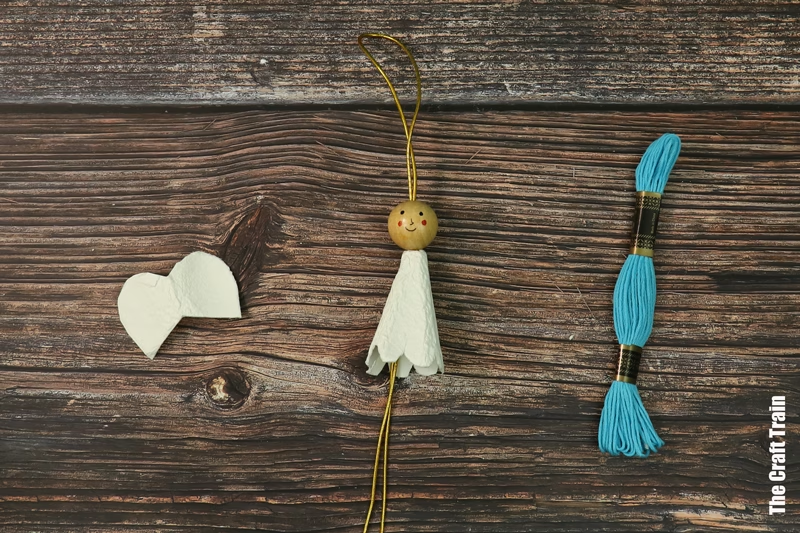
Cut a pointy piece from your egg carton. Try and keep as much of the point as you can when you snip it from the carton.
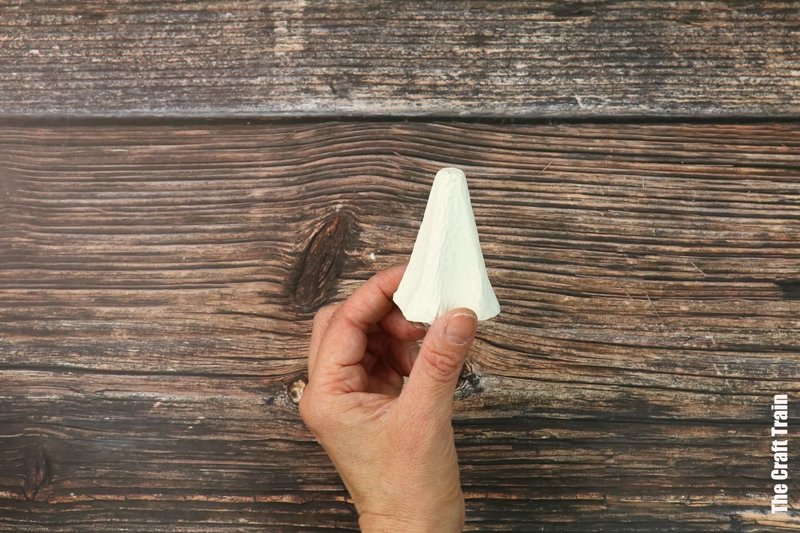
This becomes the angel’s dress. Optionally, you can scallop the bottom edge by cutting it freehand with your scissors.
Poke a hole in the top of the dress with your skewer.
Snip off a double section of the wiggly wall of the egg carton. Print and cut out the wing template if you’re using it.
Fold the piece of egg carton in half and lay the wing template against the fold. Cut around it, then unfold to get your pair of wings.

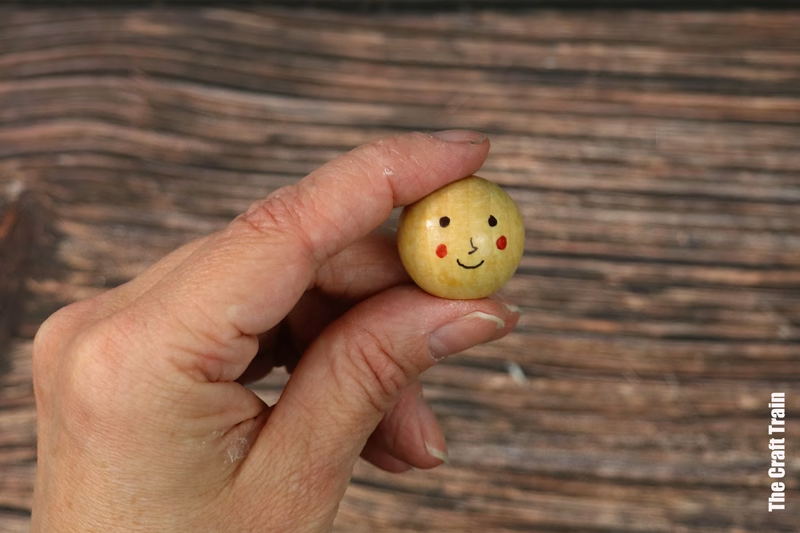
Draw a face on your bead… don’t forget the cute cheek spots!
Cut a length of ornament string or ribbon approximately 50cm (20″) long. Fold it in half and tie a knot approximately 10.5cm (4″) from the loop.
Use a folded piece of pipe cleaner as a DIY “needle threader”. Hook it around the loop and thread the loop through the hole on the pipe cleaner dress, then through the hole on the bead.
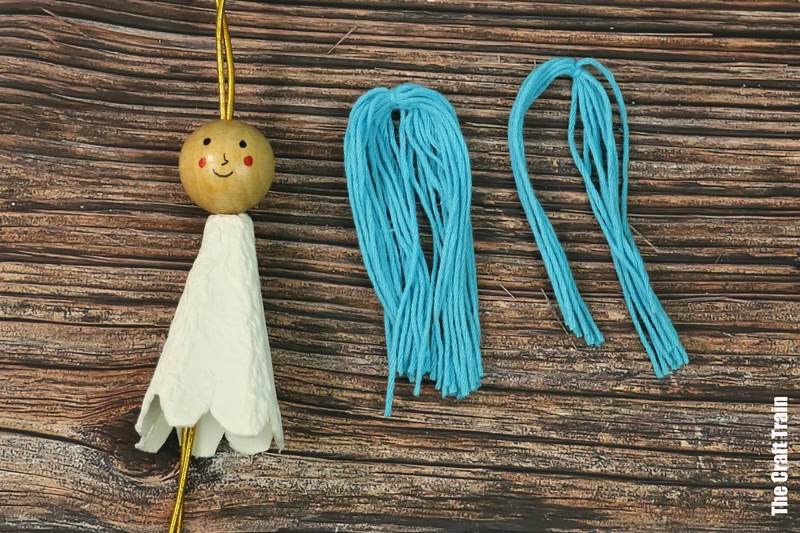
Cut the top half off your embroidery thread. Tie the centre with a smaller piece of embroidery thread and trim the edges away from the knot. This bundle will form the back section of the hair.
Use part of remaining half for the front section of hair. Tie another, smaller bundle and trim the knot.
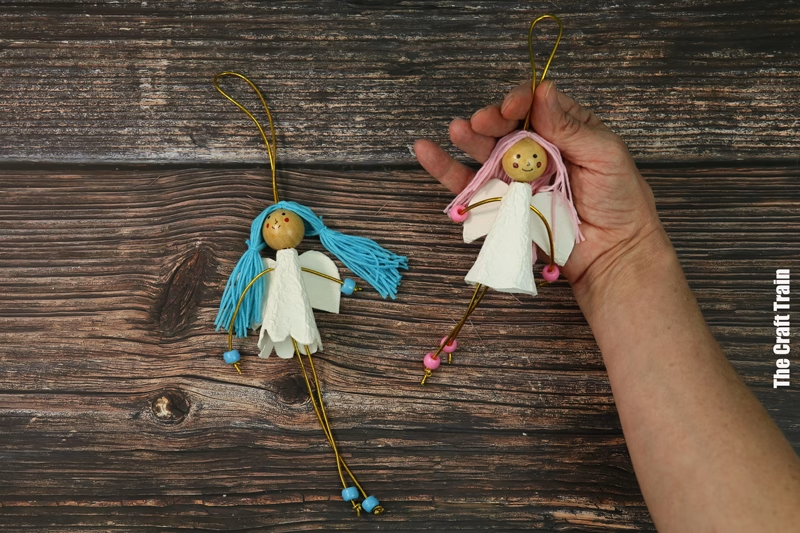
Use a skewer to poke armholes from one side of the angel’s dress all the way through to the other.
Cut a piece of ornament thread approx 18cm long. Use your pipe cleaner piece to thread the ornament string through the holes to create arms. Thread a pony bead onto the end of each arm and leg, and tie a knot to keep them in place.
Hot glue the wings in place.
Hot glue the larger section of hair behind the ornament thread loop and arrange it so it covers the back of the head. Hot glue the front section in front of the loop of thread above the face.
If you wish, give your angel’s hair a trim or style it into pigtails.
Aren’t they pretty?
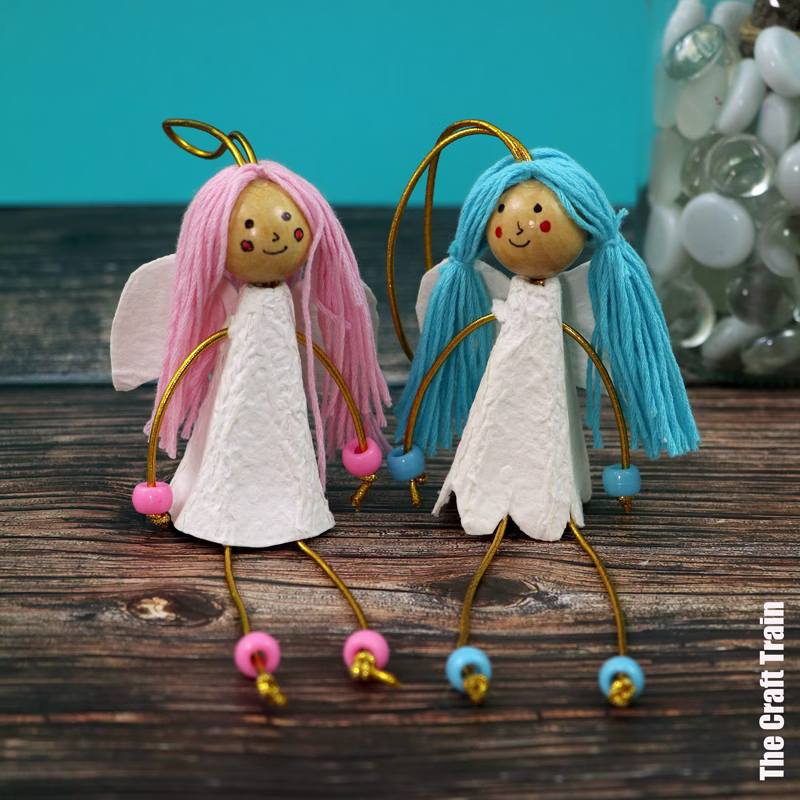
Now hang your angels on the Christmas tree!
More Angel Crafts for Kids
- Make some colourful mini paper angel ornaments
- We have a set of printable multi-cultural paper angels
- Here’s an easy paper roll angel
- We also have a tree-top paper roll angel
- These recycled DIY angel wings are great for Christmas costumes


