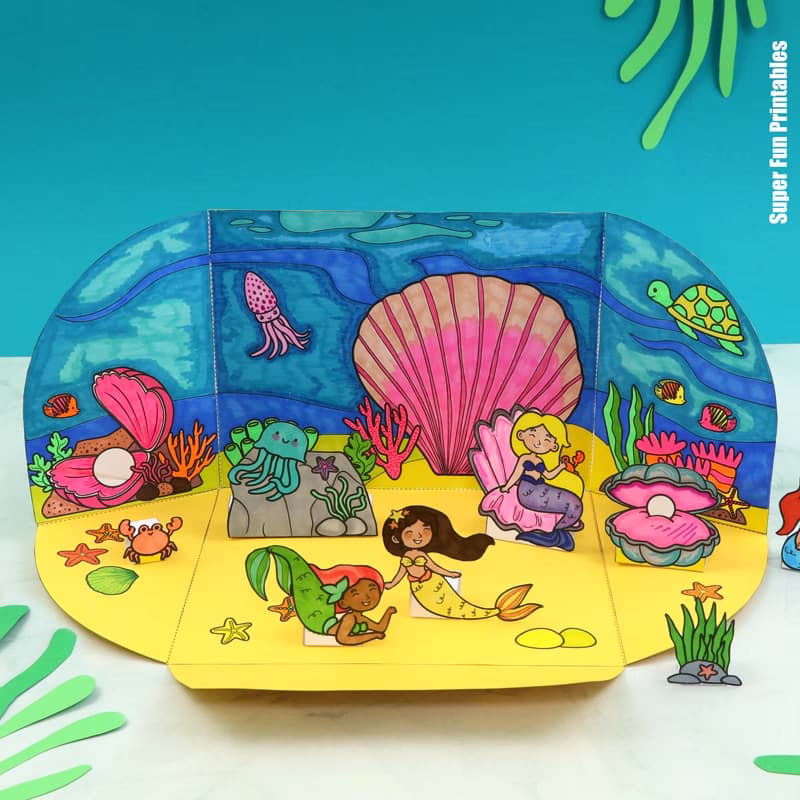
Create a Mermaid Small World from paper! This DIY toy makes a great Summer or weekend project and would also be a fun collaborative craft for an adult to make with a child.
I’ve said it before and I’ll say it again, DIY toys make the BEST crafts.
They provide two activities in one; something to make plus a toy to keep kids busy. They also give kids a sense of accomplishment when they’ve created something awesome that you can’t buy in a shop.
I know, I’m not supposed to say my own crafts are “awesome”, but this one really is cool and I’m super excited to share it!
Small worlds might seem like they’re not very educational but there are lots of benefits to creating them. They get kids’ imaginations going, inspiring both imaginative play and storytelling skills. Practicing math can’t do that!
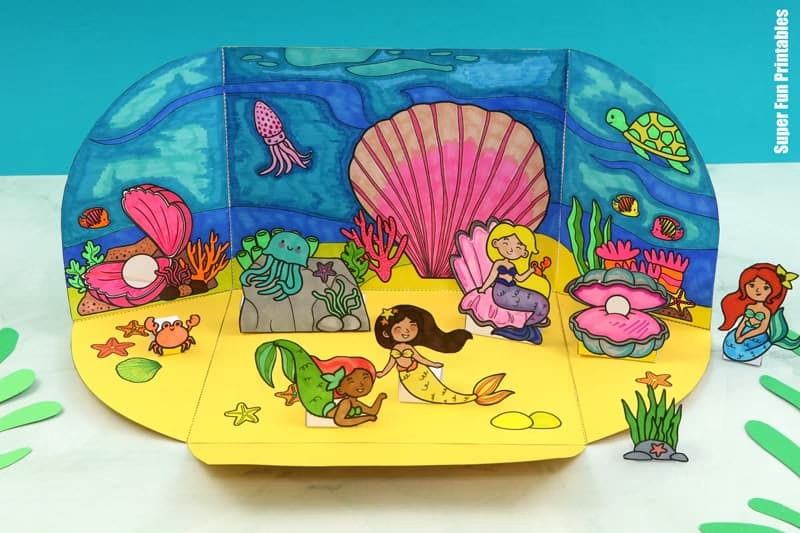
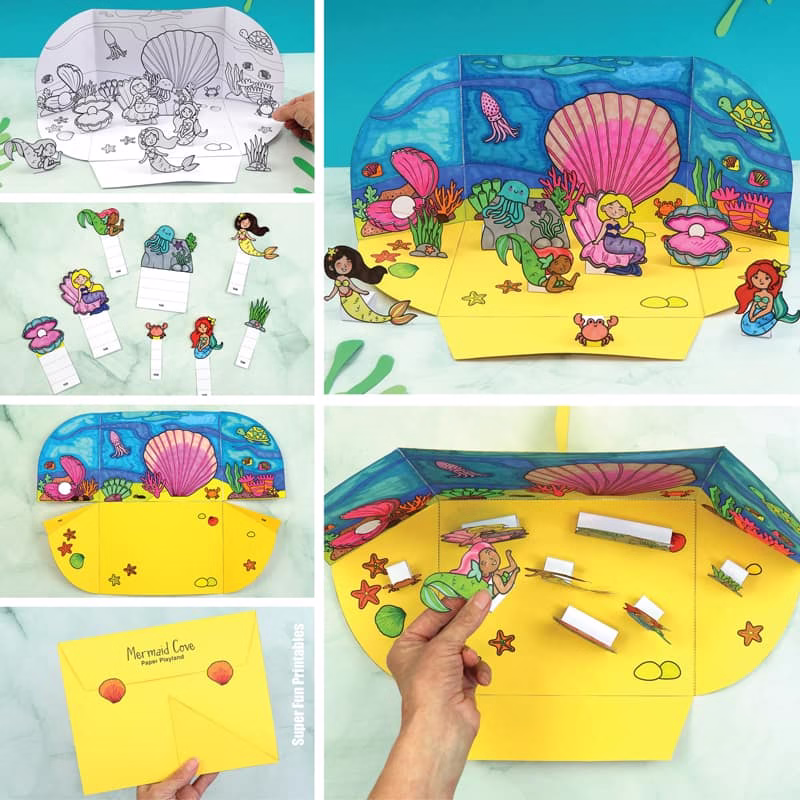
This mermaid playland is freestanding and comes with four mermaid characters plus some additional ocean creatures and elements.
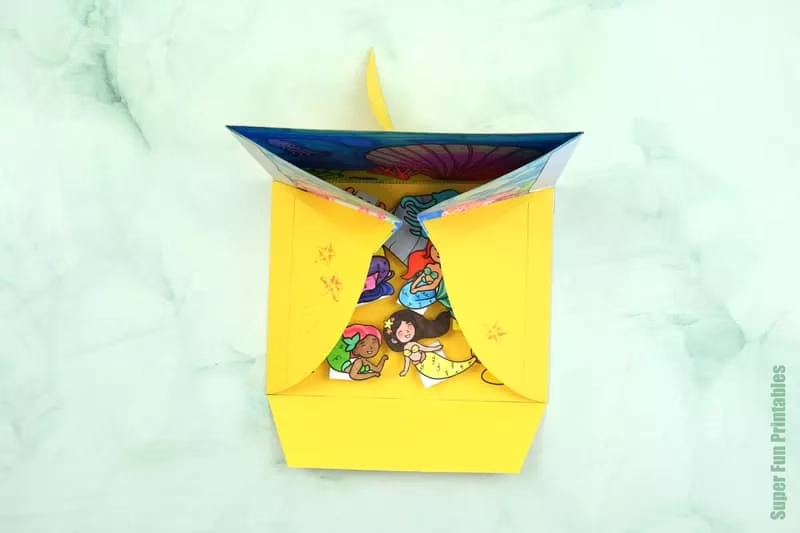
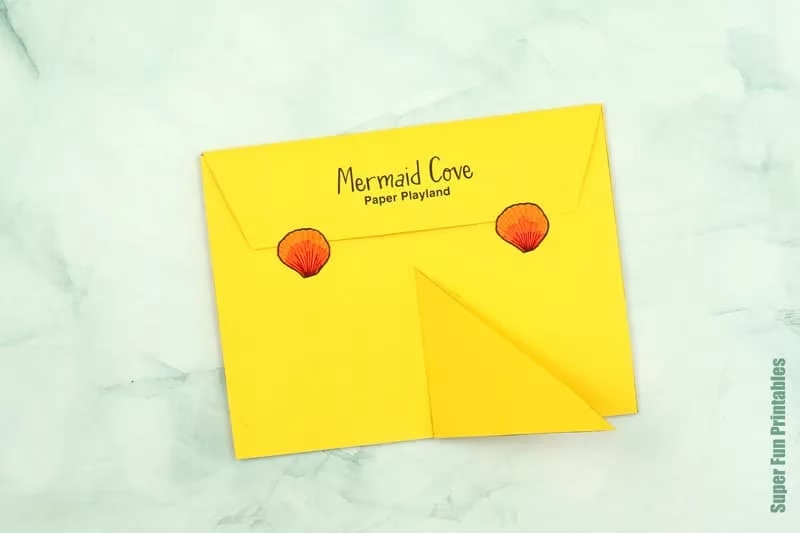
Once kids are done playing, the background folds up to become an envelope to store the loose parts.

This makes it perfect for on-the-go play.
Mermaid world tips
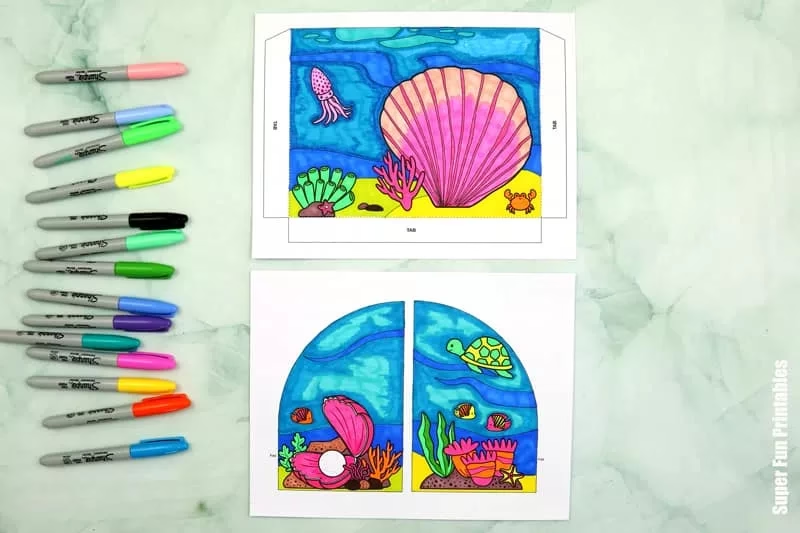
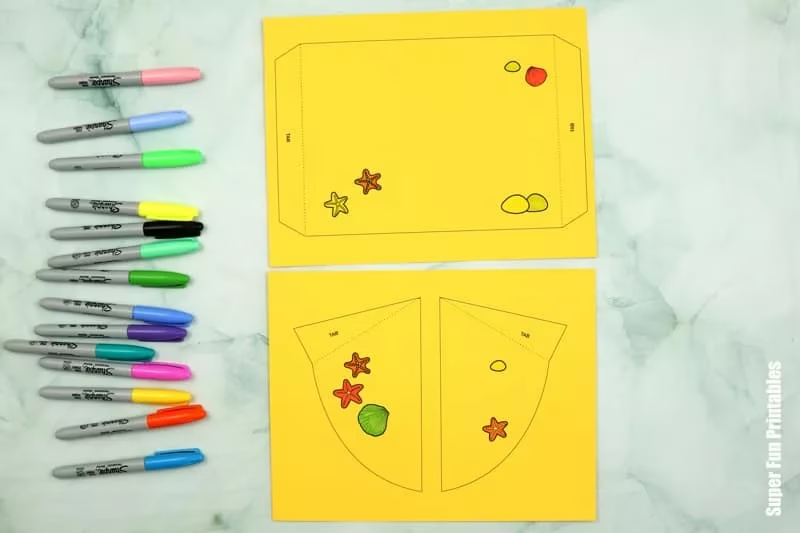
- We’ve used yellow paper for the sandy ocean floor to make lighter work of the colouring. This is optional but recommended.
- Scoring of fold lines is recommended for this craft because it makes folding the background together for the first time much easier
- Card stock is recommended for sturdiness (this craft has not been tested with ordinary paper)
This project has been designed for kids aged 8 years and up, but younger kids could make it with some help.
Ready to make one? Here’s how …
How to make a Mermaid Small World
You will need:
- White card stock – 4 sheets
- Yellow card stock – 4 sheets (or use white and colour it yourself)
- Markers or suitable alternative for colouring
- Scissors
- Glue stick
- Scoring tool, ruler and cutting mat (or use a blunt butter knife)
- The Mermaid Small World template, available from our printables store and TPT store
How to:
Print out the template as per the instructions in the download.
Colour the designs.
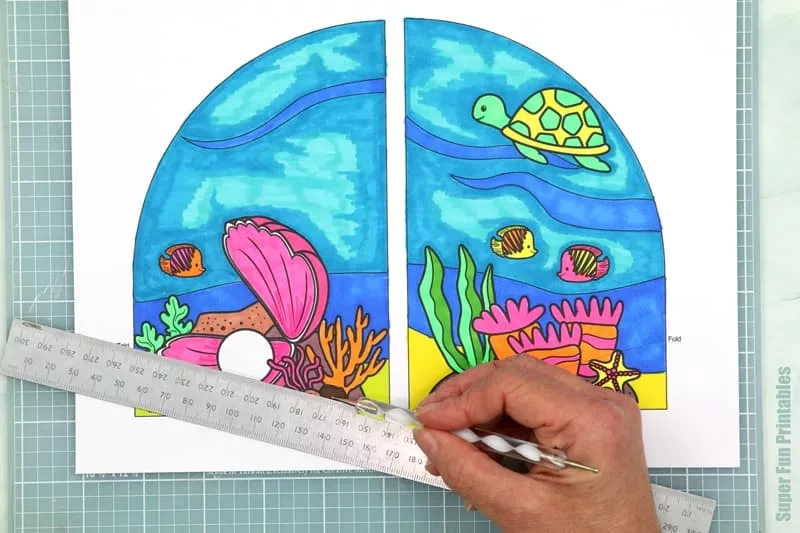
Score all fold lines by placing a ruler against the dotted lines and running a scoring tool along the line to create an indent.
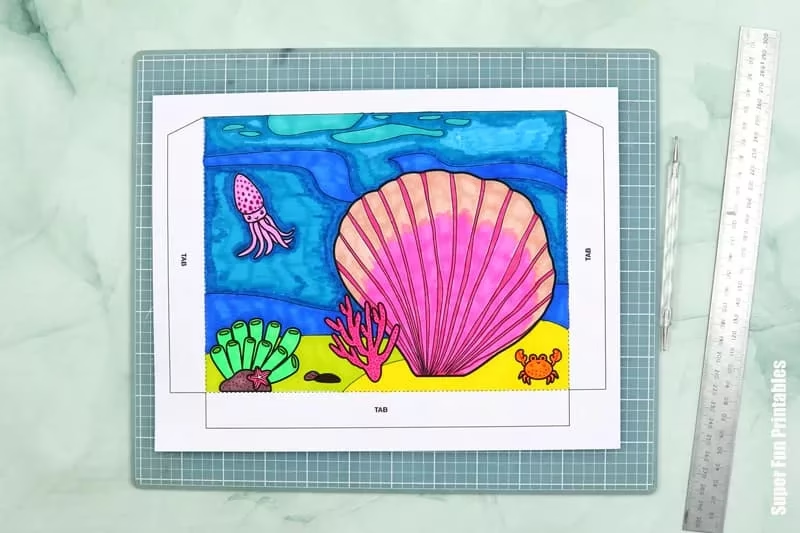
Cut the shapes out.
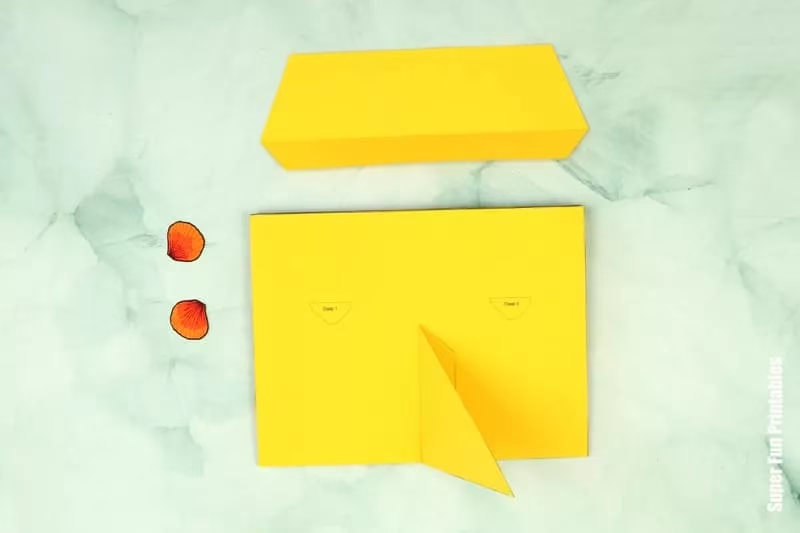
Make the background:
Glue the curved panels on either side of the main rectangular image. Fold along the scored fold lines and the lines marked on the curved panels.
Glue the ocean floor in place and the side floor panels on either side. Fold along the scored lines of the tabs.
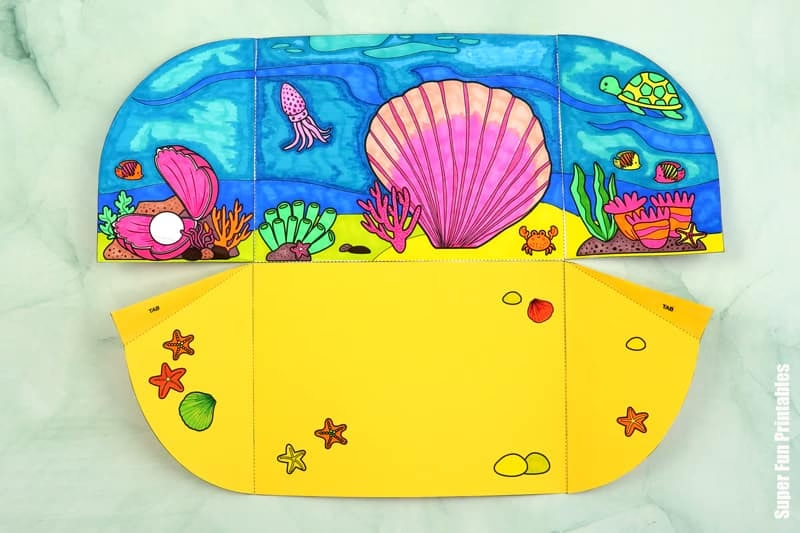
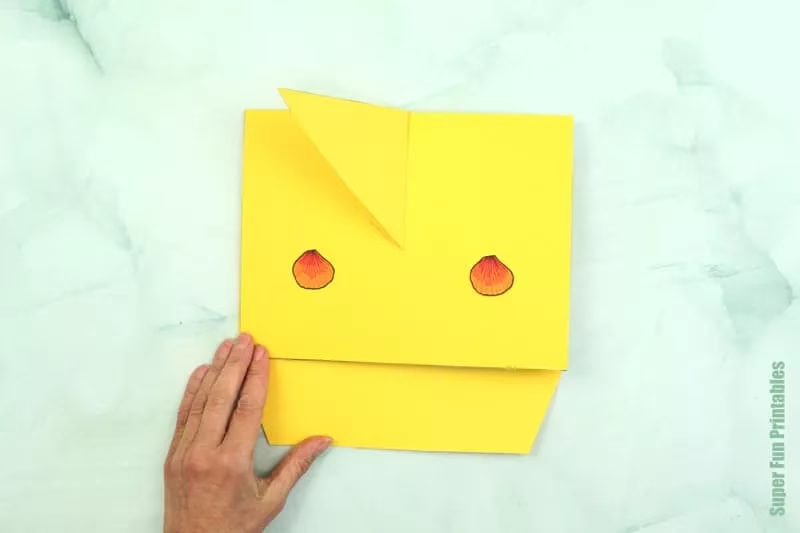
Lift the background up so it sits at a 90º angle and glue the curved side panels to the ocean floor panels (it won’t stand on its own until the stand is added later). To fold the small world up for the first time, fold the side panels inside the main piece and fold the set closed.
Glue the envelope cover in place on the back of the main ocean backdrop. The stand shape needs to be positioned against the fold. Glue the stand onto the space marked.
Glue the envelope flap onto the back of the ocean floor and the shell clasps into the dotted lines marked. Only put glue in the space marked on the page so the clasps can hold the envelope closed.
Make the characters:
Colour the characters and other ocean elements.

Cut out the shapes.
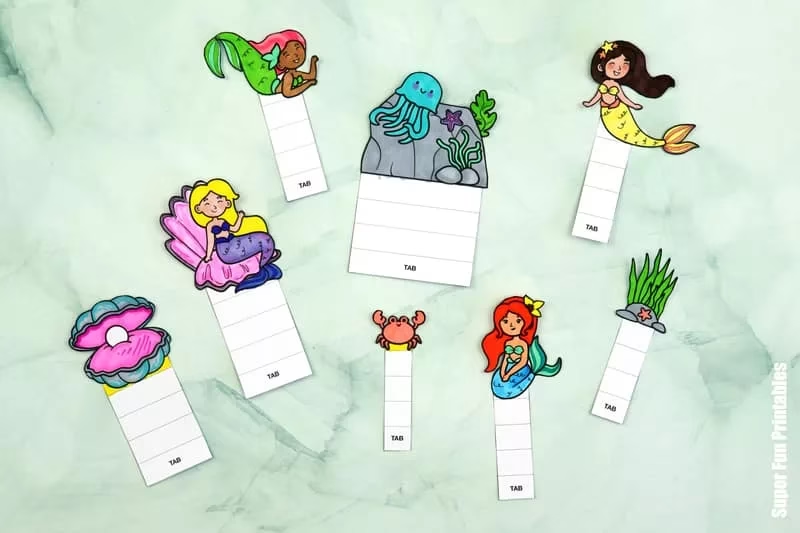
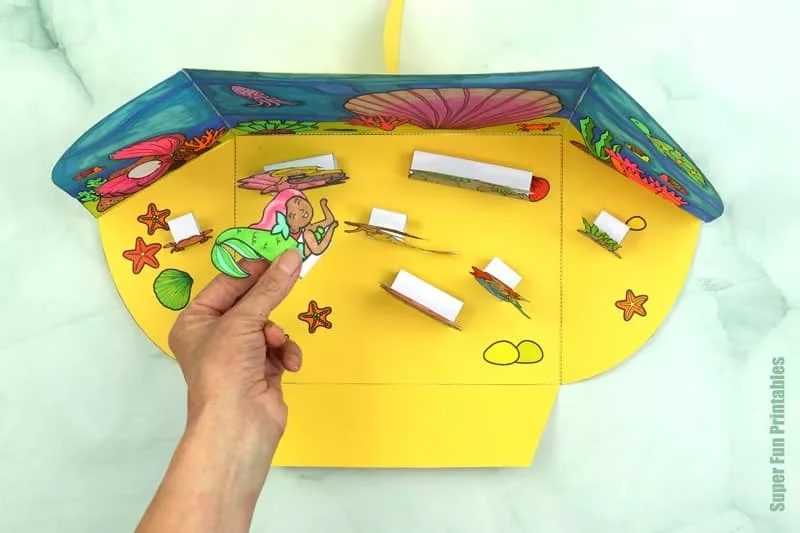
Fold and glue the stand tabs to the backs of the mermaids and other loose parts. These can be flattened and placed inside the envelope when not in use.
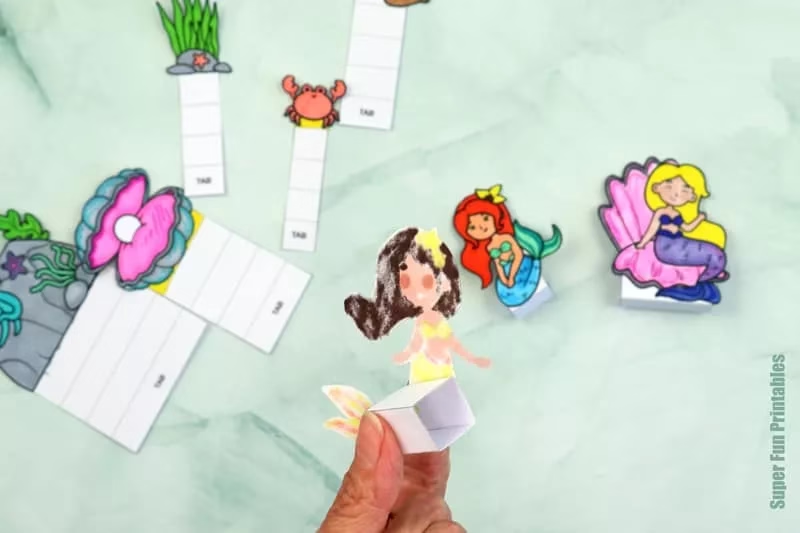
All done! Now it’s time to play.

… and pack away.
We have more fold-away small worlds in the pipeline so stay tuned.
More Printable DIY Toy Ideas
- Make a set of four paper fairy dolls
- Make a Woodland Animal Small World, we have a Spring Animals and Autumn/Fall version
- This frog pond playland doubles as an educational toy to learn about lifecycles
- These printable Whirlygigs are a classic toy that is still super fun to make
- This pom pom ice cream ball and cup game is a fun way to practice gross motor skills
Check out more of our DIY Toys