

Miss K, at age 5, is still very fond of her toy kitchen. She has lots of pretend food to cook, such as rock cakes, toilet roll fish and even the glitter sponge cakes we made a long time ago are still going strong. Sometimes she doesn’t even need food that looks real, ordinary round seed pods become chocolate balls, a few sea shells become biscuits and she is happy as happy can be in her little cafe world. Recently we collected a few seed pods and they somehow migrated from my craft basket into her toy kitchen and before long were served to me on a little plastic platter as a delicious meatballs. So these meatballs and pasta I have made were not really my idea, I took it from Miss K and tried to make it look a bit more real for her – of course, they are now the most popular choice on the menu of her pretend play cafe. To make some for your own toy kitchen at home is pretty simple.
You will need:
– One standard sized piece of yellow felt for the pasta, plus a print out of this template
– A few pieces of double sided tape
– Some round seed pods or something else that is round and small for the meatballs
– Mod podge, or PVA (craft/school) glue mixed at a 1:1 ratio with water
– Red tissue paper cut into small squares (approx 10cm x 10cm)
– A paintbrush & scissors
How to:
Once you have printed out the template, attach it to your piece of felt with some double sided tape. It doesn’t need to cover the entire back of the felt, but place it across-ways so that the paper is still attached to the felt as you cut it into strips.


Then peel the felt off the paper, removing the small piece of tape that attached it. You now have pasta!

Next, paint some mod podge onto your seed pod and wrap a square of red paper around it. Paint a little bit more over the outside to make it shiny, but beware not to make it too thick or it will take forever to dry.

Mine is a bit too thick, and it did seem to take forever to dry! It’s a good idea to paint a thin layer on one side, then once that is dry turn the ball over and do the other side so it won’t stick to the surface it is sitting on. I have placed mine onto a plastic plate as a drying tray, so that I could move it out of the way and also because if you lay it on paper the paper can get stuck to the ball and wouldn’t come off.

… and that’s all there is to it!


I put them in a plastic container all together for storage when not being used.
If you are interest in more crafty ideas for pretend play food craft, try visiting my play food board on Pinterest.

Similar Posts
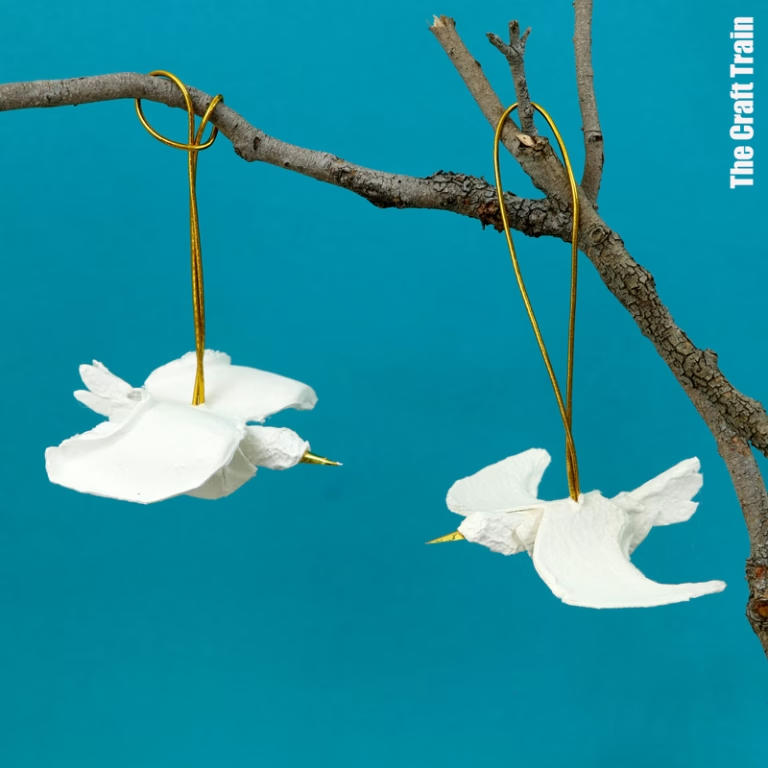
Egg Carton Peace Dove
Turn an egg carton into a peace dove ornament! This makes a pretty addition to your Christmas tree and is the third in our egg carton Christmas ornaments series. This craft is suitable for older kids, tweens and above. It’s quite fiddly, and the steps appear complicated, but it’s not that difficult. You might also…
Reptile crafts for kids
Ready for some reptilian fun? Here are 20 reptile crafts for kids, from snakes to crocodiles and geckos to turtles – reptiles are some of the most interesting creatures on earth! You might also like these Dinosaur crafts for kids Secretly I love snakes. Why? because they sit around sunbaking all day long, which is…
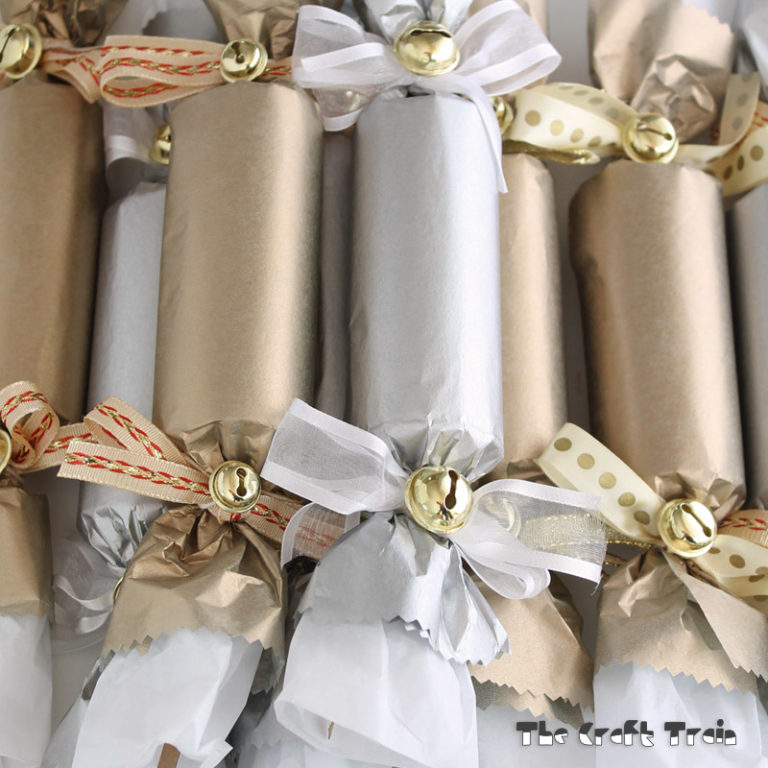
DIY Christmas and new year’s eve crackers
We love hand made crackers at our place. We make them for Christmas every year, and have also made them for birthdays as well. In this post that I wrote for Childhood 101 I’ll show you how these sparkly gold and silver Christmas crackers can become New Year’s Eve crackers with a few simple changes. I’ll…
Where is the Green Sheep book and craft
Maybe you’ve heard of Where is The Green Sheep by Mem Fox. It was a book my girls loved when they were little, and still is a favourite for many Australian kids I’m sure. Aussie Book Week is coming up very soon (20th -26th August) with the theme being Australia, Story Country!. To celebrate book week this year I thought…
Aussie koala masks
Australia day is coming up very soon and to celebrate we’ve created some Aussie koala masks! There is a printable template in either gold, green, grey (like a real koala) or blank so the kids can colour and decorate their own. To make one of these at home I’d recommend using a heavy paper stock if you have it…
Egg Carton Jewellery Box
I’ve always wanted to try my hand at egg carton flowers – they are so bright and cheerful! The girls and I decided to make some over the school holidays and we used them to decorate egg carton jewellery boxes. You could use these boxes to store any small knick-knacks and collections (think crystals, shells, loom bands…



Toys that are meant to look like real food are a joy when you’re a kid. I felt like I knew how to cook. Thank you for the post!
After making the cakes,we made this pasta..so adorable on her stove in a pot.. tomorrow we will make the meatballs..
Fantastic! The meatballs and pasta were a favourite of my daughter at that age too
I can’t get over how real those look! Wish I’d seen these while my kids were still in the play kitchen stage.
They are so fun! My daughters are both school aged now and still they play with them.