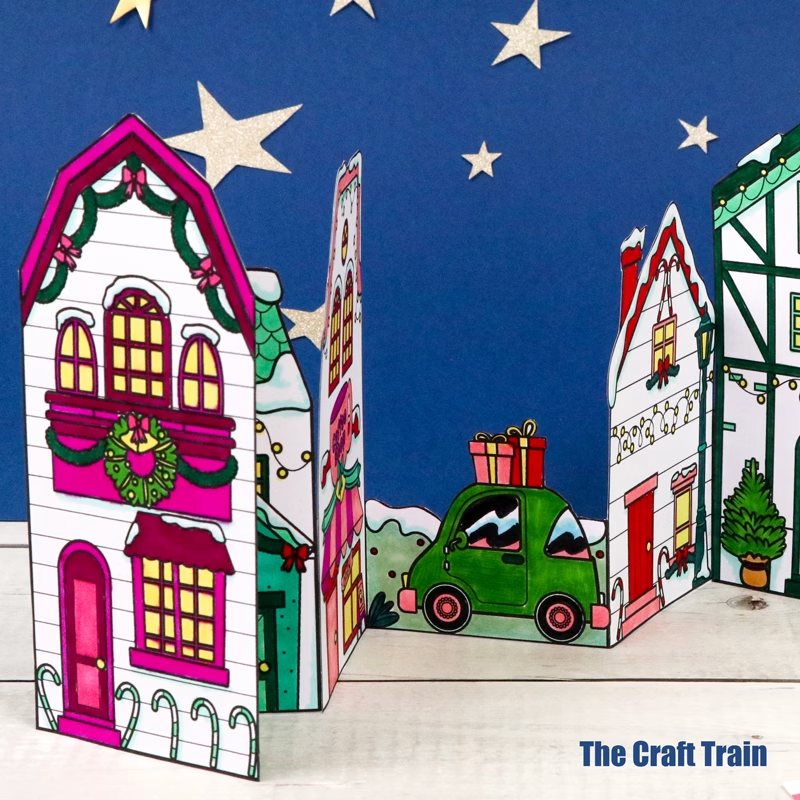
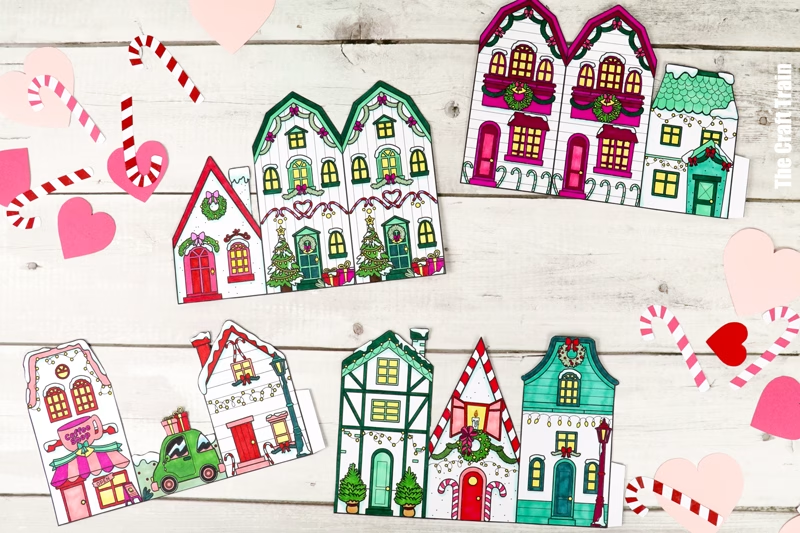
Make a decorative Folding Christmas Village with this print-and-colour template. Your finished paper craft becomes a festive season decoration that doubles as a small world for imaginary play.
This is a fun Christmas craft for kids of all ages and also works as a collaborative project for a small group or family.
Q: What’s cuter than a row of Victorian townhouses, all decorated for the festive season?
A: A handmade, mini paper row of townhouses, hand-coloured by your kids!
This folding Christmas village is similar to our Valentine village—only it’s Holiday Town instead of Love Town.
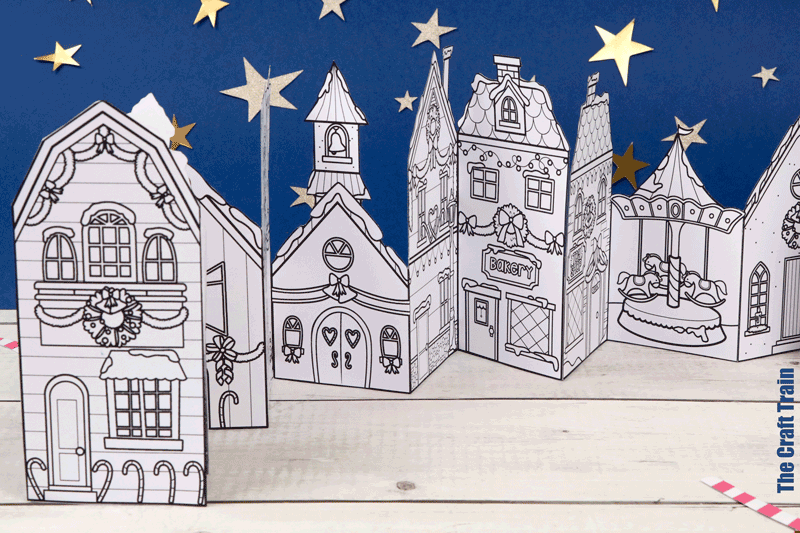
Come on down to Holiday Town…
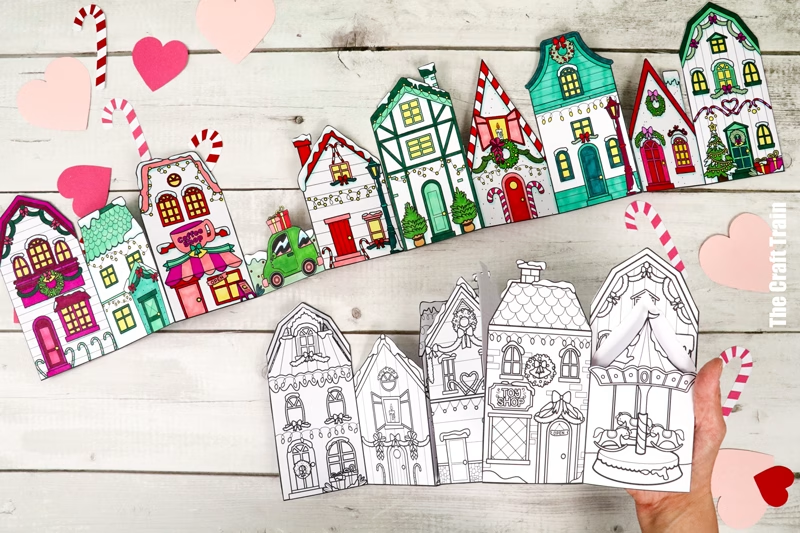
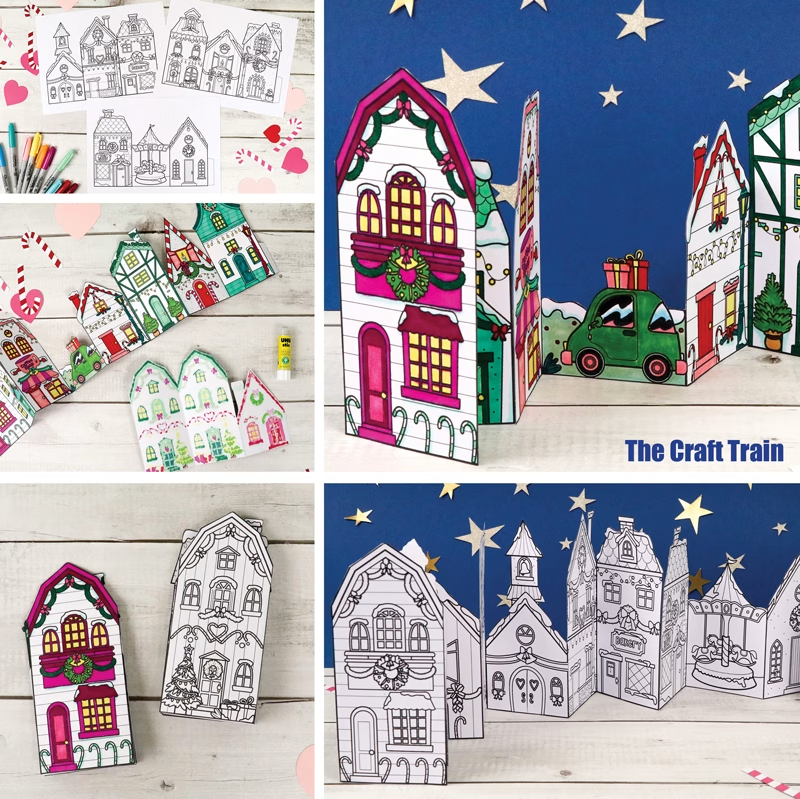
It has everything you need for Christmas. There’s a bakery to purchase gingerbread, a toy shop, a cafe, a picturesque church and even a Christmas carousel.
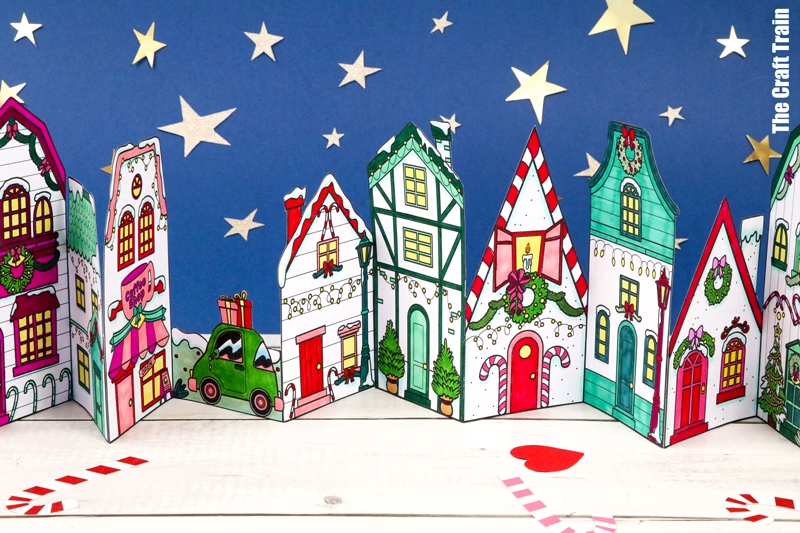
Of course, the village has been iced with a fresh layer of the softest snow. After building a snowman, taking a ride on the merry-go-round and stopping into the coffee shop for a hot chocolate, you can cozy up for the night inside your favourite light-festooned home.
I’m pretty ready to move on in, what about you?
I bags the three-story green-trimmed townhouse on the end. My sister will be living next door, and my daughter’s got the candy cane-trimmed cottage beside that. The rest are up for grabs, haha.
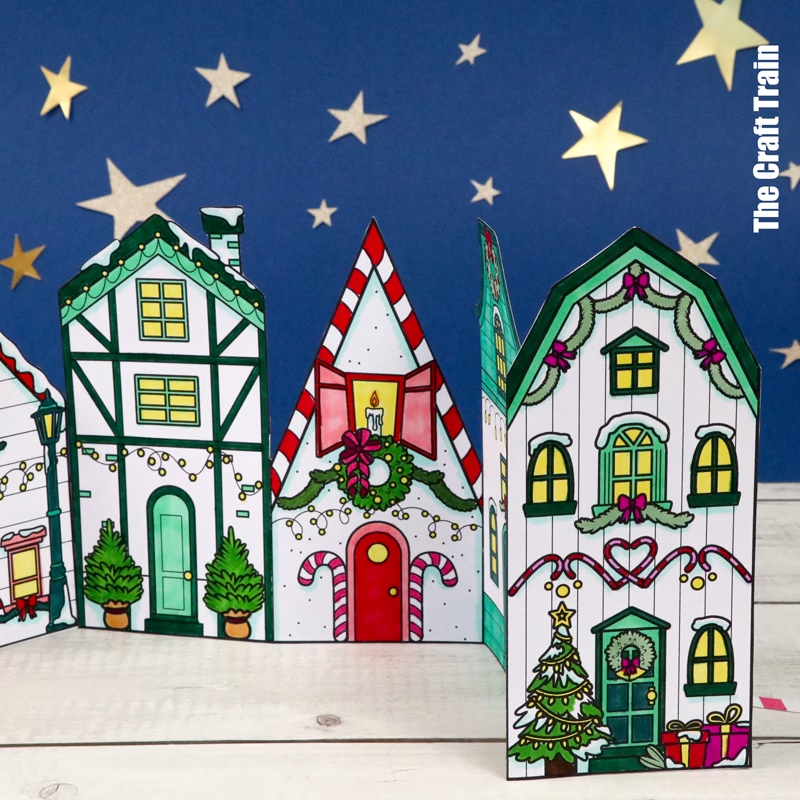
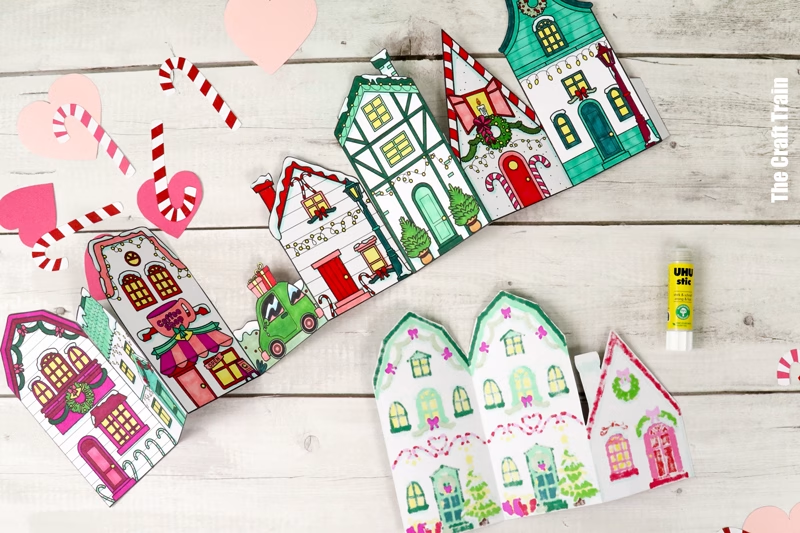
This template has a standard front and back cover house with 5 mix-and-match pages for the inside row of townhouses. Use as many or as few as you like.
When play is finished, your paper village can be folded away for easy storage.
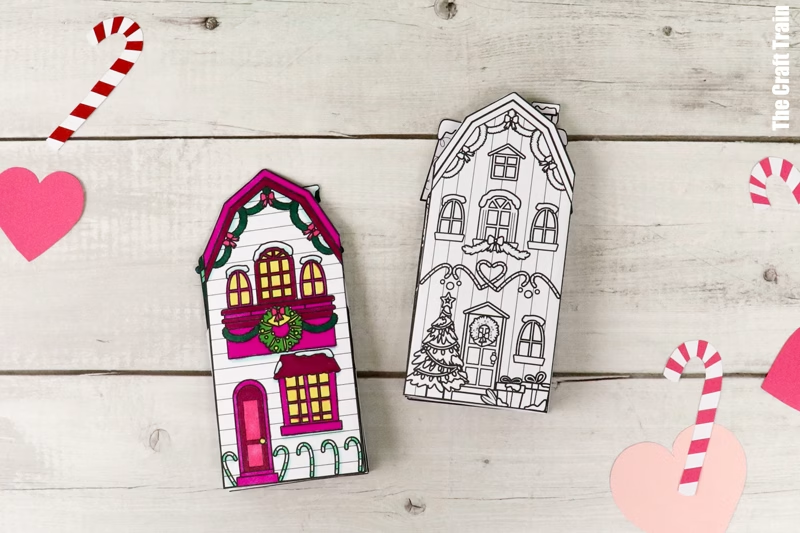
For the coloured example village, I have only used two in-between pages. The rest are featured in the uncoloured example.
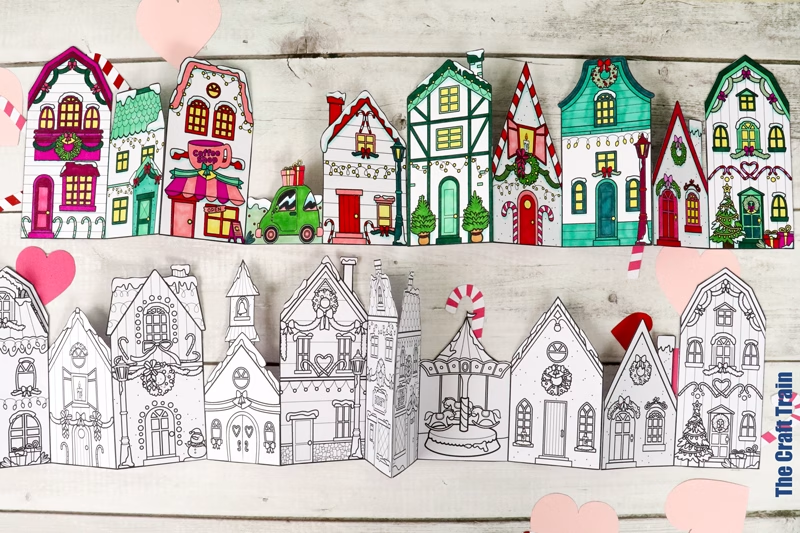
Aren’t the finished paper villages sweet?
Age suggestion for this craft is 6+, but younger kids can make it with adult help.
Let’s get crafting …
How to make a folding Christmas Village
You Will Need:
- White card stock
- Markers – either permanent or washable kids markers
- Scissors
- Glue stick
- The Christmas Village Fold-out template, available from our printables store and also on ETSY
How To:
Print the front and back pages as a bookend for each side of your village.
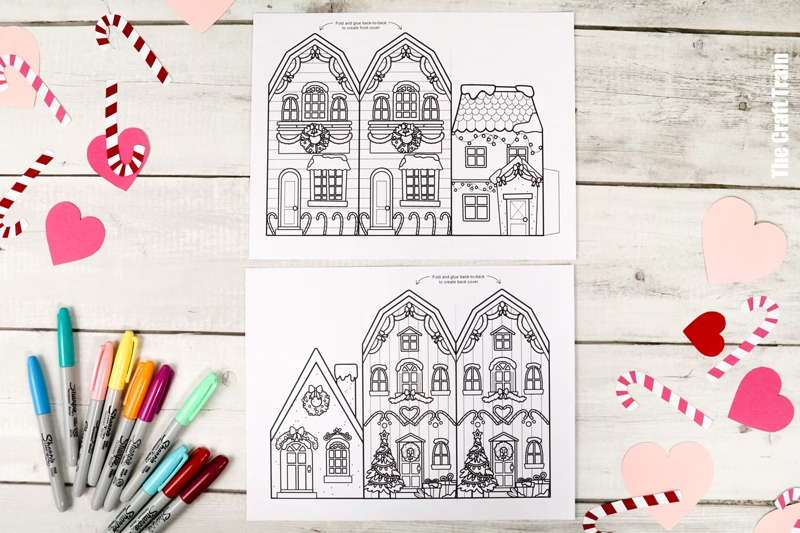
Print as many or few of the inside pages as you like.
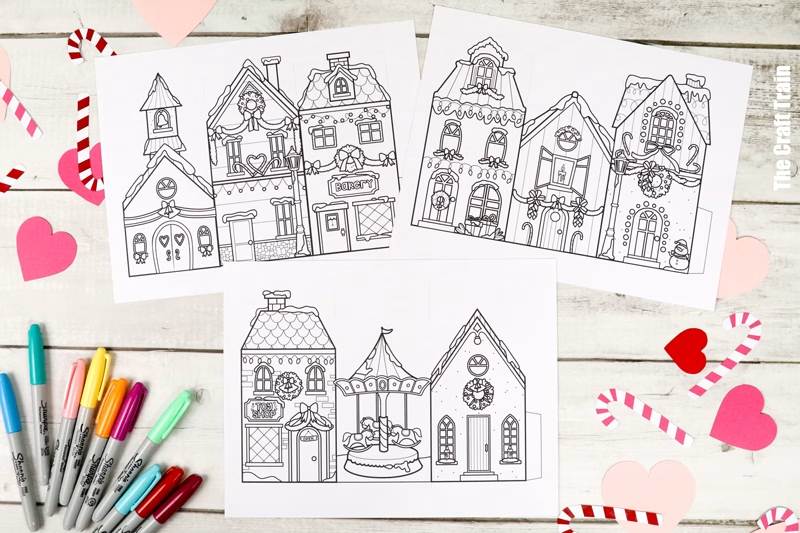
Colour the buildings and shops.
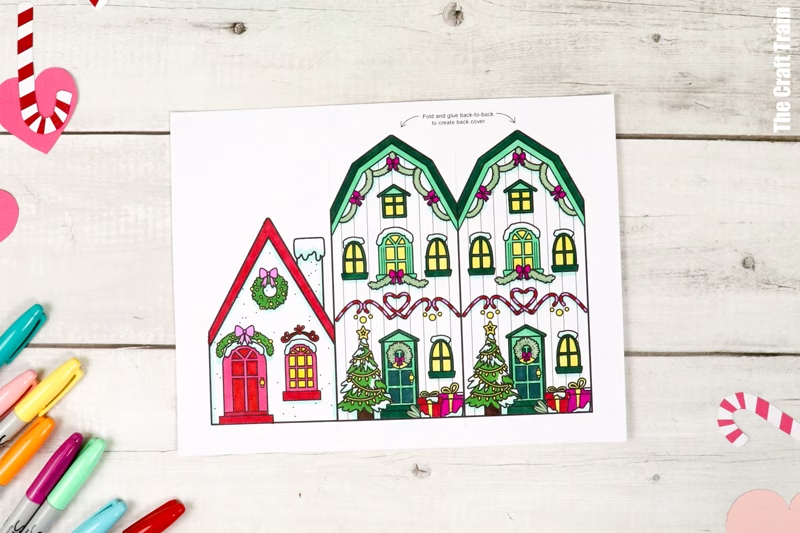
Cut the shapes out.
Fold along the edge of each building or shop.
To make the covers, glue the identical buildings back-to-back. Glue the middle pages to the front and back covers by the tabs.
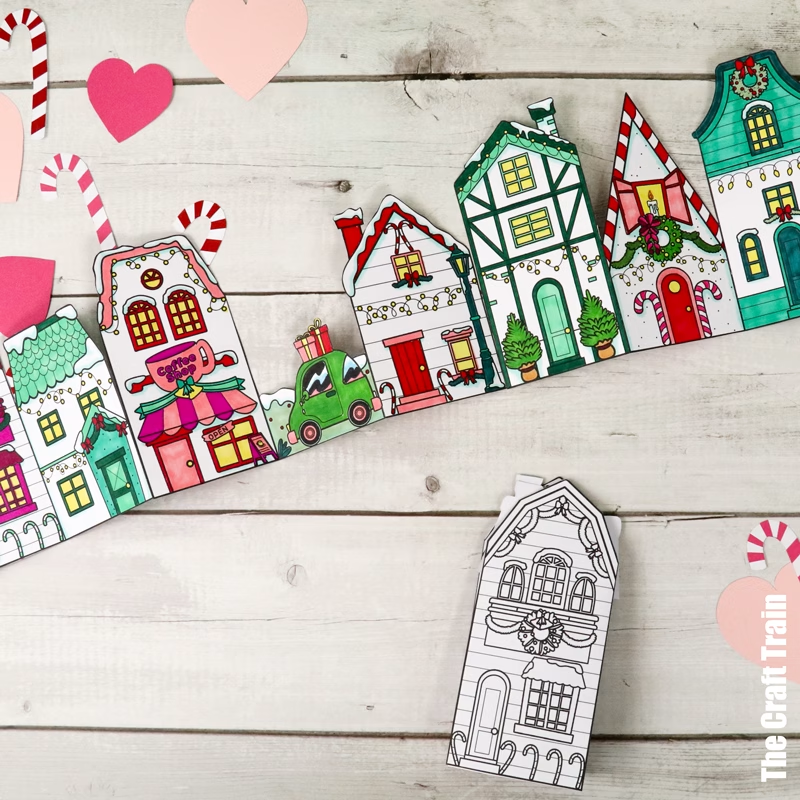
Now set your Christmas village on the mantelpiece to decorate for the Holiday season!
Happy Holidays to all our readers!
More Christmas DIY Toy Crafts
- Make a set of nesting cone Santa & Friends paper dolls
- These Paper Roll Reindeer are so cute and fun!
- Print and colour this set of Christmas board games