
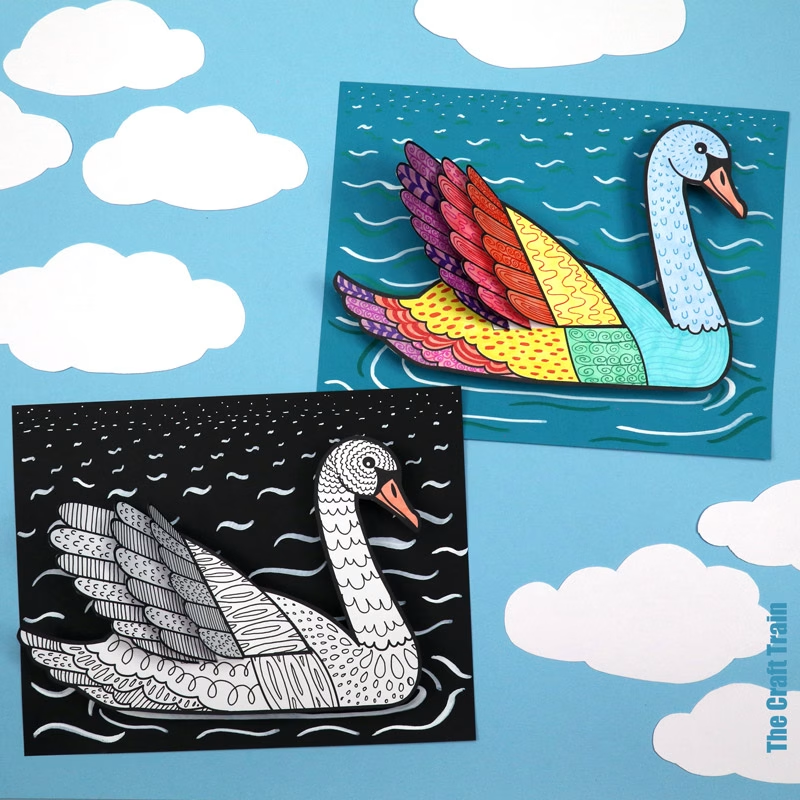
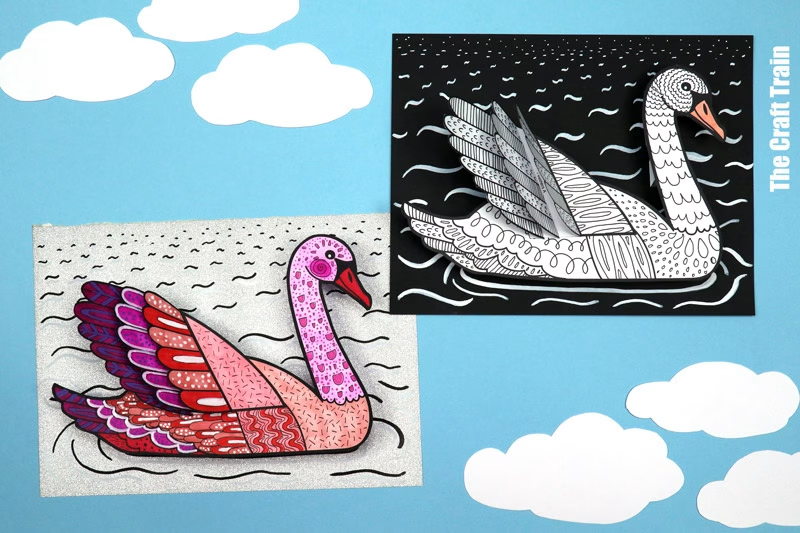
Create gorgeous 3D Swan Pattern Art with our latest template. This is the 4th instalment in our Freshwater Animals series. See the full list of animals at the end of this post.
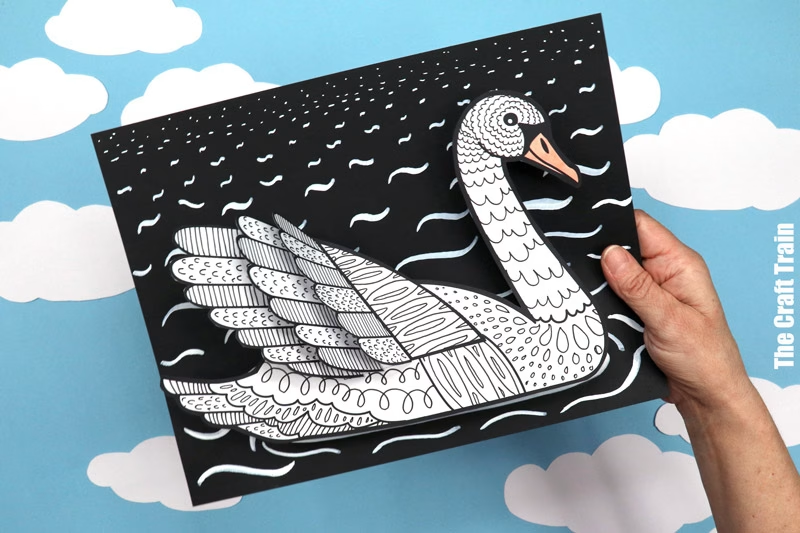
Ever since The Ugly Duckling was read to me as a kid, swans have been synonymous with good looks in my mind. And for good reason, these birds really are beautiful.
The swan in our 3D artwork is pictured gliding gracefully through the water. Perspective has been added to the ripples using a simple line art technique that kids should be able to master. Even if they don’t, as long as the lines are wavy, it’s going to look pretty watery!
While swans look great in black or white, don’t feel limited to using a neutral colour palette when making the pattern art version. Experimentation is what art is all about.
I’ve created two colourful examples to go with the more realistic-looking swan. Pretty pink, and rainbow.
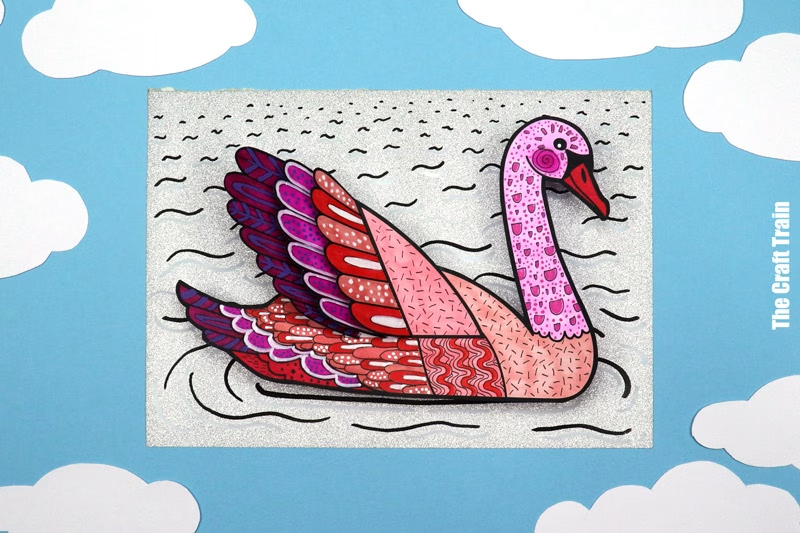
For materials, I’ve used a combination of permanent markers, fineliners and paint pens for my artwork. Paint pens (affiliate link) are my new favourite thing to incorporate into every artwork.
If you want to keep this project simple and economical, stick to regular markers or use whatever you have at home. The good thing about art projects is how much room to move you have when it comes to creativity.
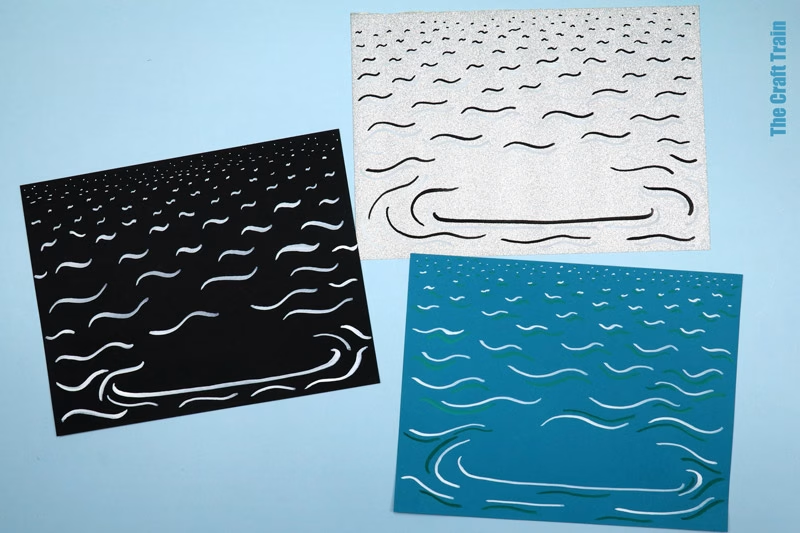
When selecting your card stock colour for the water, aim for something that contrasts nicely with the colour of your bird. This will make your pattern art ‘pop’.
This is why I’ve gone with black for the white swan, deep blue for the rainbow bird, and sparkle board for the pink swan.
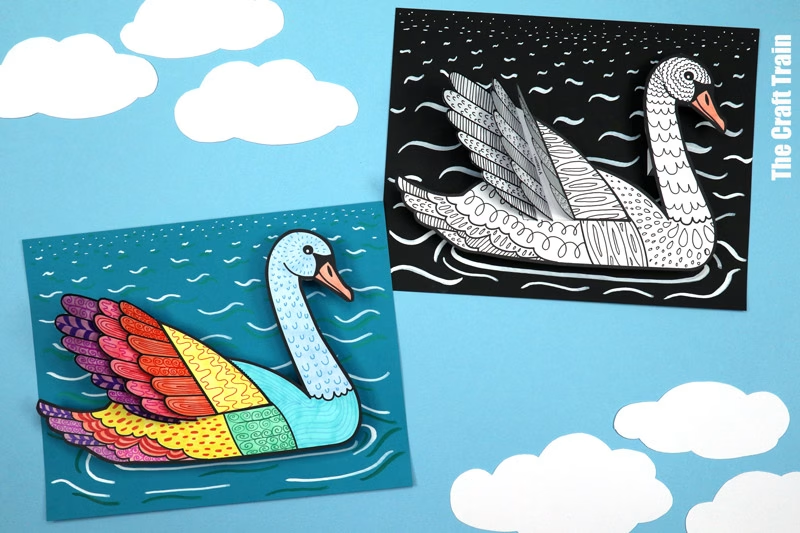
Age suggestion: 8+, but younger kids could make this with some adult help. \
You could simplify this for younger kids by modifying the project to a simple colour, cut and paste craft, and discarding the 3D support squares.
Are you ready to get crafting?
How to Make a 3D Pattern Art Swan
You Will Need
- White card stock – 2.5 sheets per swan
- Black, coloured or glitter card stock for the water background – 1 sheet per card
- Markers and optional fine liners for the pattern art detail
- Paint markers or permanent markers for the water detail
- Scissors
- Glue stick
- Optional cutting mat, ruler and scoring tool (recommended for easy and more accurate folding)
- The Swan Pattern Art template, available from our printables store and also on ETSY
How to make a Pattern Art Swan
Print the swan template to white card stock.
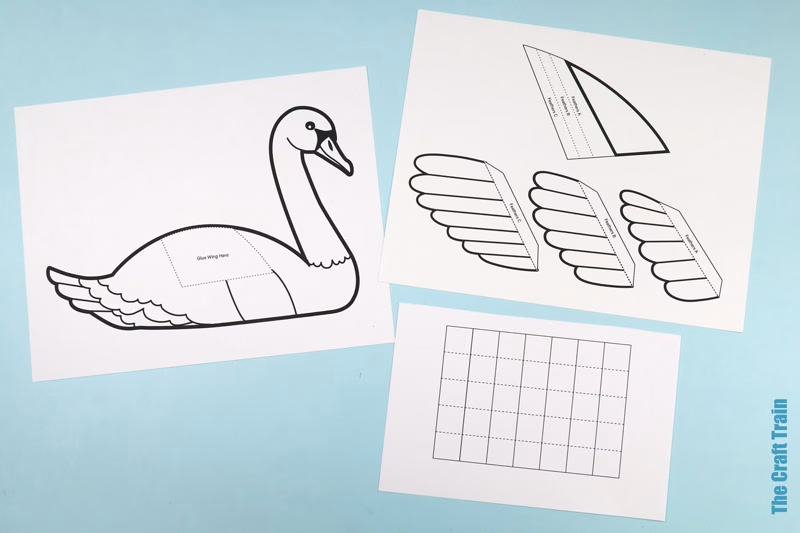
Colour and decorate the wings and body with pattern art detail.
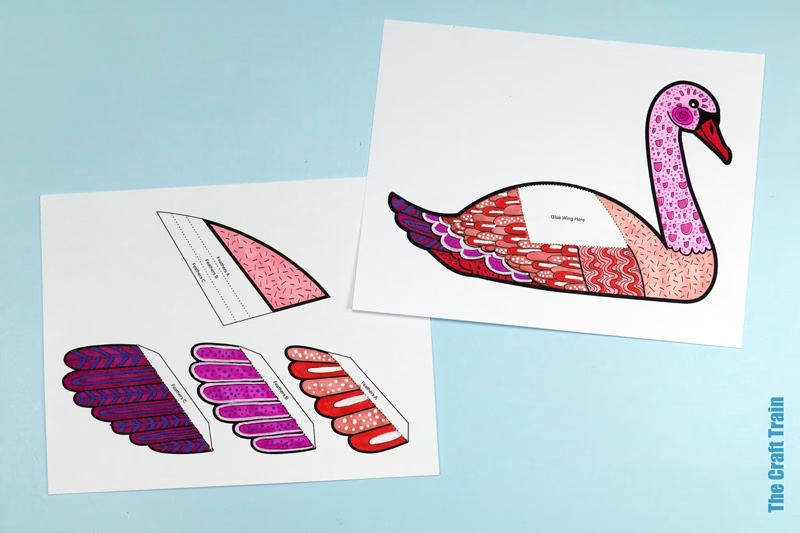
Cut the shapes out.
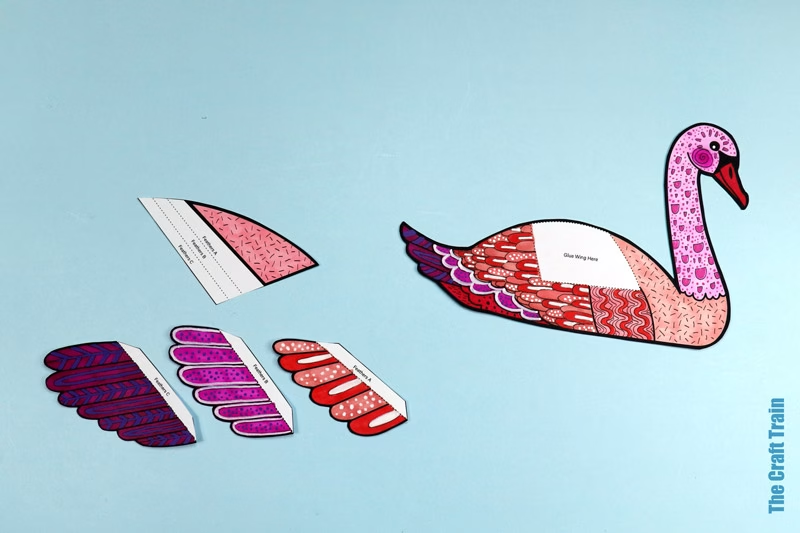
Optional: score the fold lines on the wing feathers and support squares. Do this by placing the sheet on a cutting mat, holding a metal ruler against each fold line and running your scoring tool (or a blunt butter knife) along them to create an indent.
Fold each tab on the wing feathers and glue them along the lines marked on the wing to create a layered effect. Glue the wing to the body,
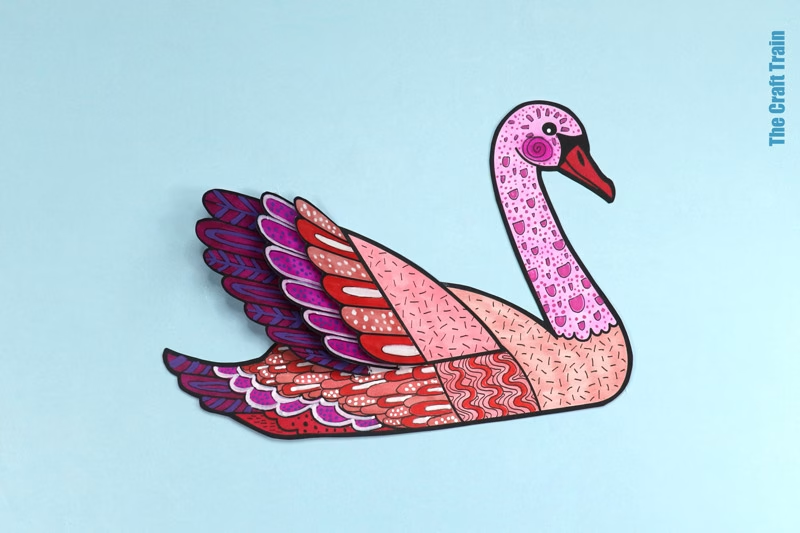
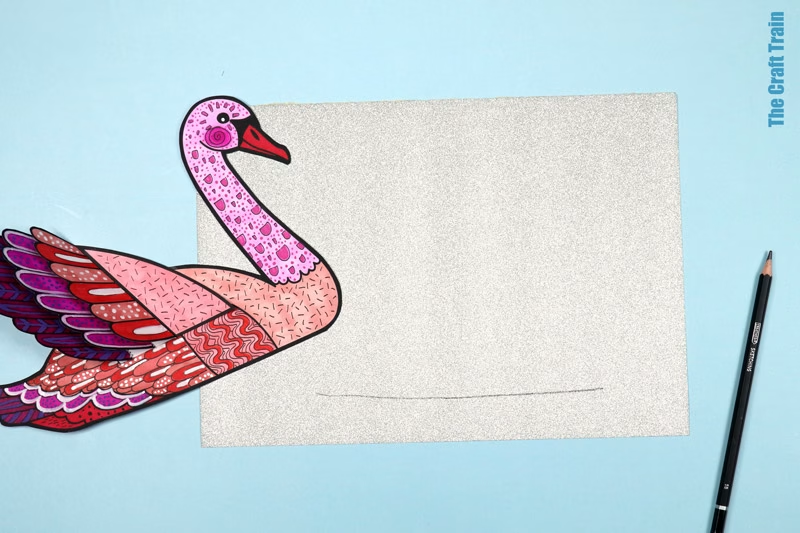
Place the swan on the page and trace along the bottom edge to mark where it will sit in the water.
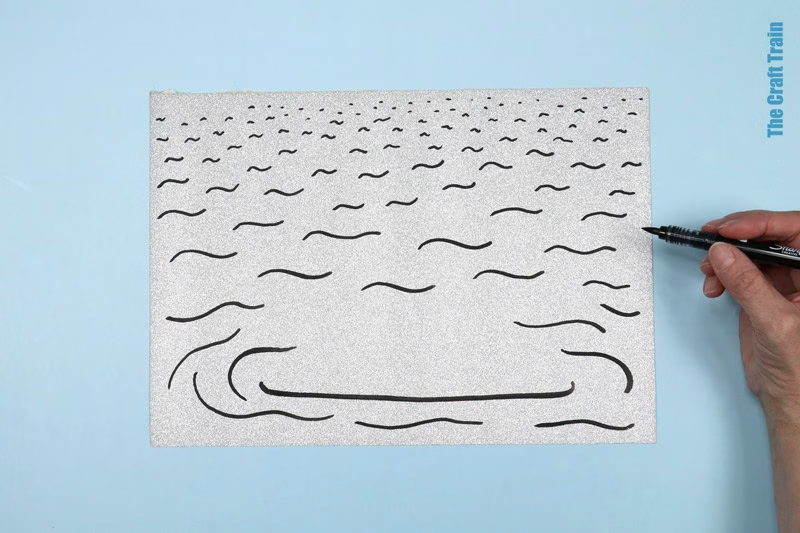
Use a paint marker or thick permanent marker in a contrasting colour to draw water ripples.
Start by marking a thick line where the swan’s body sits. To create perspective, draw ripples around it that get gradually smaller, until they become tiny dashed lines or dots at the top of the page.
Cut the support strips out, then fold and glue them into squares.
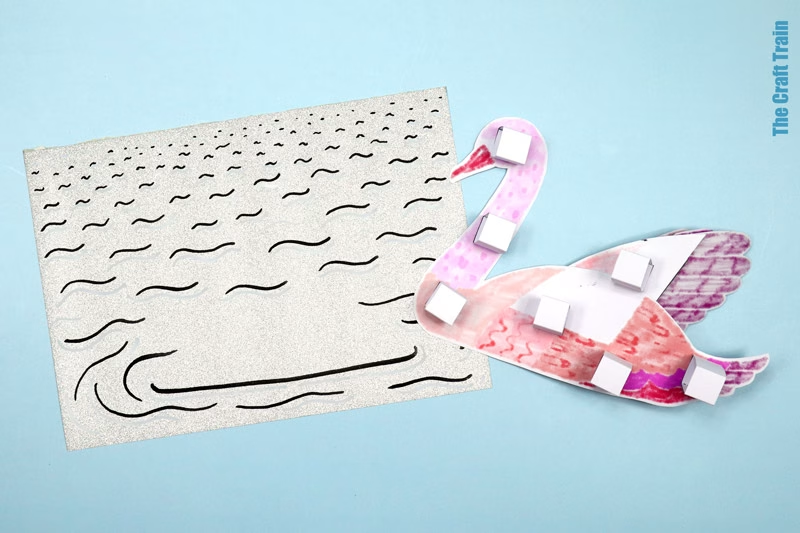
Glue the support squares to the back of the swan, then glue the swan into place on the rippled water background.
Happy patterning!
Also in the Freshwater Animals series
See all our pattern art projects here.


