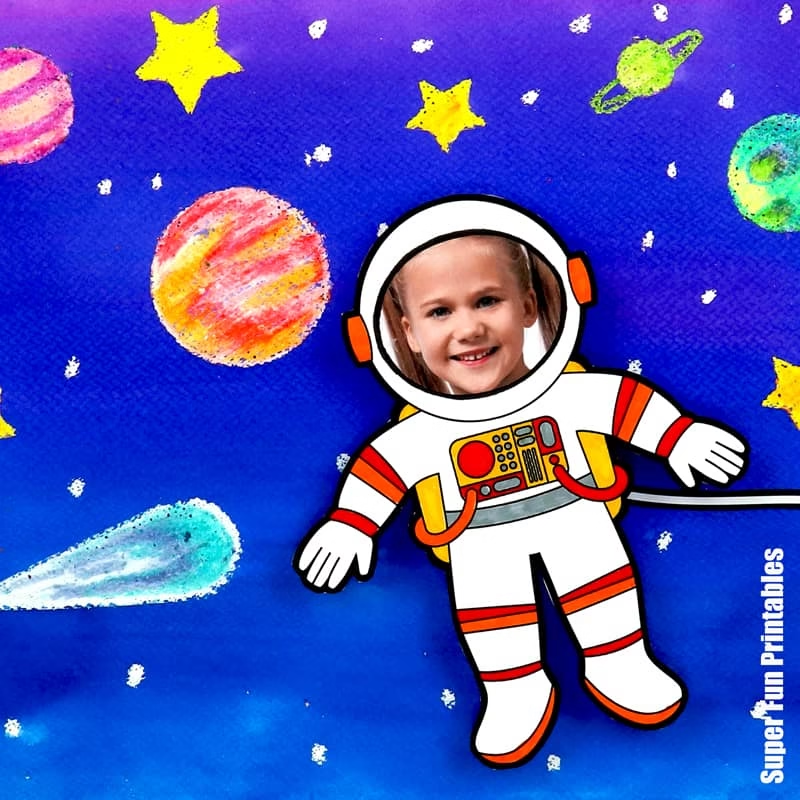
Create stunning Astronaut Space Art using a liquid watercolour and crayon resist technique. This is a fun and creative project for kids—the best part is they get to put themselves in the picture with our printable 3D astronaut!
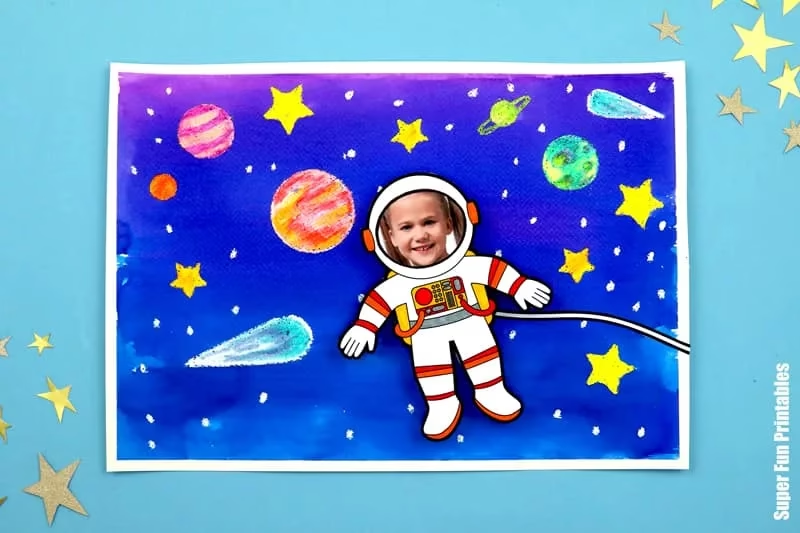
If you could go anywhere in the universe, where would it be? I know, there’s so much left to explore that this is a very hard question!
With this project, kids get to create an imaginary space adventure with art. They could go to the moon, Mars, an unknown planet, or float in zero-G space.
There is no limit, space goes far, far beyond our visible sky!
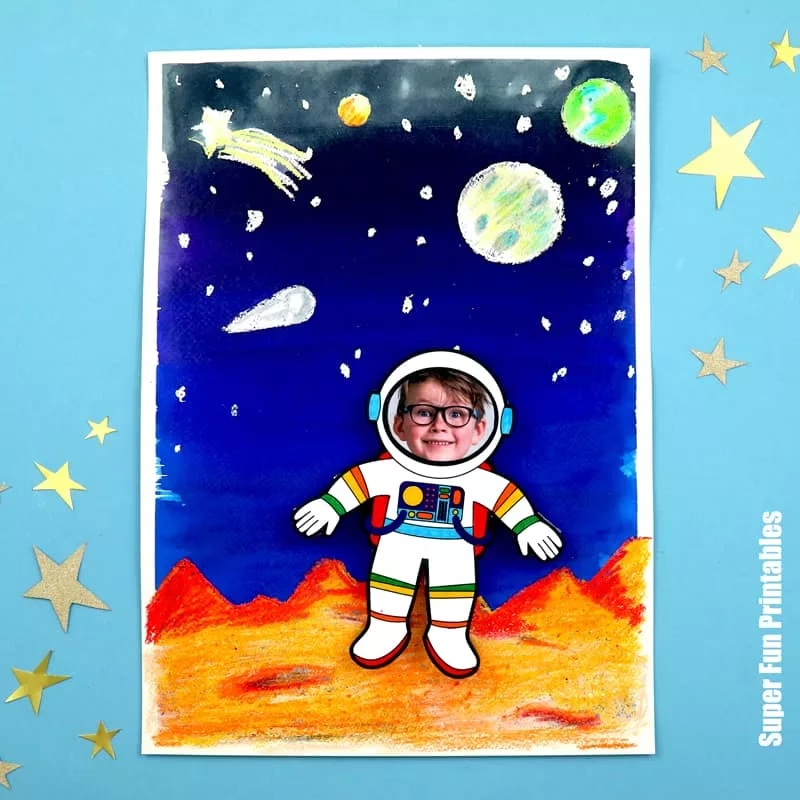
If you don’t want to bother with kids’ photos, this template includes an astronaut with a cartoon face, or kids can draw a face in the helmet frame.
… OR you could always send your pet on a space adventure!
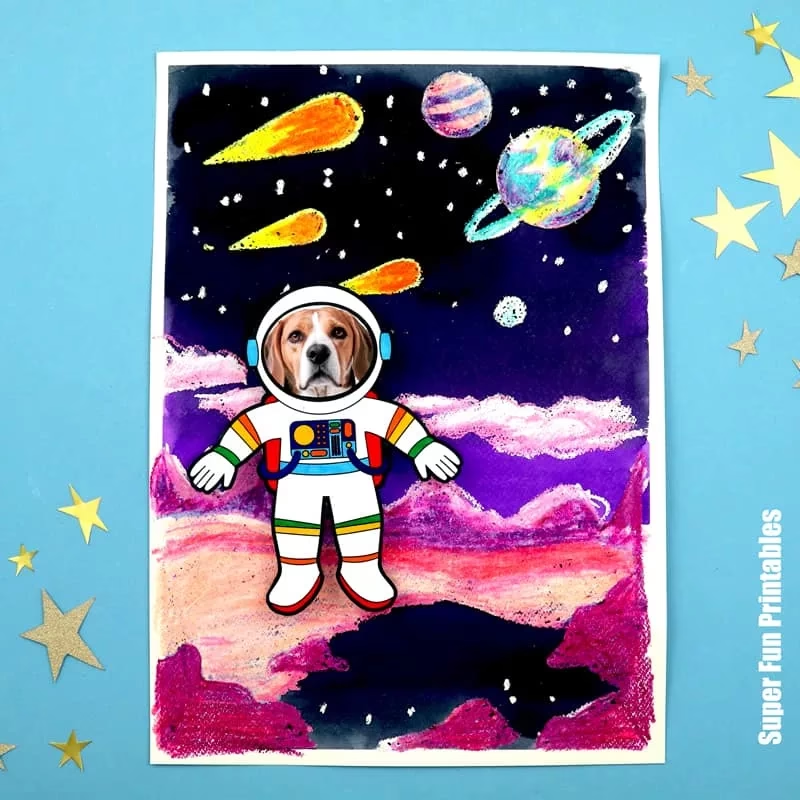
The template includes printable masking shapes for planets, comets and stars or kids can draw their own.
After drawing and colouring the scene in crayon (I suggest bright colours drawn on thick), the liquid watercolour step works like magic!
Getting the right materials
It’s essential to use decent-quality paint and paper for this project.
Liquid watercolours are available in selected art stores (they can be hard to find here in Australia), but you can get them online too. You’ll need ‘spacey’ colours such as deep purple, dark blue, indigo, and black. I found creating a gradient blend using two colours works best. The artwork below has three colours and they didn’t blend as well as the two-colour versions.
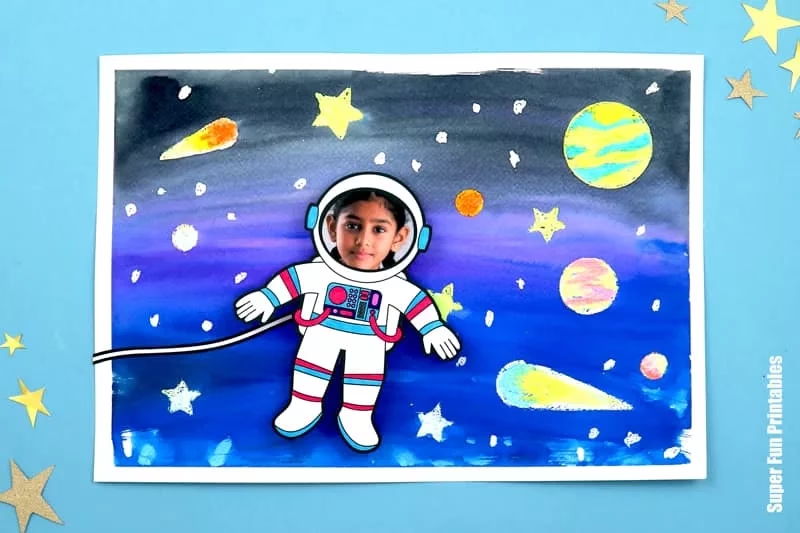
To spread the liquid watercolour evenly across the page, sponge brushes work well and are way cheaper than watercolour brushes.
You’ll also need heavy art paper. I’ve used A3 Watercolour paper purchased at Kmart, which is obviously not a premium brand but worked perfectly fine for this project.
Finally, not all glue sticks are created equal. I always use UHU brand because it sticks the best.
Age suggestion: 8+, but younger kids could do this with some adult help.
I suggest completing this project over two sessions, one to create the artwork and allow drying time, and a second session to colour and make the 3D astronaut.
Are you ready to get started?
How to create 3D Astronaut Space Art
You will need:
For the Space Art Background
- A3 watercolour art paper (or similar)
- Masking tape (painters tape)
- Crayons
- Liquid watercolour paint (affiliate link) in at least 2 “spacey” shades
- A sponge brush for each shade of watercolour used
- The space masking shapes printed to card stock
For the 3D Astronaut
- White card stock
- Markers
- Scissors
- Glue stick
- Optional face photo – printed at approx 6.5cm x 4.5cm (2.5 x 1.7”), with the head cropped so the face takes up most of the space.
- The Astronaut Space Art template, available in our printables store and TPT store
How to
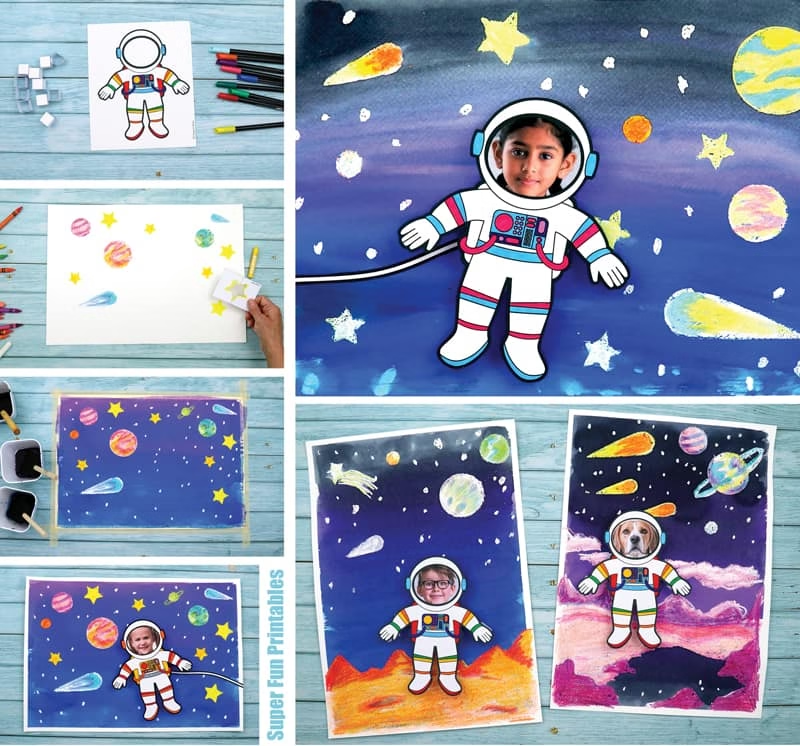
Print the pages of the template you’ll be using to card stock.
Part 1: Create the background art
Cut the space element shapes into individual pieces. Fold the pieces, cut along the dotted line, and unfold to create masking templates.
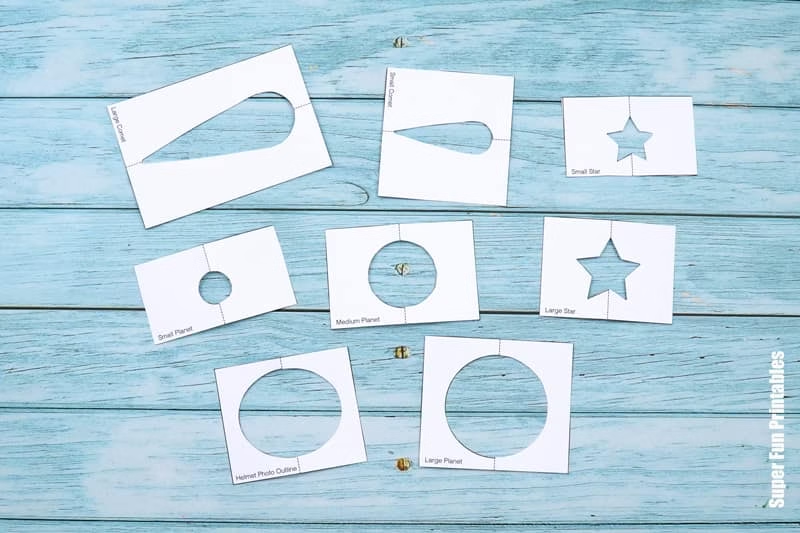
Create your space scene using vibrant colours of crayons. Place the template shapes where you want them on the page and colour the space inside them.
Experiment with shading and blending crayon colours. Draw dots using white crayon in the sky surrounding the planets.
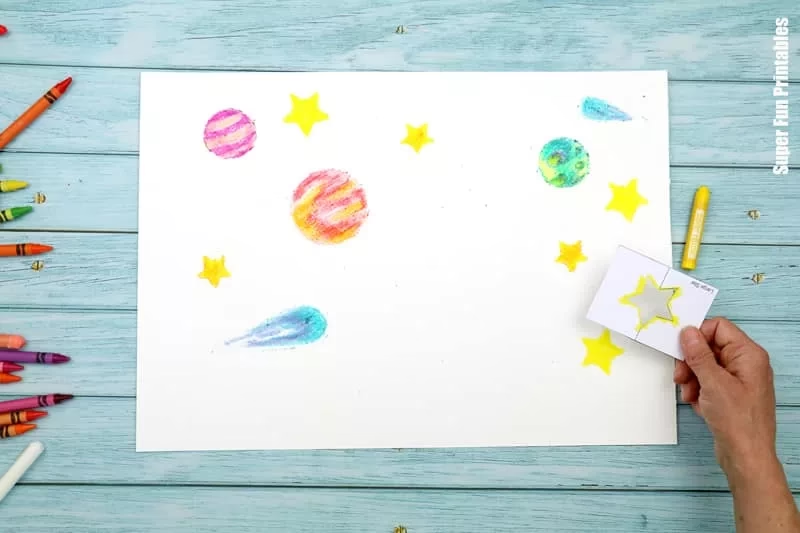
Tape the sheet of paper to the desk with painter’s tape. This helps to prevent warping as the paper dries and also gives the artwork a neat, white border.
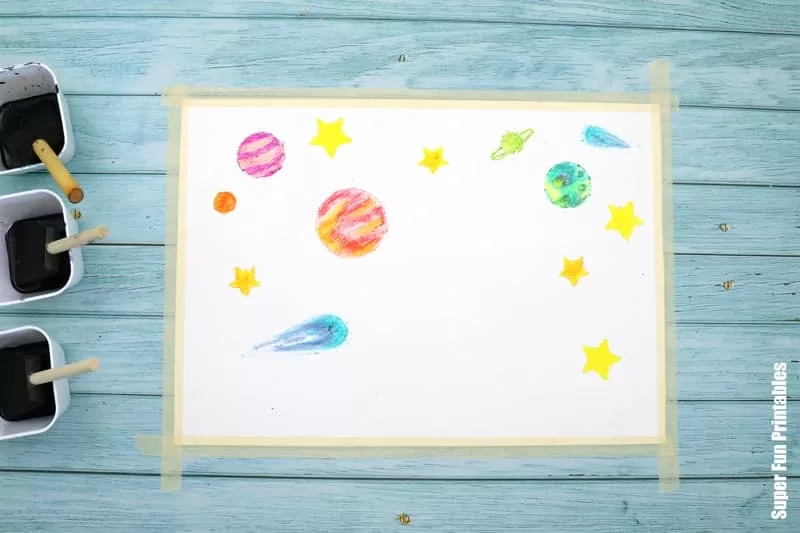
Use the sponge brushes to paint the sky over the top of the crayon. Use the darker colour at the top, painting down towards the middle. Use the lighter colour from the base, painting up towards the middle. Blend the colours by painting over where they meet.
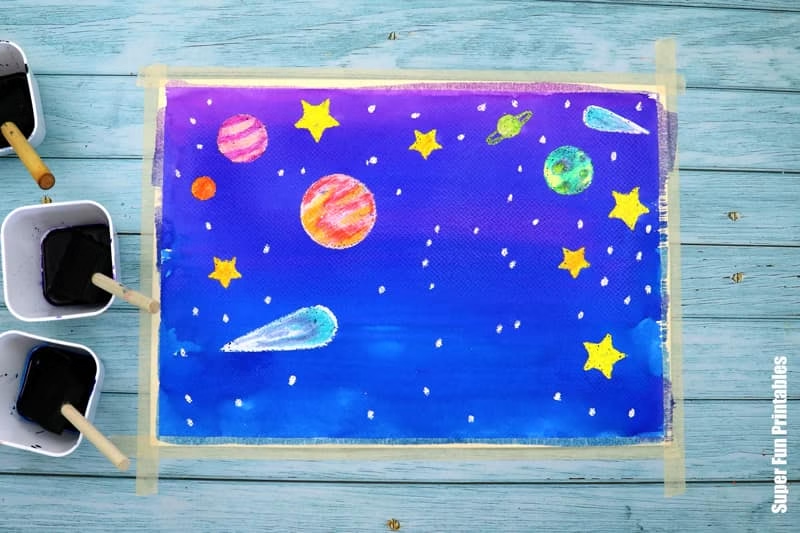
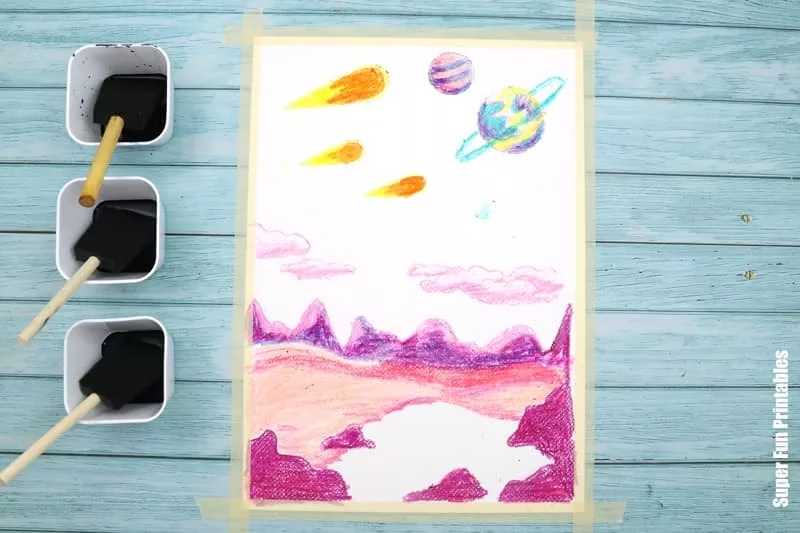
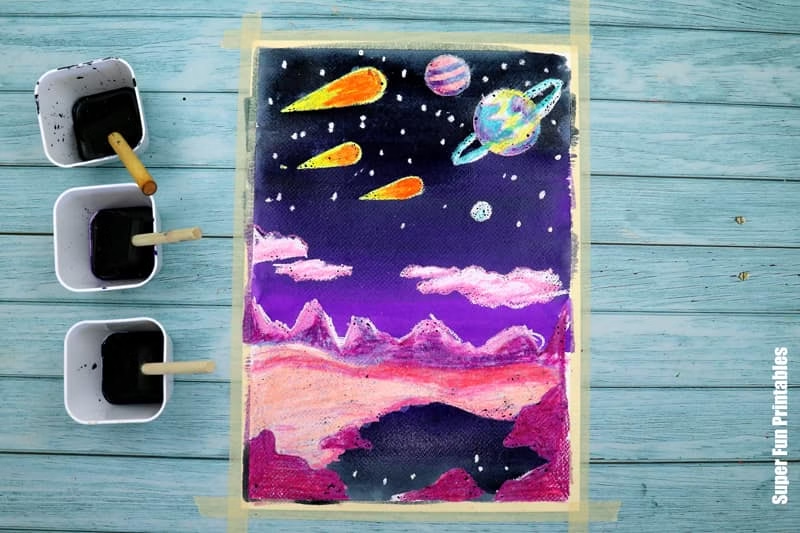
Optionally, use a piece of paper towel to dab the excess paint off the crayon elements (but avoid dabbing the sky surrounding them).
Allow the artwork to dry completely before gently peeling the tape away from the borders.
Part 2: Make the astronaut
Colour the astronaut and cut it out.
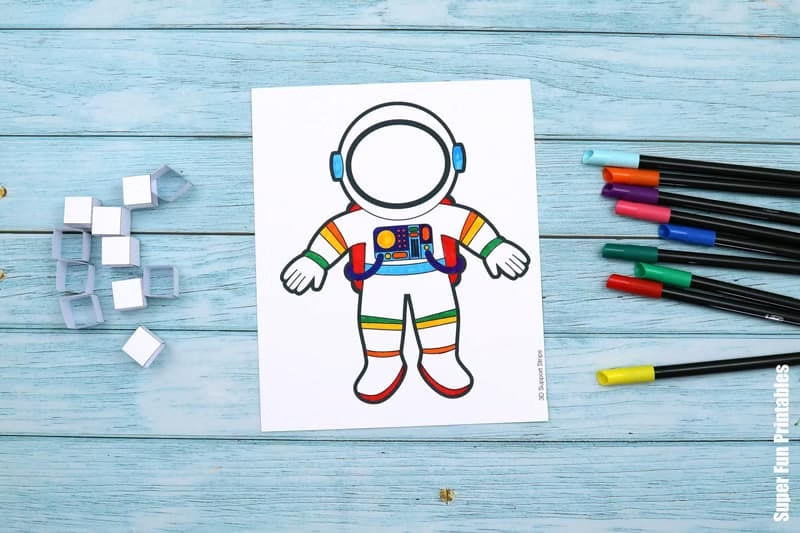
To create a photo face, use the helmet mask template. Alternatively, draw a face or use the astronaut template with a printed cartoon face.
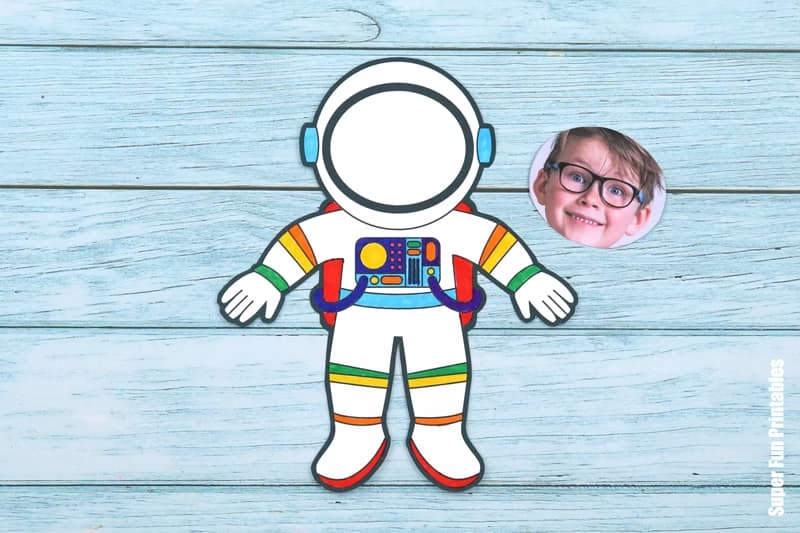
Cut out the 3D support squares outer rectangle. Fold along dotted lines, then cut into individual strips. Fold and glue into squares, then glue these onto the back of your astronaut.
Glue the astronaut onto your artwork. For an outer space scene, glue the tether cord included in the printable onto the page so it looks as though it’s attached to the astronaut’s back before gluing the astronaut onto the page. Trim the excess cord that hangs off the side of the page.
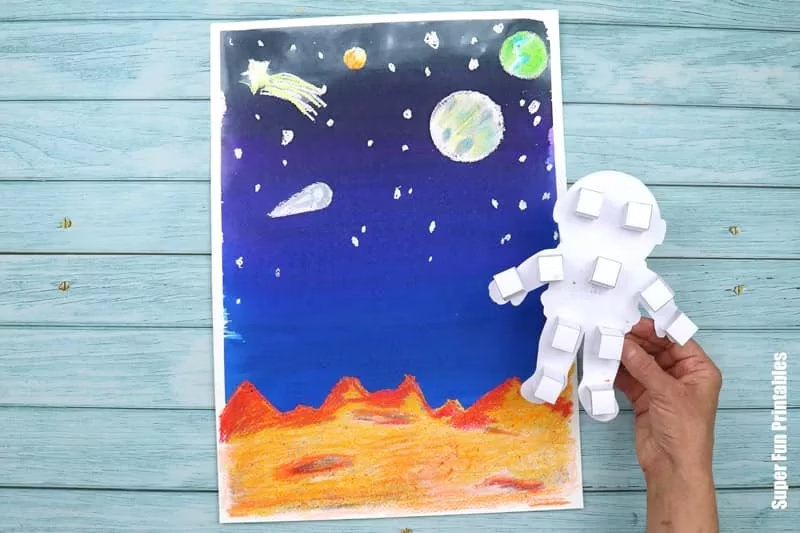
Note: a glue stick will adhere to the dry watercolour paint but may have trouble sticking to crayon. At least half of the astronaut needs to be over watercolour surface to remain in place.
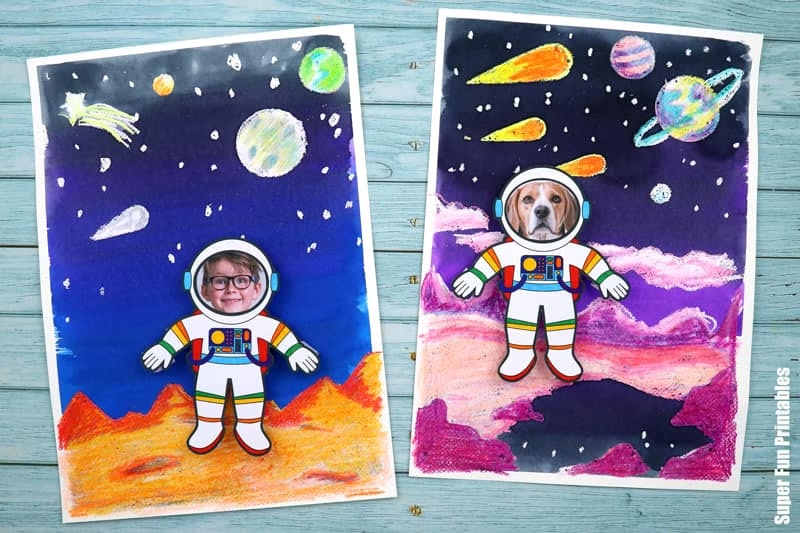
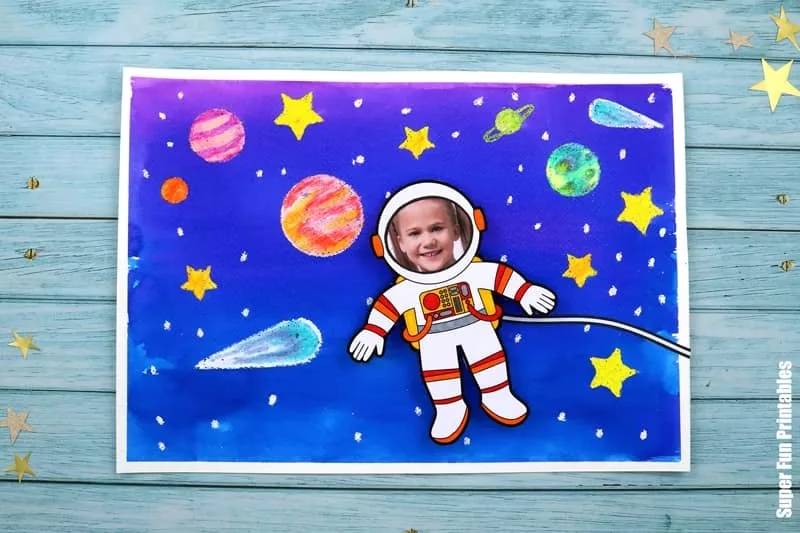
What planet did you visit?
More Space Printables for Kids
- Make the Solar System from sponge art!
- These Print-and-Clour Space Rockers are so fun and easy to make
- Here’s a fun set of printable Space Jokes and Would You Rather cards—perfect for kids’ lunchboxes!
Check out more of our printable art projects