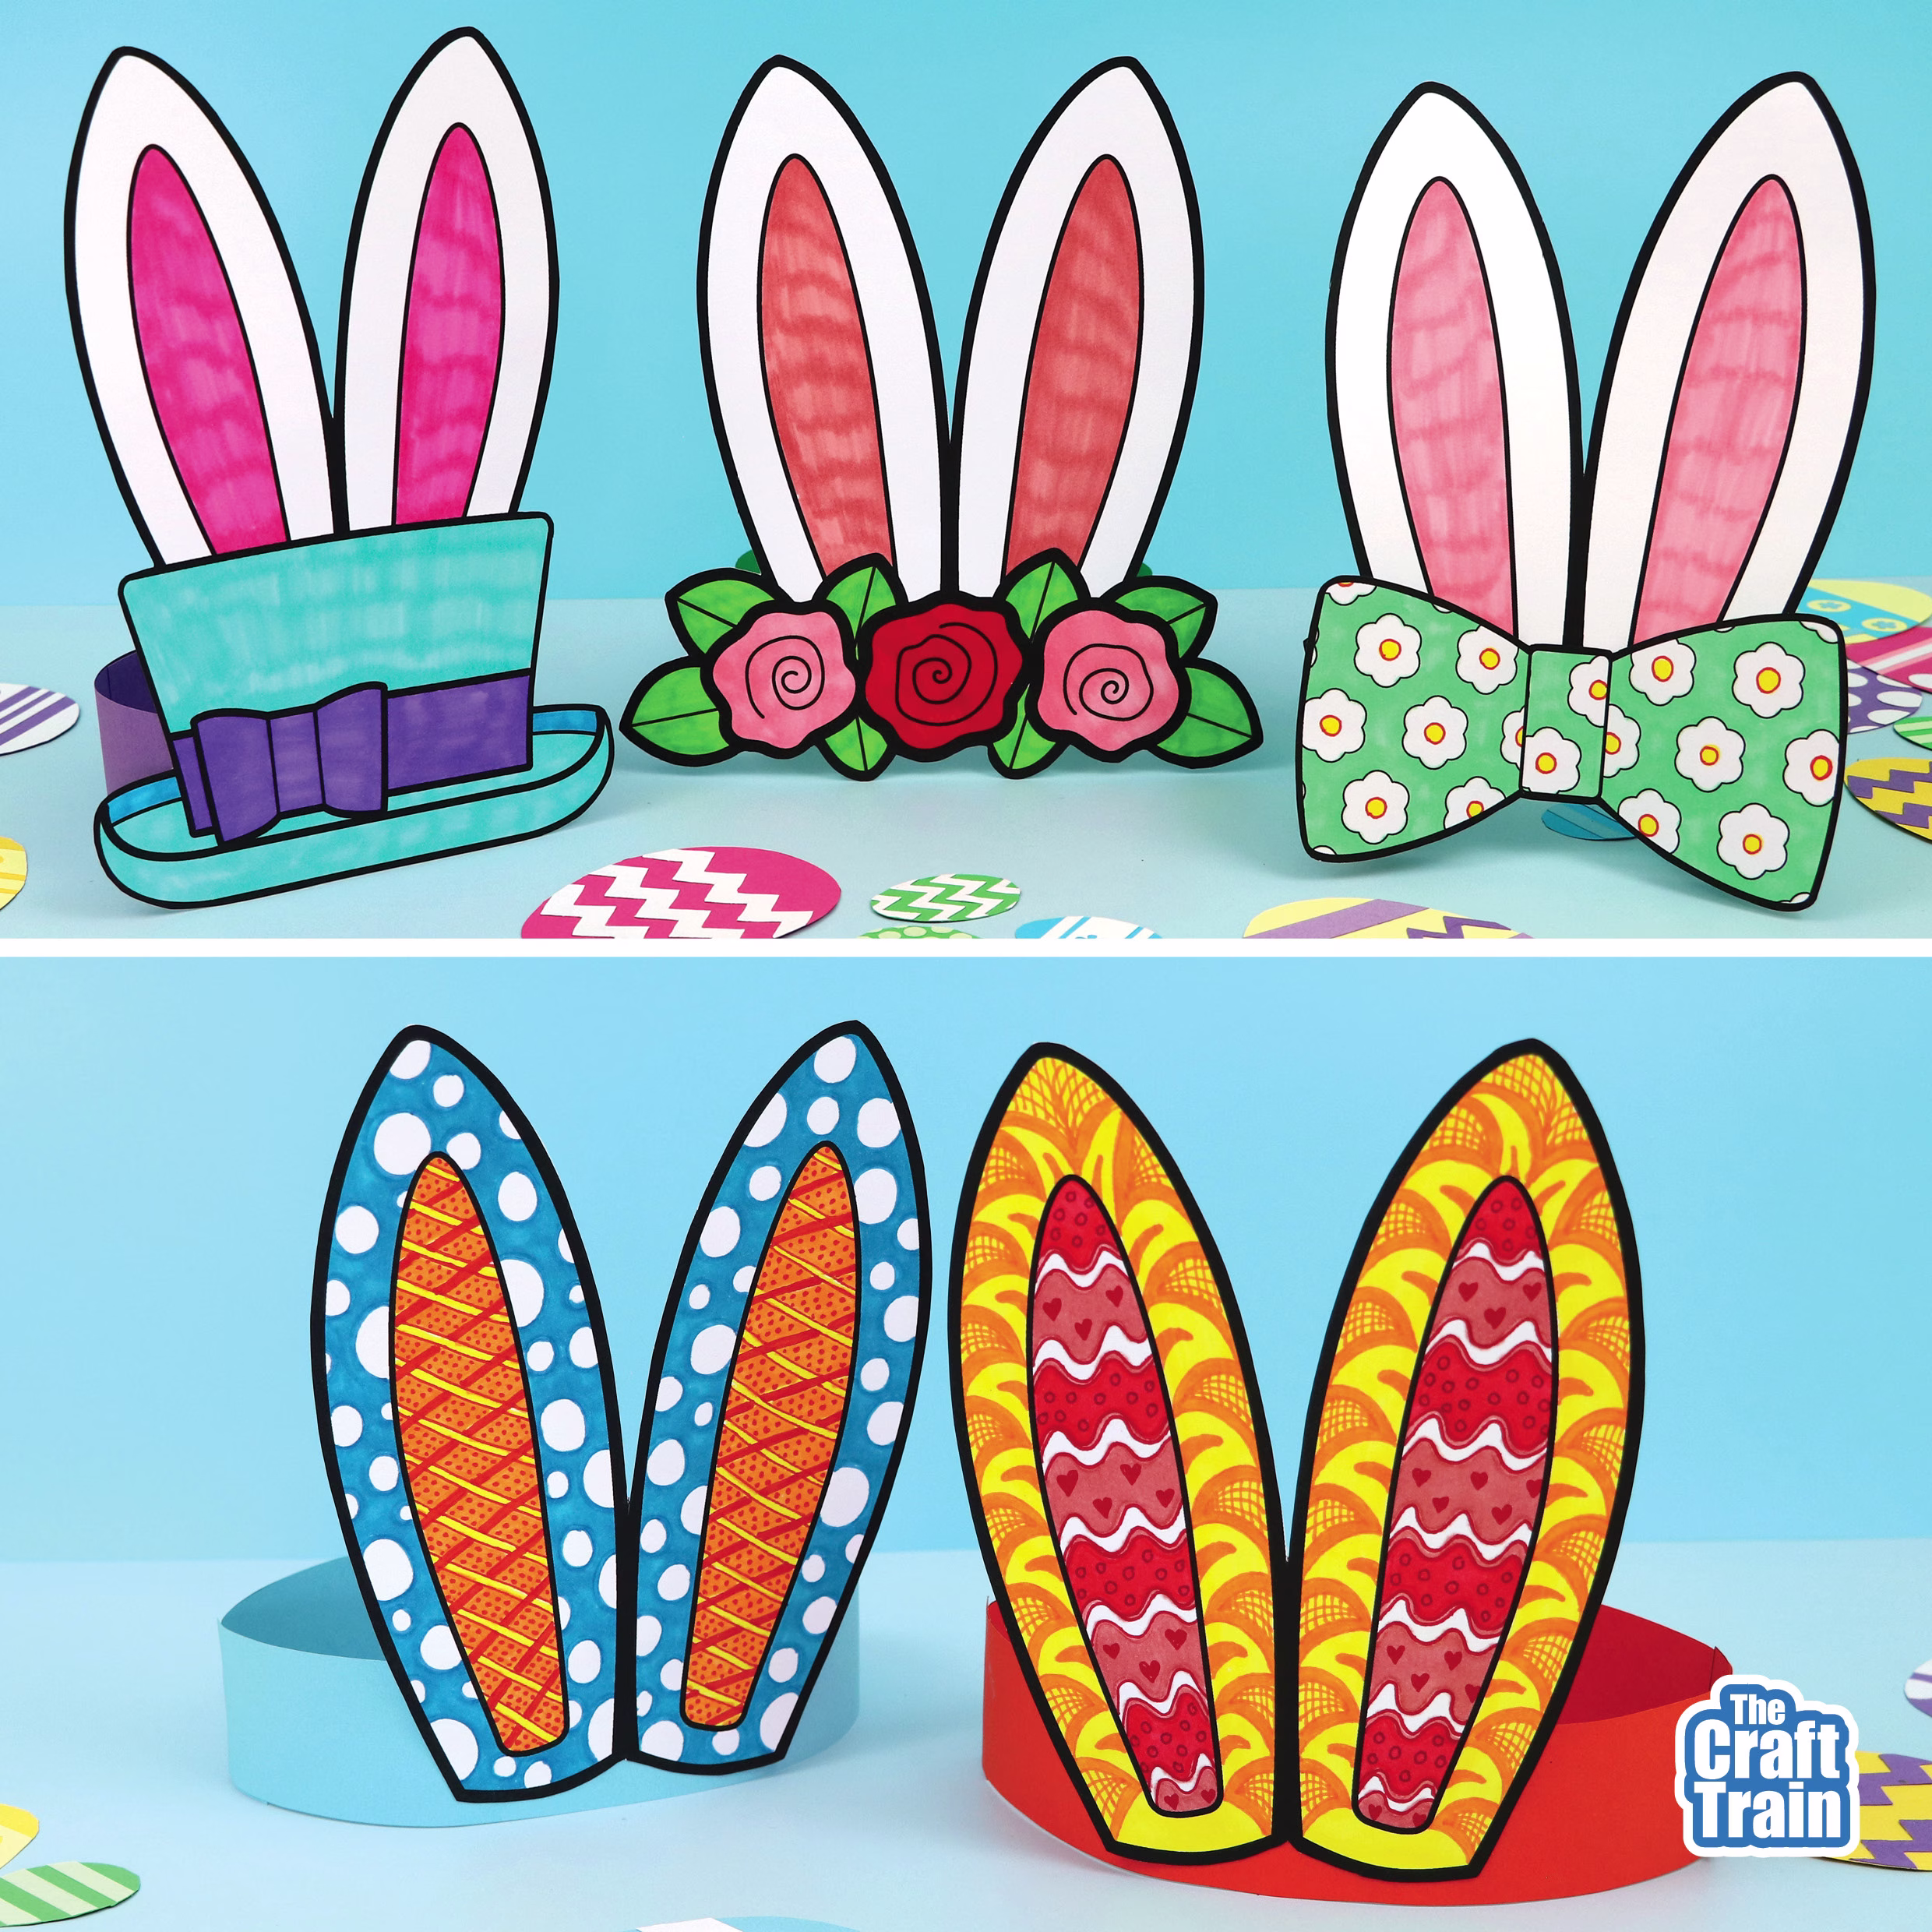
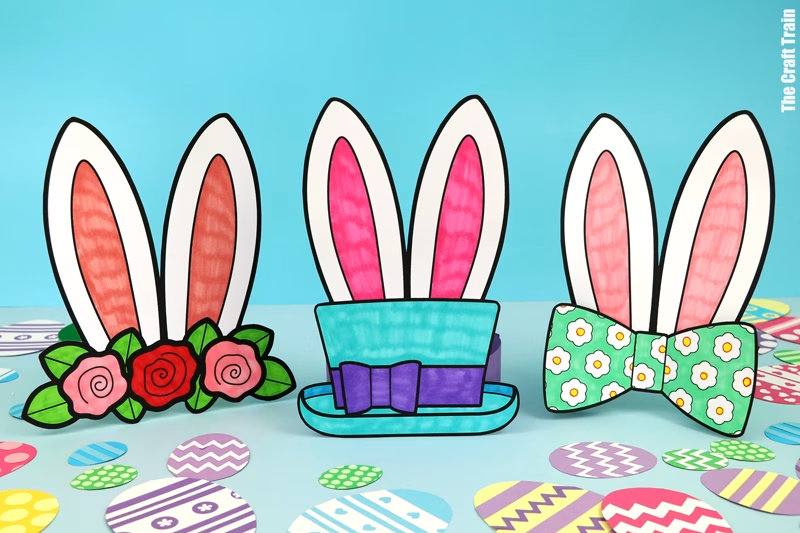
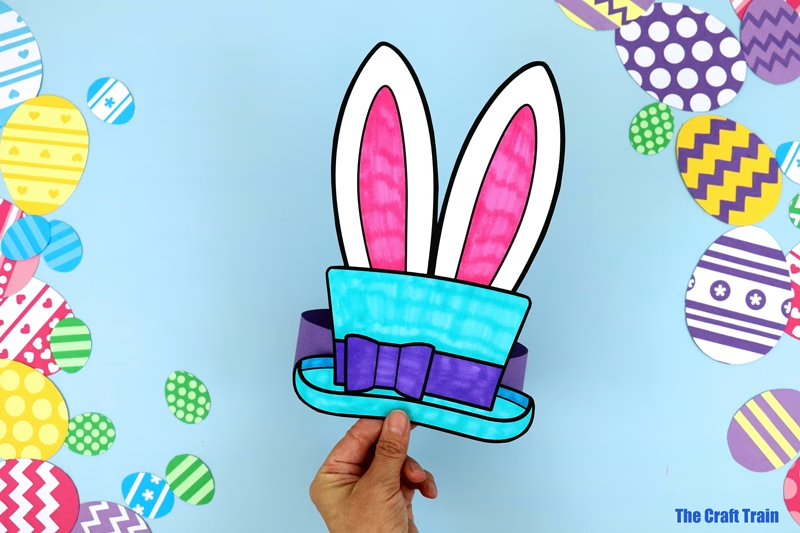
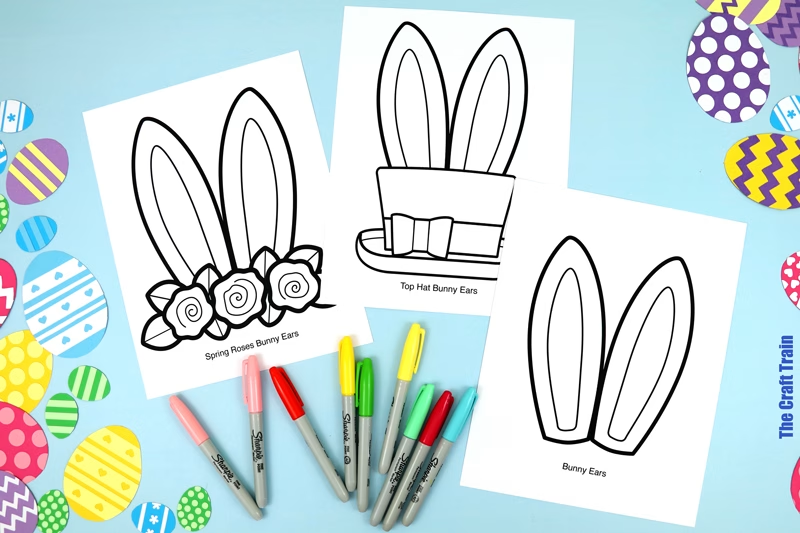
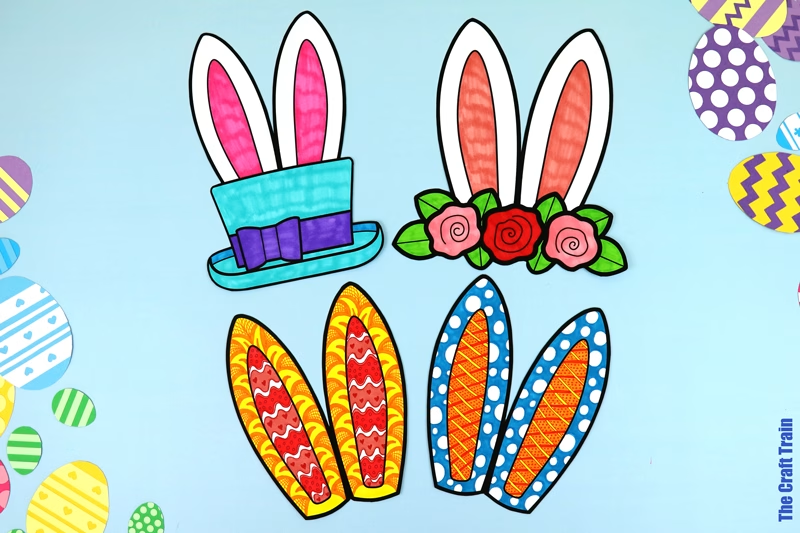
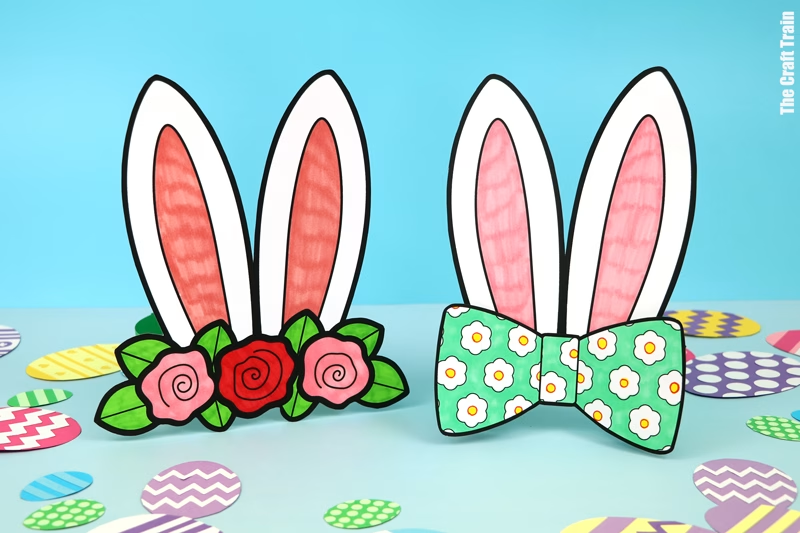
Make the cutest Easter Bunny Ears with this printable template. There are four print-and-colour designs included in the set: Top Hat, Spring Roses, Bow ears, and plain bunny ears.
This is an easy, low-mess Easter craft for kids aged 5 and up.
Are your kids ready to hop into Easter crafting? I hope so, because Easter is only a month away! These bunny ears are a good one because the project can easily be modified for different age groups.
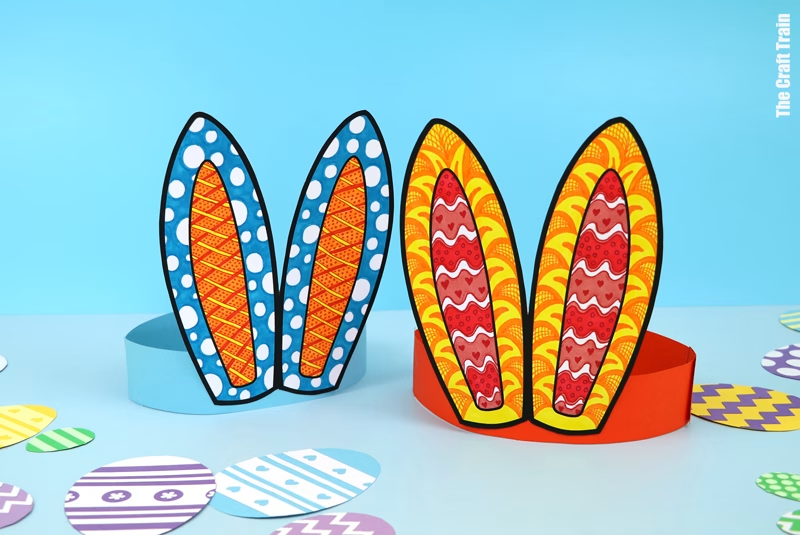
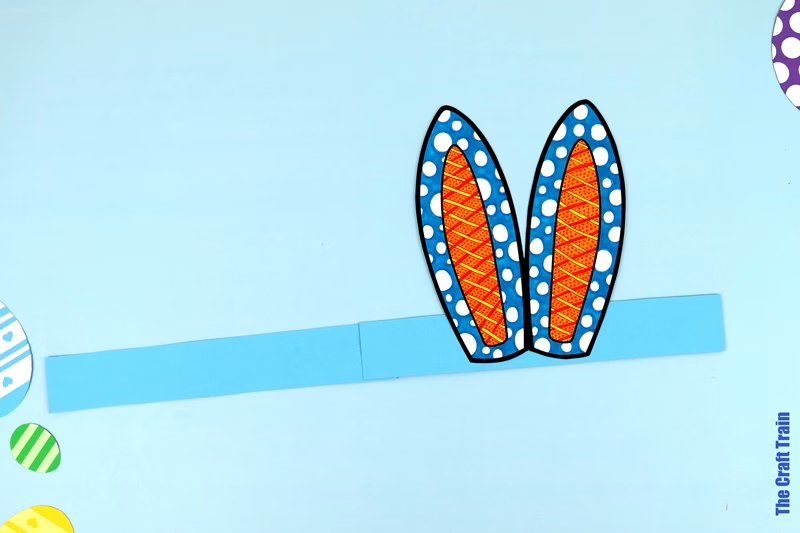
If you don’t want fancy ears, the template includes a set of plain ones. These can also be used as a base to decorate with pattern art—a fun way to extend the craft for older kids.
I’ve created a couple of pattern art ear examples.
Here are over 40 Pattern Art Projects for Kids
You could even use the finished paper ears for Easter Hat parades, especially if you choose the ‘top hat’ version, haha.
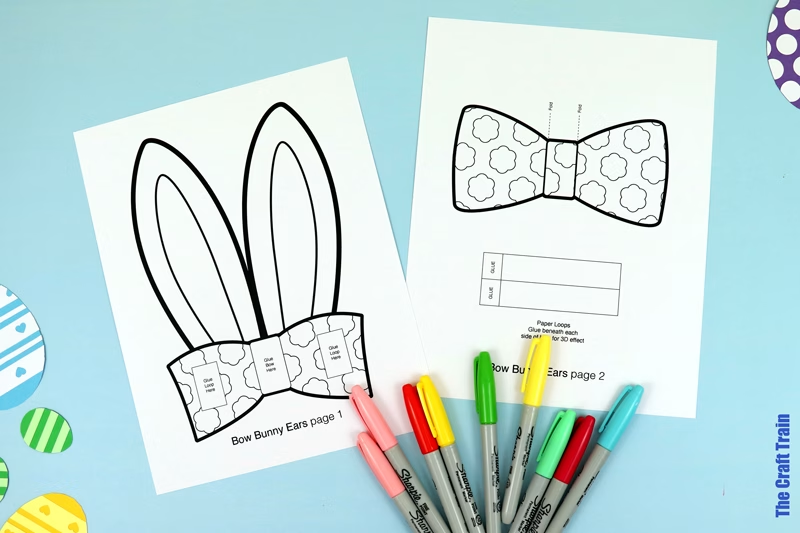
To make this project, you will need to print the template to cardstock. Ordinary paper is too flimsy, and the ears won’t stay straight.
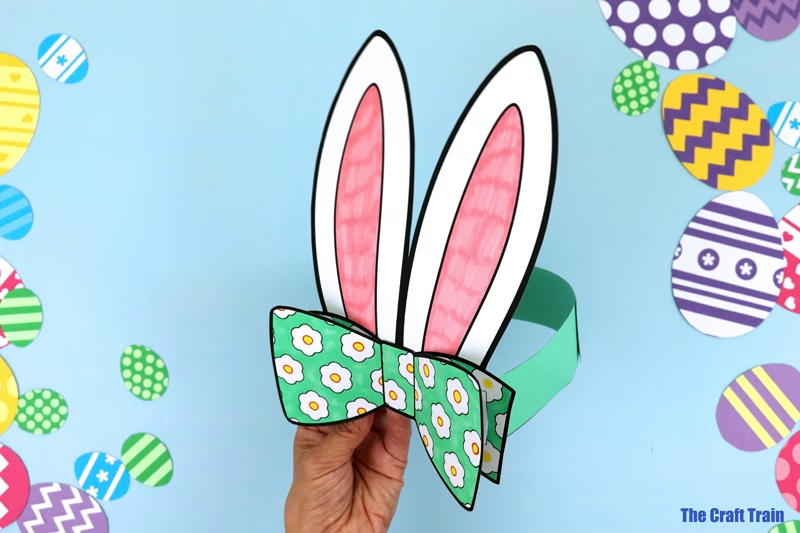
The bow ears are more complicated to make than the other three because they have a 3D effect. It’s super cute!
Are you ready to get started?
How to make Paper Bunny Ears
You will need
- White card stock – 1 per bunny ears or 2 if making the bow ears
- Coloured card stock for the band – 1 for every 2 bunny ears
- White paper for the inside
- Markers, felt-tips or colouring pencils
- Scissors
- Glue stick and optional stapler
- The Bunny Ears template, available from our printables store and TPT store
How To
Print the design you wish to make to white card stock.
Print the paper strips to card stock in a colour of your choice. Each paper band page includes 4 strips—enough for two sets of bunny ears.
To make the bow ears, you need two pages.
Colour the design, or optionally decorate with pattern art if using the plain ears.
Cut the ears and paper bands out.
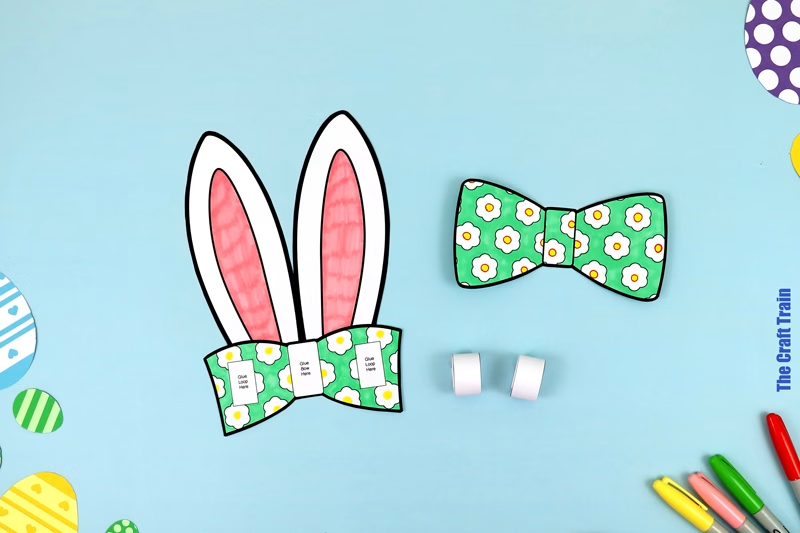
To assemble the bow ears, glue the paper loops together, then glue them onto the spaces marked. Fold the bow flaps. Glue the paper bow centre to the centre of the lower bow, and the bow flaps to the top of the loops.
Attaching the strips
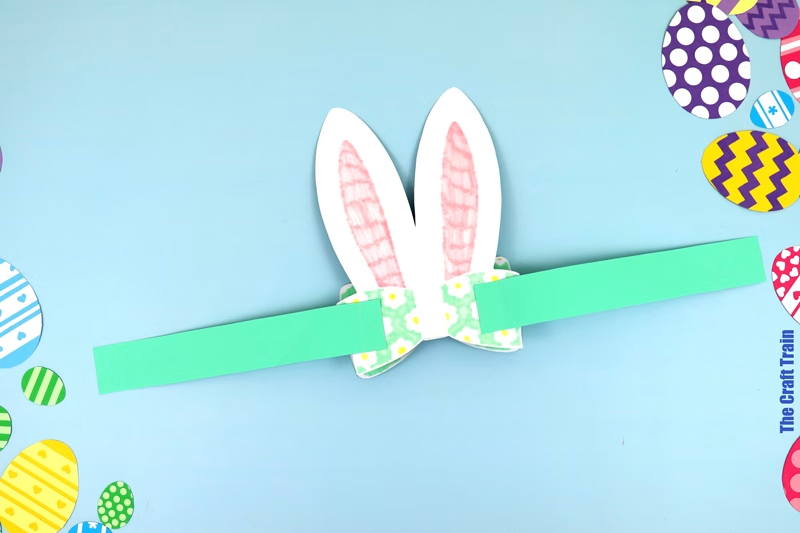
For the Roses, Top Hat and Bow ears – fold the glue tabs and glue to the back of the ears an inch or so from the edges.
For the Plain or Pattern Art ears – Glue the strips together to make one long strip, then stick the bunny ears in the centre of one of the front strips.
Glue or staple the ears to fit the child’s individual head size.
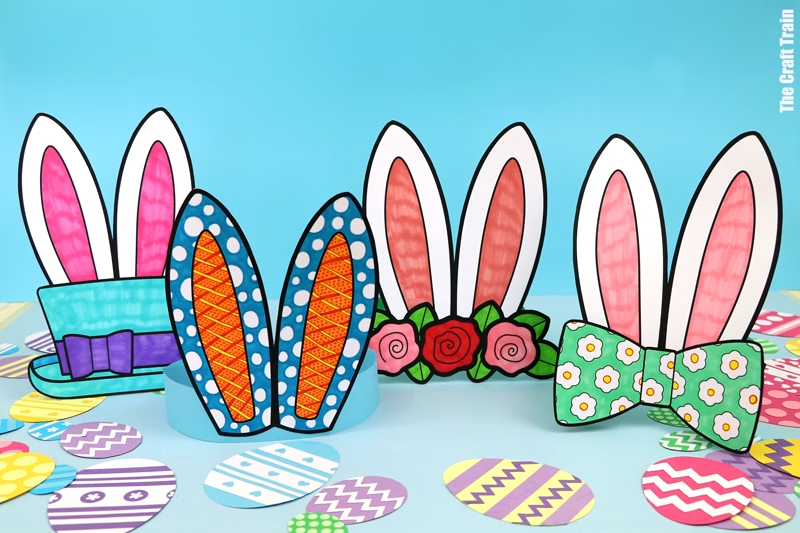
Which ears are your favourite?
You might also like
- This spinning paper egg craft is so pretty!
- Make a paper bunny basket in a range of pastel colours
- Here’s a fun bunny bookmark craft kids will love —free template
- Create a rainbow of fluffy pom pom bunnies — free template
See all our pattern art projects here