Chirp chirp! Create super cute 3D pattern art Budgie using our latest template.
This is a fun Australian animal-themed activity for older kids, teens and adults. Our glue-on support squares give this bird craft a 3D effect to really make it ‘pop’.
Most people know budgies (called parakeets in the USA) as adorable pets that brighten people’s lives with their constant stream of chatter. But you know what? They exist as flocks of wild birds too.
Budgerigars are found across most of Australia. According to their Wikipedia habitat map, they do live in my area but I’ve never seen them in the bush around here. Sadly, this is probably due to introduced predators such as cats and other species.
I have seen beautiful flocks of yellow and green budgies in inland areas.
Budgies are social birds who usually live in groups of between 3-100 birds, but have been known to gather in huge flocks numbering into the tens of thousands after periods of rain inland.
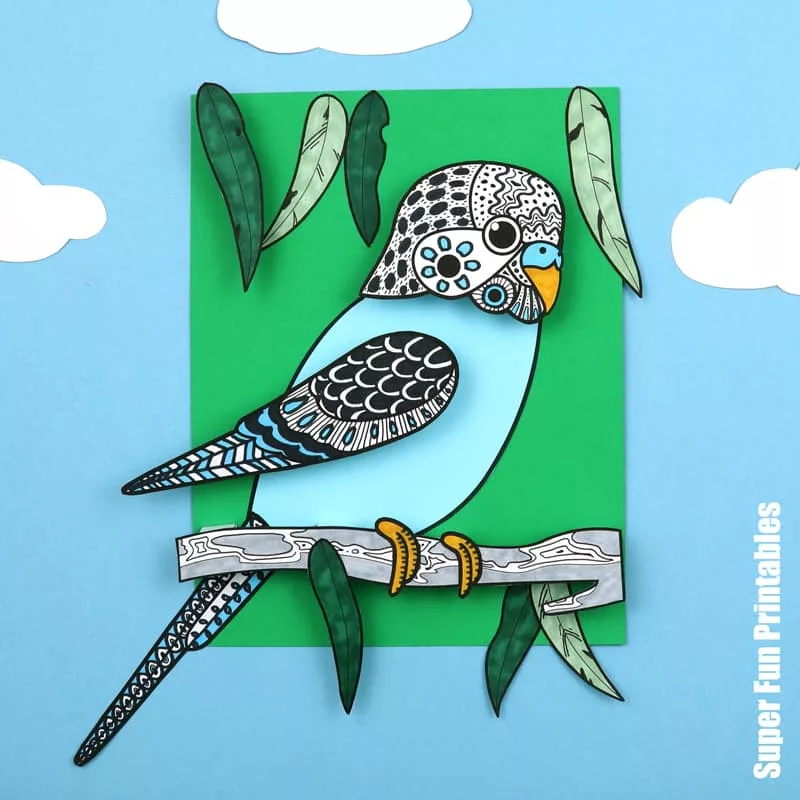
Budgies with blue above their beak are male. Those with brown above their beak are female. Male budgies raised as pets can sometimes be trained to “talk” by repeating simple words.
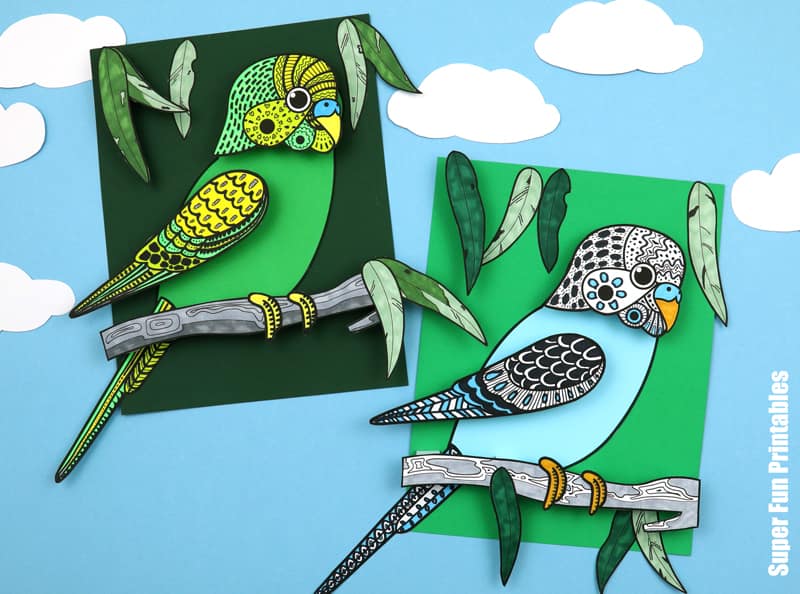
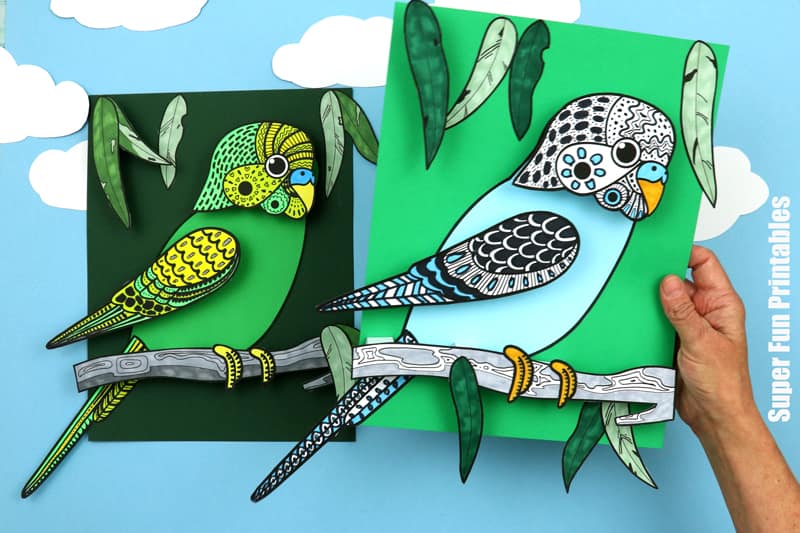
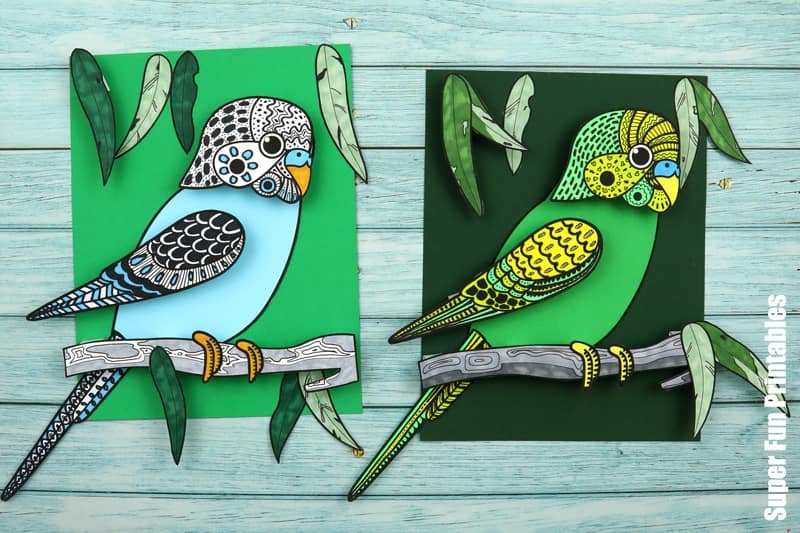
Today we’re showing you how to make a 3D papercraft budgie decorated with doodle art on its tail, wing and head. This pattern art budgie is the wild kind rather than the pet, as you can see by the gum leaves surrounding it.
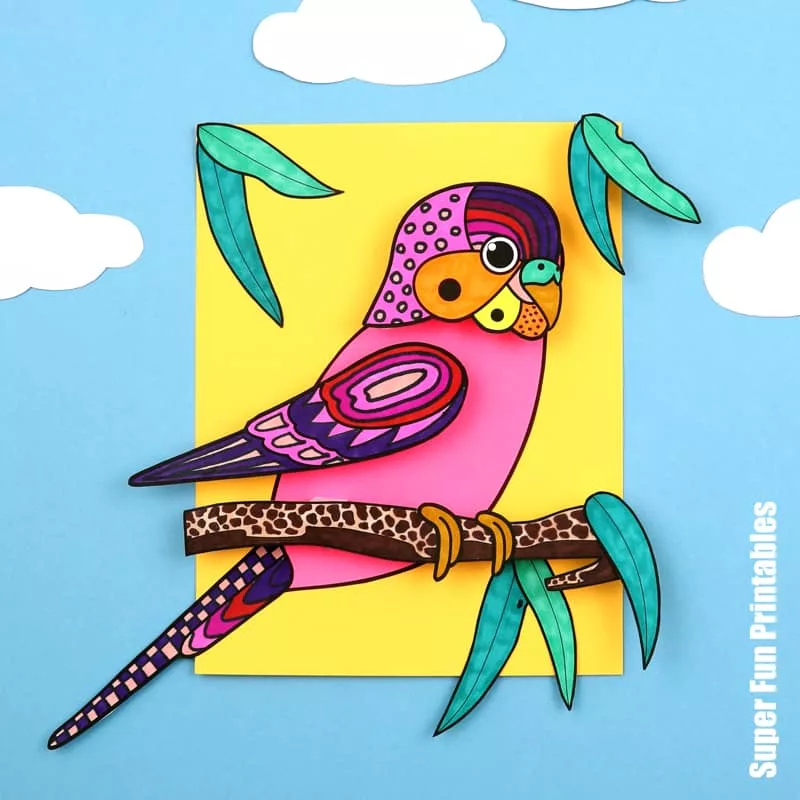
Decorate your budgie in realistic patterns and colours, or go crazy and make it any colour you like!
This craft involves colouring, patterning, cutting, folding and gluing. There is also an optional scoring step to make folding easier and more accurate.
Card stock is recommended.
Age suggestion: 8+, although younger kids could make this with some adult help.
Teens and adults can create more complex patterns using fine-liner pens. You could modify this for younger kids by colouring instead of patterning, discarding the 3D element and turning it into a straight cut-and-paste craft.
Here are over 40 Pattern Art Projects for Kids
Ready to get started?
How to make a 3D Pattern Art Budgie
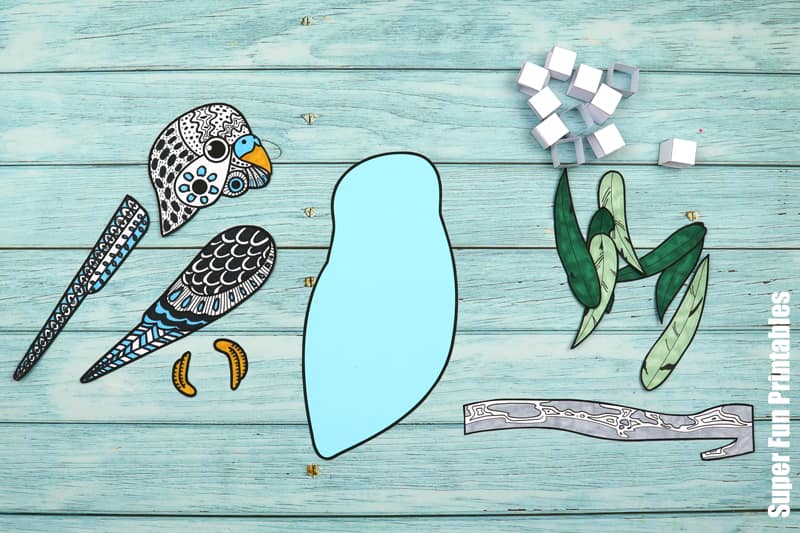
You will need
- Card stock in white and your choice of two colours (one for the budgie’s body and one for the background)
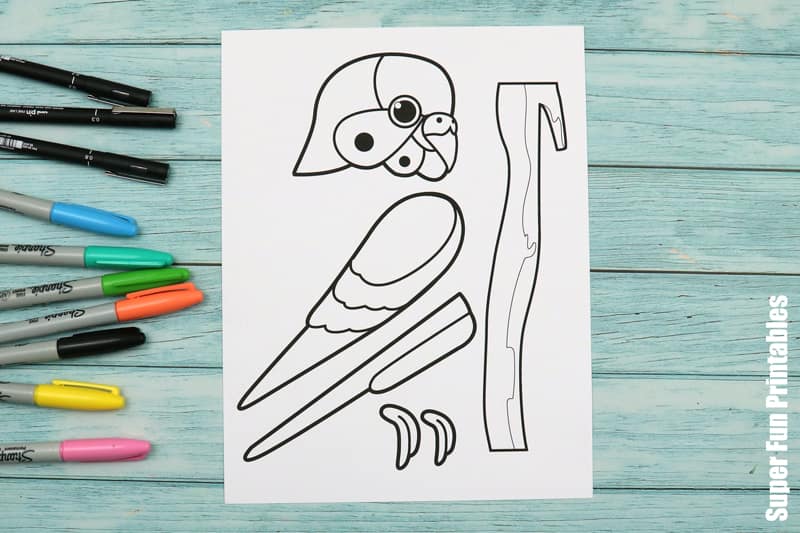
- Markers – either permanent ‘sharpie’ markers or regular kids washable markers. For more detailed patterns use fine liners
- Scissors
- Glue stick
- Optional scoring tool (or use a blunt butter knife), cutting mat
and ruler - The 3D Pattern Art Budgie Template, available from our printables store and TPT store
How to
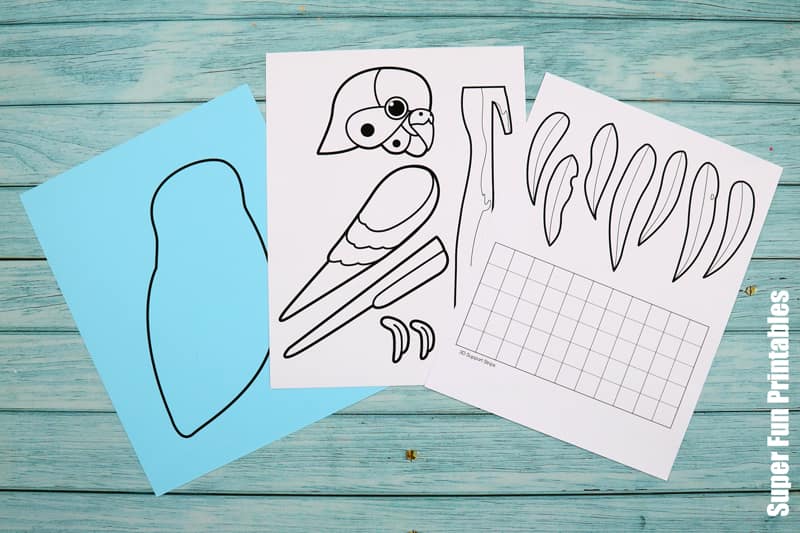
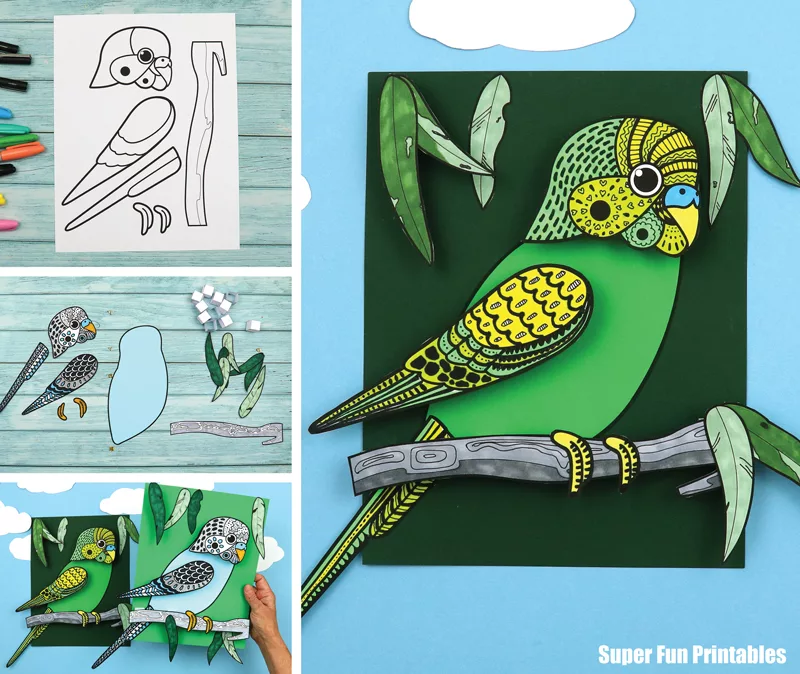
Print the budgie details and support strips with leaves to white card stock and the body shape to the colour you want your budgie to be.
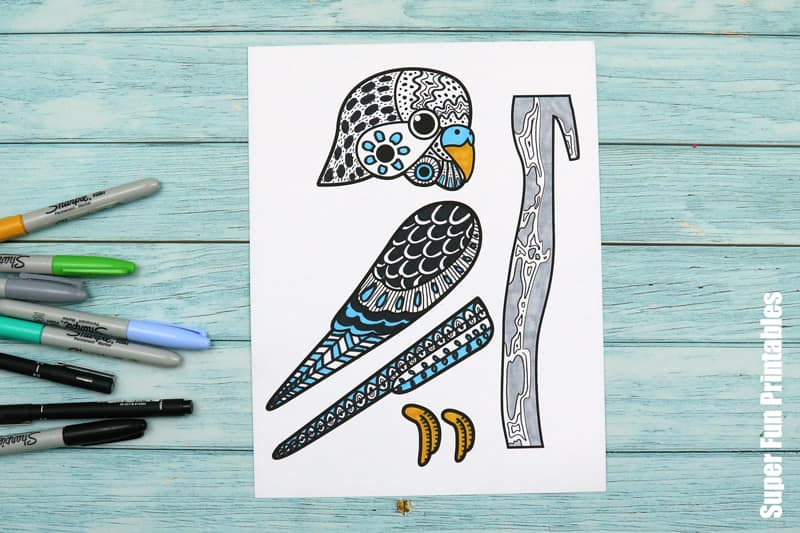
Decorate the budgie head, wing and tail with pattern and colour. Budgies often have black-and-white patterning, but there are no set rules and kids can make it their own. Colour and decorate the feet and branch.
Colour the leaves in. Optionally, add pattern to the leaves.
Cut out the shapes.
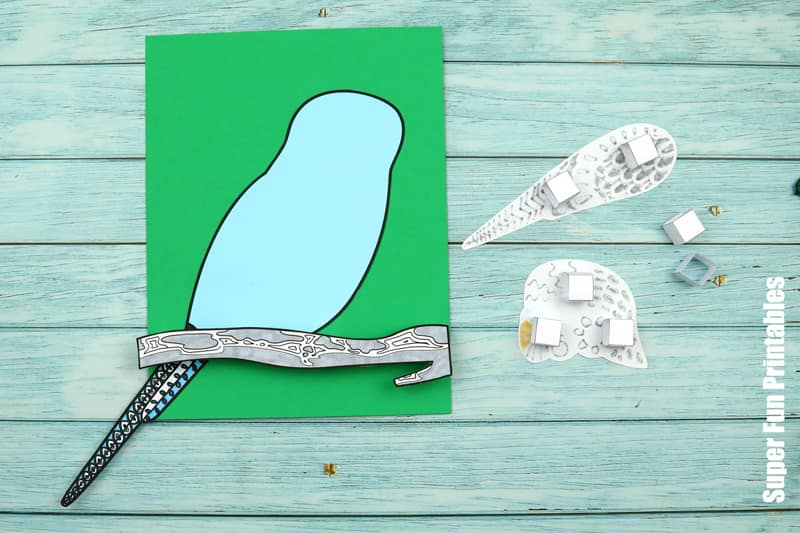
To make the support squares, cut the strips out, then fold and glue them into squares. For folding accuracy it’s optional to score the fold lines first using a ruler, cutting mat and scoring tool.
Glue the body shape to the background page, roughly in the centre. Glue the tail directly onto the body. It will overlap the edge of the page.
Stick 4 support strips to the back of the branch, then glue in place, approximately where the budgie’s feet should be.
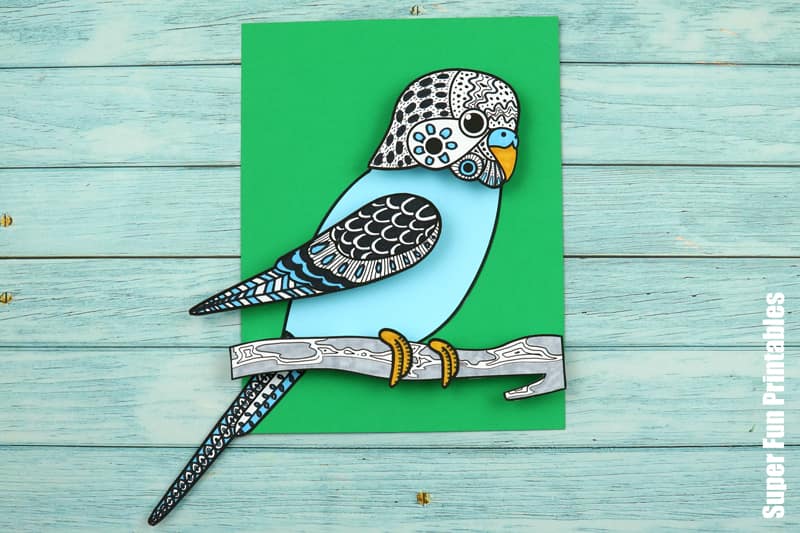
Glue support strips to back of the head piece and wing. Glue in place.
Stick the leaves on to decorate. If you have any support strips left, you can them glue to the back of a leaf or two for a 3D effect.
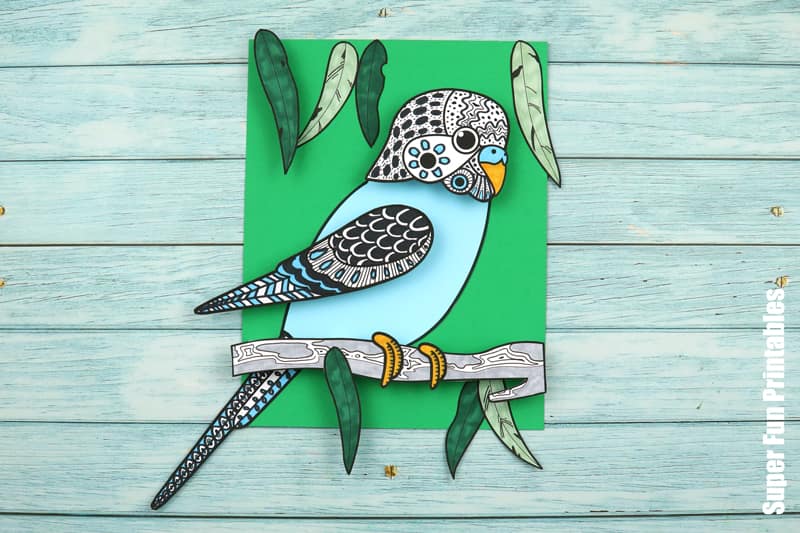
Hang your budgie art proudly on the wall!
More Australian Animal Crafts
- Make Paper Chain Pythons based on species from the Daintree rainforest
- This paper plate Ringtail Possum is so cute!
- Check out our collection of paper plate Australian animals
See all our pattern art projects here
More printable pattern art projects